소개
Did you heave your Droid RAZR through a metropolitan area in an attempt to recreate the lamppost slicing skills Motorola showed in their commercials? No? Well, even if you only dropped your phone down a couple flights of stairs, this guide will show you how to replace the display assembly.
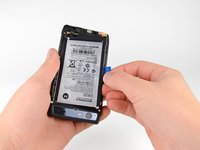
The LCD and digitizer are fused to the display glass, so the entire unit must be replaced as one piece.
필요한 것
-
-
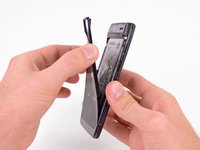
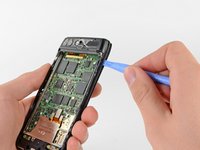
Insert a plastic opening tool between the back cover and rear case at the lower left edge of the back cover.
-
Pry the back cover up with the plastic opening tool to free the plastic clips.
-
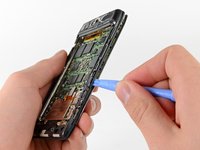
Continue prying along the left edge of the back cover towards the top of the phone.
-
-
-
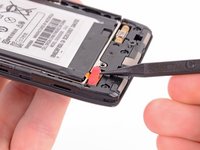
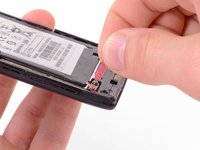
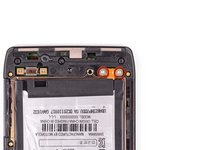
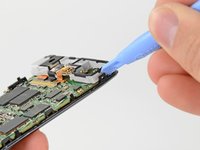
Use the tip of a spudger to lift up the red silicone cover over the battery terminal screws and remove it.
-
-
-
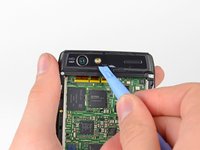
Use a heat gun or hair dryer to soften the adhesive underneath the camera cover.
-
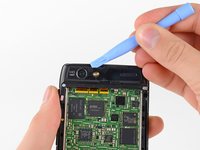
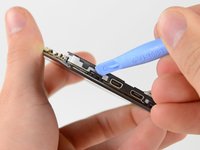
Gently pry up the bottom edge of the camera cover with a plastic opening tool.
-
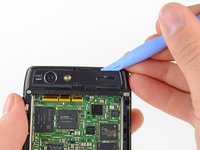
Carefully slide the plastic opening tool across the bottom edge to free it from the adhesive.
-
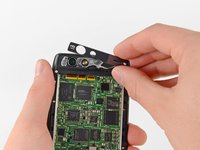
Continue to use the heat gun as needed to soften the adhesive as you remove the camera cover.
-
-
-
-
Remove the six screws securing the rear case to the rest of the phone:
-
three 6.7 mm silver T3 Torx screws at the top,
-
four 4.0 mm gold T3 Torx screws in the middle,
-
and three 4.5 mm black T5 Torx screws at the bottom.
-
-
-
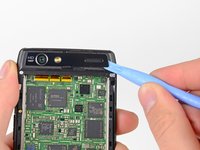
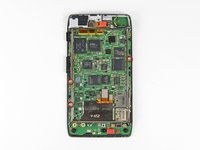
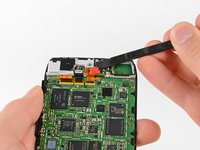
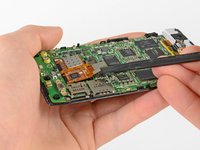
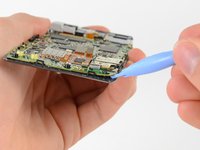
Remove the three 2.5 mm T3 Torx screws securing the metal chassis to the motherboard.
-
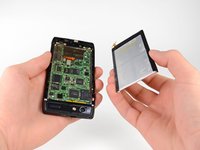
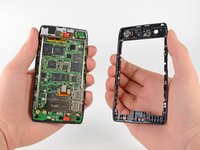
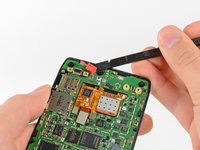
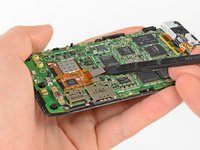
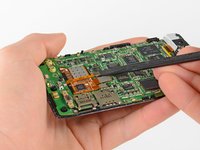
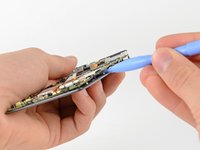
Remove the metal chassis from the motherboard assembly.
-
-
-
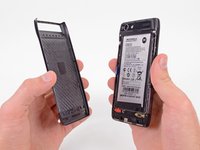
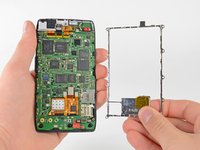
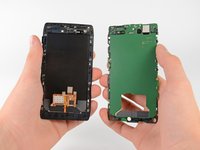
Once separated from the motherboard assembly, the entire display assembly can be replaced.
-


To reassemble your device, follow these instructions in reverse order.
다른 49명이 해당 안내서를 완성하였습니다.
