소개
This guide will walk you through opening your Motorola Droid RAZR M and removing the motherboard from the rear assembly. Throughout the process, many small screws will be accumulated, so be sure to keep track of which screws came from which various locations. As for the motherboard itself, once the screws are removed and a few snap connections are undone, the motherboard can be easily pulled out of the device.
필요한 것
-
-
Open the small latch on the left side of the device by lifting gently with your finger, exposing the SIM card and microSD card slots.
-
If either of these cards are present, remove them to prevent damaging them while taking apart the phone. Our device does not have either.
-
Close the latch once the two cards are removed.
 FixBot에 문의하기
-
-
-
Run the plastic opening tool under the bottom edge of the phone to detach the small plastic cover below the Verizon logo.
-
It will take some force to remove this piece. Work around the bottom corners to unlatch the two hooks holding the piece in place.
-
Once the plastic cover is detached, pull the piece away with your fingers.
-
-
-
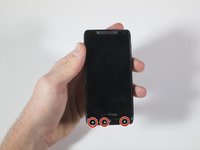
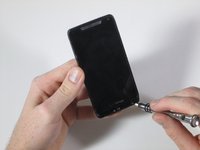
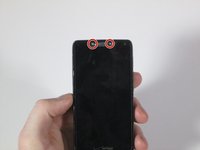
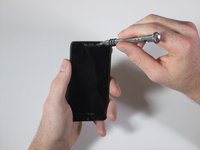
Remove the three T4 Torx screws. There are three at the bottom of the device.
-
-
-
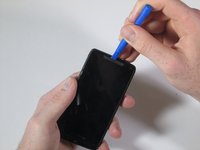
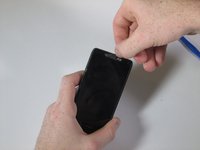
Using the plastic opening tool, peel away the silver Motorola plate at the top of the phone. There is a fair amount of adhesive underneath, so you may have to pry it from a few different angles.
-
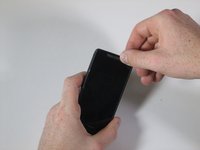
As soon as you can get your finger underneath, pull away the silver plate.
-
-
-
-
Snap apart the two internal clips located on the top corners of the device, and the two clips in the bottom corners.
-
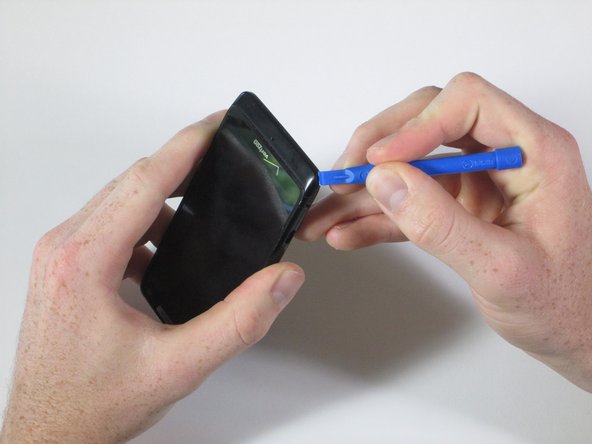
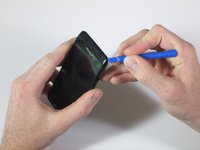
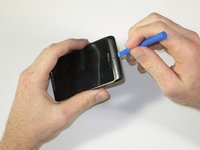
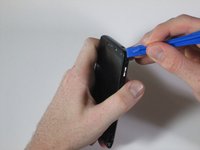
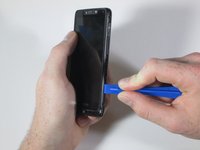
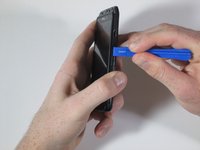
Run the plastic opening tool around the edge of the entire device to pry apart the front of the phone from the back.
-
-
-
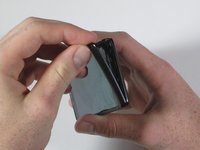
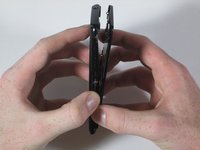
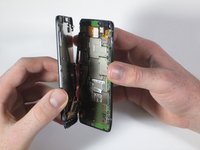
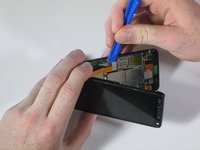
Like a clamshell, slowly open the device from the top. Open the remainder of the device slowly while being mindful of the flat orange wire that connects the motherboard to the front assembly.
-
Undo the snap connection in the lower left corner by inserting the plastic opening tool under the end of the orange wire connected to the motherboard. Lift gently.
-
Once the snap connection is undone, pull apart the front assembly from the rest of the phone.
-
-
-
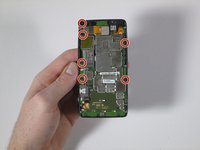
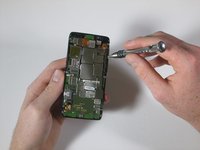
Remove the six 4mm T5 Torx screws located along the outer edge of the motherboard.
-
-
-
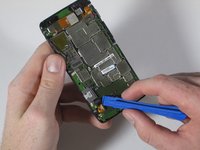
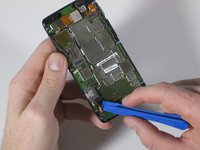
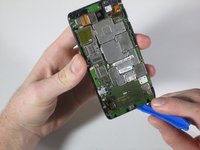
Disconnect the snap connection in the lower left corner by prying underneath using the plastic opening tool.
-
-
-
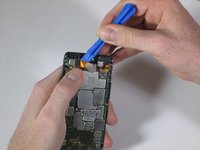
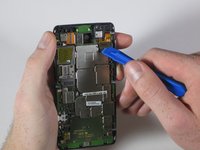
Disconnect the snap connection in the upper left corner by prying underneath using the plastic opening tool.
-
As you undo the snap connection, pull the rear facing camera off completely. It will slide out of its slot in the motherboard.
-
-
-
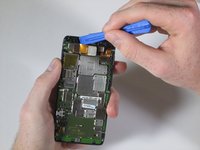
Disconnect the snap connection in the upper right corner by prying underneath using the plastic opening tool.
-
-
-
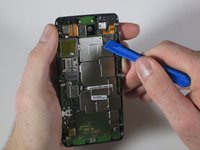
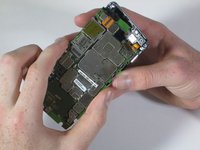
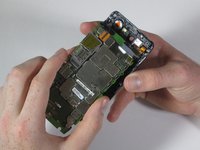
By inserting the plastic opening tool between the motherboard and rear casing, lift the bottom of the motherboard from the rear casing.
-
Use your fingers to gently pull the motherboard down and out of the rear casing.
-
























To reassemble your device, follow these instructions in reverse order.
다른 2명이 해당 안내서를 완성하였습니다.

팀

Cal Poly, Team 15-1, Amido Spring 2015 Cal Poly, Team 15-1, Amido Spring 2015 회원
CPSU-AMIDO-S15S15G1
4 회원들
안내서 28개를 작성함
