이 버전에는 잘못된 편집 사항이 있을 수 있습니다. 최신 확인된 스냅샷으로 전환하십시오.
필요한 것
-
이 단계는 번역되지 않았습니다. 번역을 도와주십시오
-
Locate the battery removal slot.
-
Use your finger to pull the battery out from the top.
-
Remove the battery.
-
-
이 단계는 번역되지 않았습니다. 번역을 도와주십시오
-
Grip the plastic support post and unscrew the apparatus using a counterclockwise twist.
-
Pull the apparatus up and out of the phone.
-
-
-
이 단계는 번역되지 않았습니다. 번역을 도와주십시오
-
Locate the two screws on the backside of the phone.
-
Unscrew the two screws using your T6 screwdriver.
-
-
이 단계는 번역되지 않았습니다. 번역을 도와주십시오
-
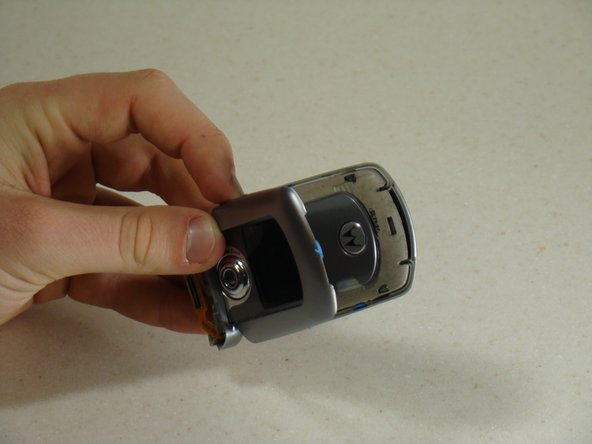
Grasp the top of the phone near the speaker.
-
Gently pull the top section of the phone upwards until you feel some resistance.
-
Locate the brown connector that runs from the top section of the phone to the circuit board under the keypad.
-
Using tweezers, gently pry the connector from the circuit board.
-
Detach the top section of the phone from the keypad section.
-
-
이 단계는 번역되지 않았습니다. 번역을 도와주십시오
-
Carefully insert the blue pry tool into the notch between the two halves of the top section of the phone.
-
Gently pry the two halves apart.
-
-
이 단계는 번역되지 않았습니다. 번역을 도와주십시오
-
Rotate the top section of the phone around so that you are looking at the outer screen.
-
Disconnect the cover from the outer screen side of the phone.
-
-
이 단계는 번역되지 않았습니다. 번역을 도와주십시오
-
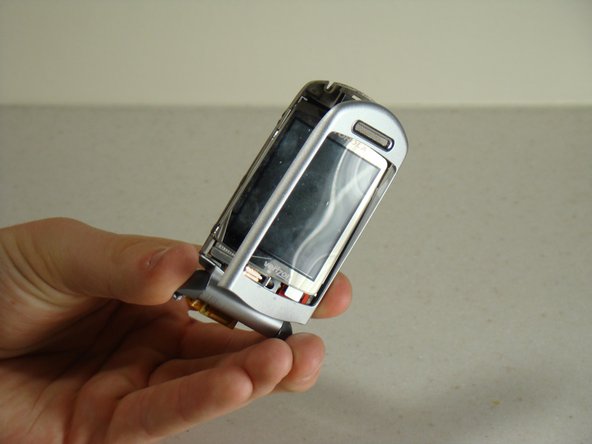
Rotate the top section of the phone around so you are looking at the large screen.
-
Using your fingers, lift the protector off of the screen.
-
-
이 단계는 번역되지 않았습니다. 번역을 도와주십시오
-
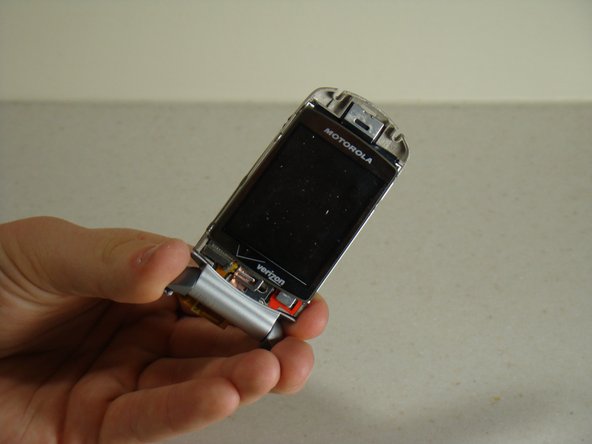
Turn the phone so that you can see the side metal clasps.
-
Using the blue lifter tool, snap the metal clasps off of screen body.
-
Proceed to snap all four corners of the metal cover off of the screen body.
-
-
이 단계는 번역되지 않았습니다. 번역을 도와주십시오
-
Using tweezers, gently detach the brown connecting strip from the back of the screen.
-
Separate the screen from the phone frame.
-
The front screen can now be accessed and replaced!
-


팀

Cal Poly, Team 14-8, Forte Winter 2011 Cal Poly, Team 14-8, Forte Winter 2011 회원
CPSU-FORTE-W11S14G8
5 회원들
안내서 5개 작성하였습니다