주요 콘텐츠로 건너뛰기

Motorola Hyper Android Phone Charging port Replacement

필요한 것

  1. Motorola Hyper Android Phone Charging port Replacement, Finding the seam  to remove.: 1 단계, 이미지 1개 중 1개
    • Charging port replacement

  2. Motorola Hyper Android Phone Charging port Replacement, Teardown - Remove sim tray: 2 단계, 이미지 3개 중 1개 Motorola Hyper Android Phone Charging port Replacement, Teardown - Remove sim tray: 2 단계, 이미지 3개 중 2개 Motorola Hyper Android Phone Charging port Replacement, Teardown - Remove sim tray: 2 단계, 이미지 3개 중 3개
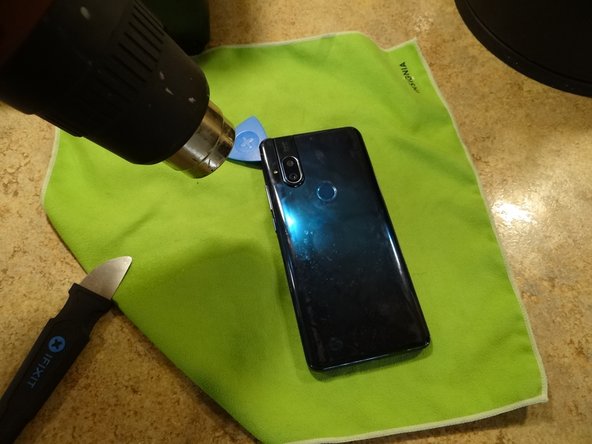
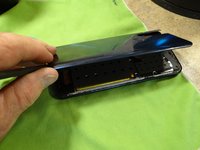
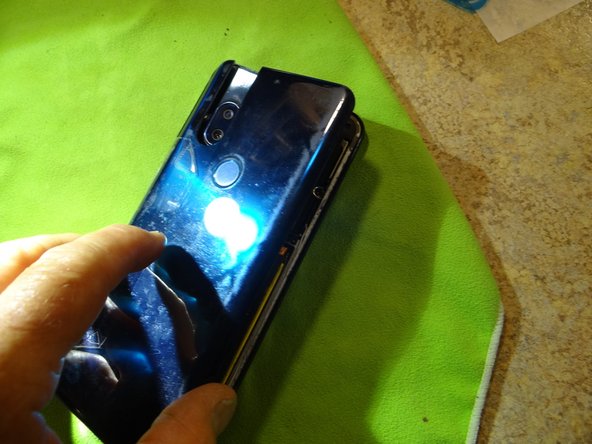
    • Use a heat gun or hair dryer to soften the adhesive on the rear cover

  3. Motorola Hyper Android Phone Charging port Replacement: 3 단계, 이미지 3개 중 1개 Motorola Hyper Android Phone Charging port Replacement: 3 단계, 이미지 3개 중 2개 Motorola Hyper Android Phone Charging port Replacement: 3 단계, 이미지 3개 중 3개
    • Start at the camera and go around the edge with an Opening Pick. Pry the last bit around the camera.

  4. Motorola Hyper Android Phone Charging port Replacement, Opening cover: 4 단계, 이미지 3개 중 1개 Motorola Hyper Android Phone Charging port Replacement, Opening cover: 4 단계, 이미지 3개 중 2개 Motorola Hyper Android Phone Charging port Replacement, Opening cover: 4 단계, 이미지 3개 중 3개
    • Open case from the on button side face down. You will need a T4 bit driver.

  5. Motorola Hyper Android Phone Charging port Replacement, Remove  screws for vent: 5 단계, 이미지 3개 중 1개 Motorola Hyper Android Phone Charging port Replacement, Remove  screws for vent: 5 단계, 이미지 3개 중 2개 Motorola Hyper Android Phone Charging port Replacement, Remove  screws for vent: 5 단계, 이미지 3개 중 3개
    • Remove 6 T4 screws. Remove mini fan vent.

  6. Motorola Hyper Android Phone Charging port Replacement, Remove charging wires: 6 단계, 이미지 3개 중 1개 Motorola Hyper Android Phone Charging port Replacement, Remove charging wires: 6 단계, 이미지 3개 중 2개 Motorola Hyper Android Phone Charging port Replacement, Remove charging wires: 6 단계, 이미지 3개 중 3개
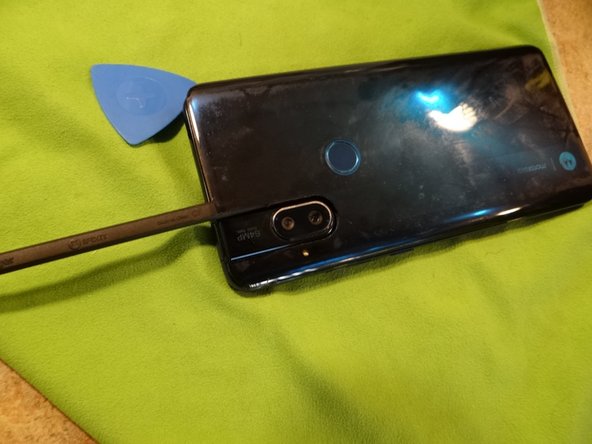
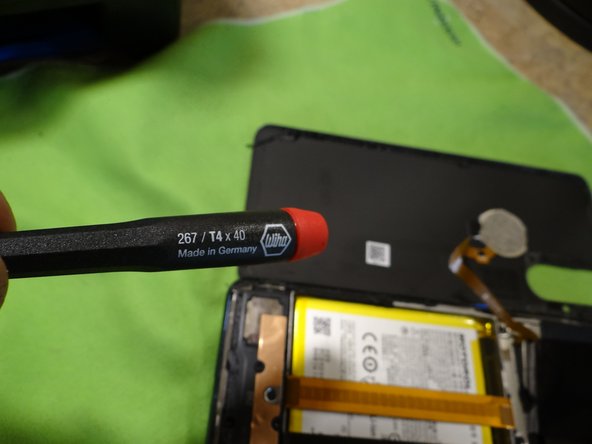
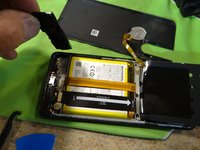
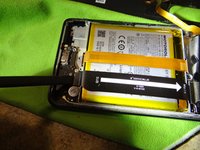
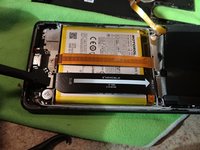
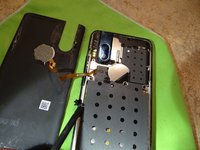
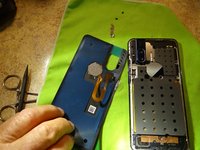
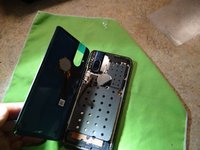
    • Pry off the black and white wires with a pry tool. Remove Philips screw.

  7. Motorola Hyper Android Phone Charging port Replacement, Remove charge port: 7 단계, 이미지 3개 중 1개 Motorola Hyper Android Phone Charging port Replacement, Remove charge port: 7 단계, 이미지 3개 중 2개 Motorola Hyper Android Phone Charging port Replacement, Remove charge port: 7 단계, 이미지 3개 중 3개
    • Remove and replace the charge port with new one.

  8. Motorola Hyper Android Phone Charging port Replacement, Assembly: 8 단계, 이미지 3개 중 1개 Motorola Hyper Android Phone Charging port Replacement, Assembly: 8 단계, 이미지 3개 중 2개 Motorola Hyper Android Phone Charging port Replacement, Assembly: 8 단계, 이미지 3개 중 3개
    • Install items in reverse order

  9. Motorola Hyper Android Phone Charging port Replacement, Remove old gasket material: 9 단계, 이미지 3개 중 1개 Motorola Hyper Android Phone Charging port Replacement, Remove old gasket material: 9 단계, 이미지 3개 중 2개 Motorola Hyper Android Phone Charging port Replacement, Remove old gasket material: 9 단계, 이미지 3개 중 3개
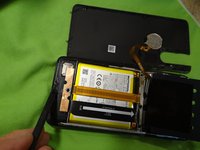
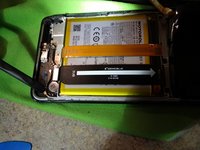
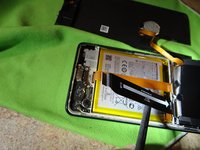
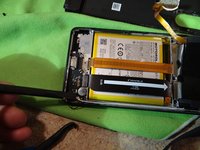
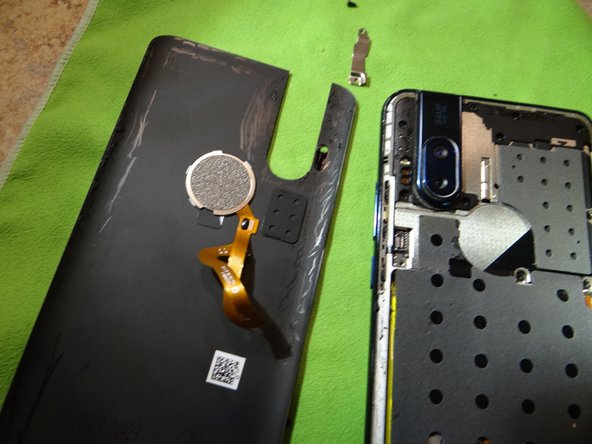
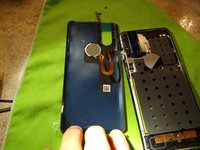
    • Clean all the gasket off.

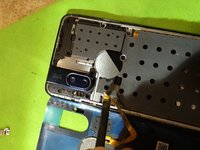
    • There is only room for one layer, for a smooth cover fit.

  10. Motorola Hyper Android Phone Charging port Replacement, Remove finger print reader cable: 10 단계, 이미지 3개 중 1개 Motorola Hyper Android Phone Charging port Replacement, Remove finger print reader cable: 10 단계, 이미지 3개 중 2개 Motorola Hyper Android Phone Charging port Replacement, Remove finger print reader cable: 10 단계, 이미지 3개 중 3개
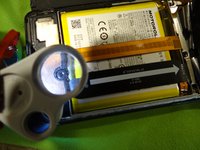
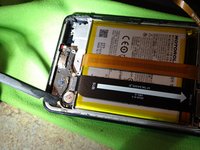
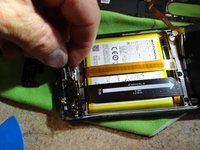
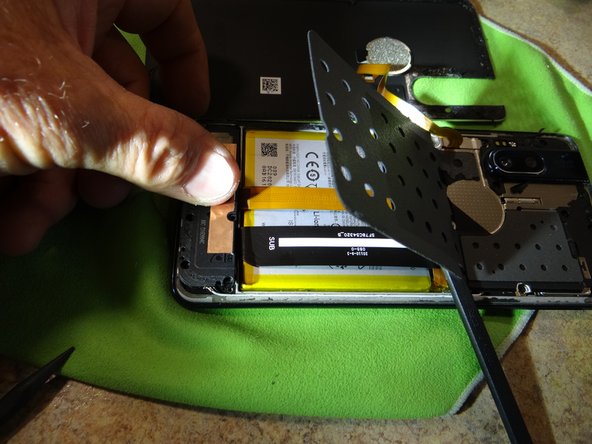
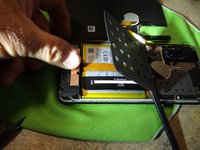
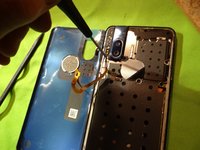
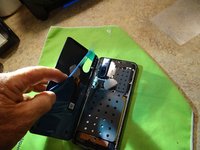
    • Remove finger print reader cable to install new cover gasket. surface must be clean so the cover sits tight with no gaps.
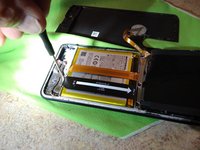
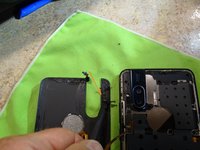
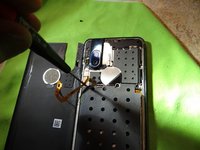
  11. Motorola Hyper Android Phone Charging port Replacement, Install gasket: 11 단계, 이미지 3개 중 1개 Motorola Hyper Android Phone Charging port Replacement, Install gasket: 11 단계, 이미지 3개 중 2개 Motorola Hyper Android Phone Charging port Replacement, Install gasket: 11 단계, 이미지 3개 중 3개
    • Make sure the gasket is firmly in place.

  12. Motorola Hyper Android Phone Charging port Replacement, Replace FPR cable: 12 단계, 이미지 3개 중 1개 Motorola Hyper Android Phone Charging port Replacement, Replace FPR cable: 12 단계, 이미지 3개 중 2개 Motorola Hyper Android Phone Charging port Replacement, Replace FPR cable: 12 단계, 이미지 3개 중 3개
    • Install FPR cable.

    • Install the keep.

    • Put tape on the cover to align the edges.

  13. Motorola Hyper Android Phone Charging port Replacement, Finish installing cover: 13 단계, 이미지 3개 중 1개 Motorola Hyper Android Phone Charging port Replacement, Finish installing cover: 13 단계, 이미지 3개 중 2개 Motorola Hyper Android Phone Charging port Replacement, Finish installing cover: 13 단계, 이미지 3개 중 3개
    • Tape helps align cover for a smooth install.

    • Press the cover on to seal.

결론

To reassemble your device, follow these instructions in reverse order.

다른 2명이 해당 안내서를 완성하였습니다.

작성자

1다른 기여자 명과 함께

wes zab

회원 가입일: 06/20/22

247 평판

안내서 1개를 작성함

댓글 0개

댓글 쓰기

조회 통계:

지난 24시간: 2

지난 7일: 16

지난 30일: 56

전체 시간: 393