주요 콘텐츠로 건너뛰기

Motorola Moto E4 Plus Charging Port Replacement

보관된 가이드
해당 안내서는 단지 역사적인 목적으로 보관됩니다. 최신 버전 안내서를 사용하여 수리 하십시오.

필요한 것

  1. Motorola Moto E4 Plus Charging Port Replacement, Back Plate and Battery: 1 단계, 이미지 1/2 Motorola Moto E4 Plus Charging Port Replacement, Back Plate and Battery: 1 단계, 이미지 2/2
    • Insert the spudger into the notch on the corner of the phone and lift up to remove the back case.

  2. Motorola Moto E4 Plus Charging Port Replacement: 2 단계, 이미지 1/1
    • Use the T4 Torx Screwdriver to remove the 17 3.2 mm screws in the back panel covering the battery.

  3. Motorola Moto E4 Plus Charging Port Replacement: 3 단계, 이미지 1/3 Motorola Moto E4 Plus Charging Port Replacement: 3 단계, 이미지 2/3 Motorola Moto E4 Plus Charging Port Replacement: 3 단계, 이미지 3/3
    • Lift up and remove the back panel.

  4. Motorola Moto E4 Plus Charging Port Replacement: 4 단계, 이미지 1/2 Motorola Moto E4 Plus Charging Port Replacement: 4 단계, 이미지 2/2
    • After removing the back panel, use the spudger to lift and detach the Battery Flux Cable from the Motherboard.

  5. Motorola Moto E4 Plus Charging Port Replacement: 5 단계, 이미지 1/3 Motorola Moto E4 Plus Charging Port Replacement: 5 단계, 이미지 2/3 Motorola Moto E4 Plus Charging Port Replacement: 5 단계, 이미지 3/3
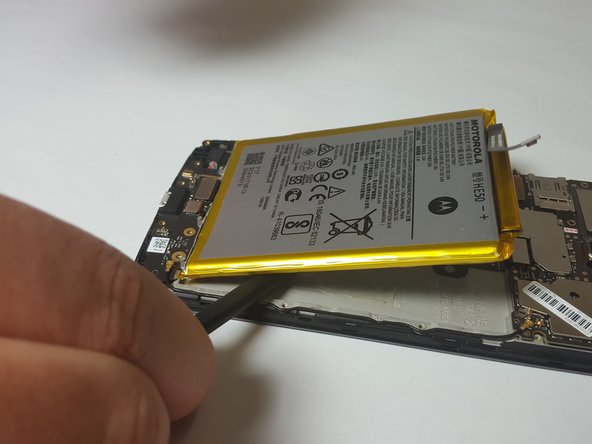
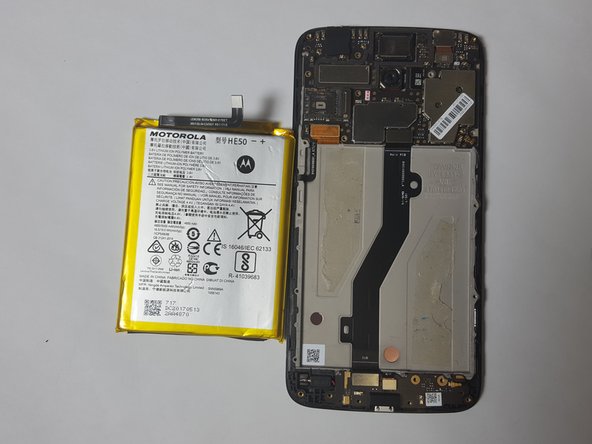
    • Wedge the spudger between the battery and the phone to lift the battery up and remove the battery. There will be slight resistance to this but the battery will not be damaged by this. It is just the adhesive tape.

  6. Motorola Moto E4 Plus Charging Port Replacement, Charging Port: 6 단계, 이미지 1/2 Motorola Moto E4 Plus Charging Port Replacement, Charging Port: 6 단계, 이미지 2/2
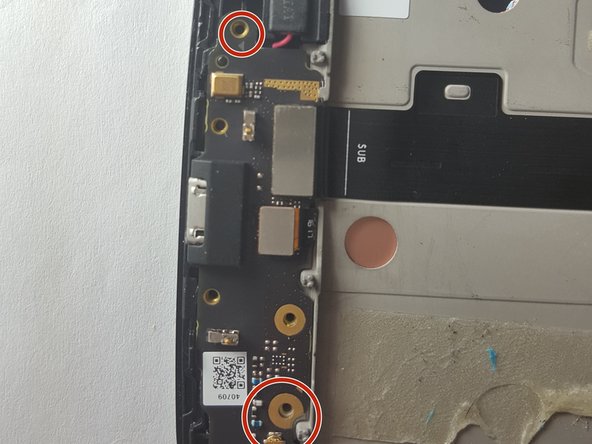
    • Use the T4 Torx Screwdriver to remove the two 3.2 mm screws circled.

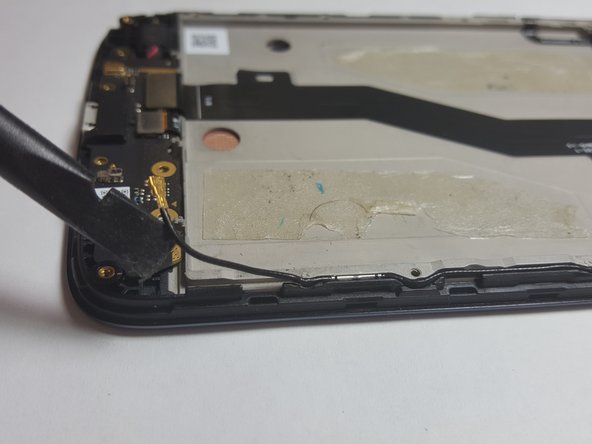
  7. Motorola Moto E4 Plus Charging Port Replacement: 7 단계, 이미지 1/3 Motorola Moto E4 Plus Charging Port Replacement: 7 단계, 이미지 2/3 Motorola Moto E4 Plus Charging Port Replacement: 7 단계, 이미지 3/3
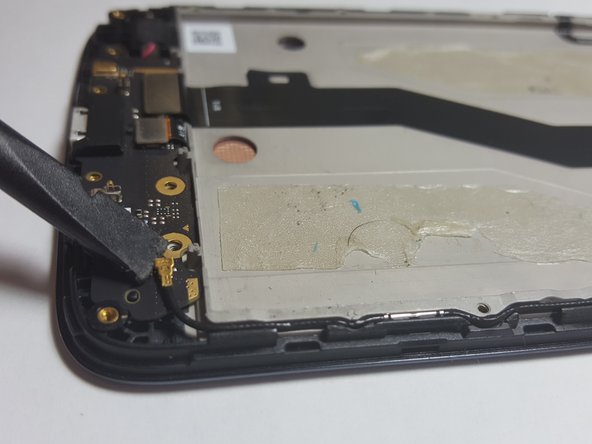
    • Use the Spudger to lift up and remove the Signal Flux Cable, circled in picture, from the Cable Port. The Signal Flux Cable should still be connected to the side of the phone, but detached from the charging port.

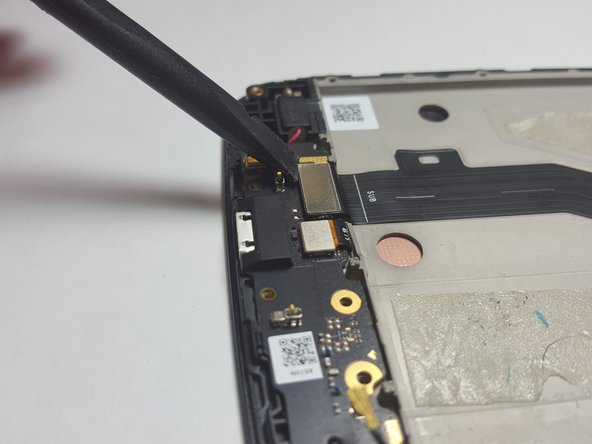
  8. Motorola Moto E4 Plus Charging Port Replacement: 8 단계, 이미지 1/3 Motorola Moto E4 Plus Charging Port Replacement: 8 단계, 이미지 2/3 Motorola Moto E4 Plus Charging Port Replacement: 8 단계, 이미지 3/3
    • Use the Spudger to lift up and detach the Main Flex Cable from the Cable Port.

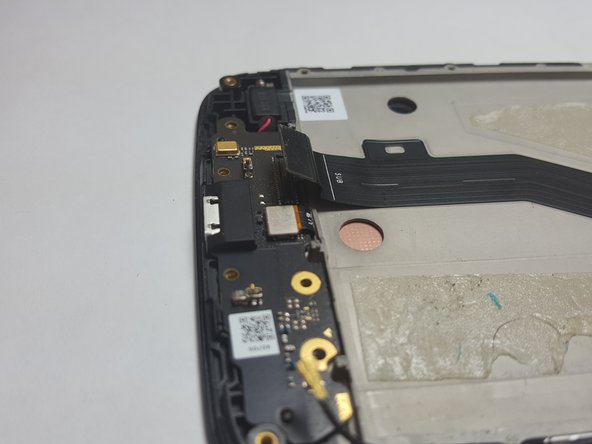
  9. Motorola Moto E4 Plus Charging Port Replacement: 9 단계, 이미지 1/3 Motorola Moto E4 Plus Charging Port Replacement: 9 단계, 이미지 2/3 Motorola Moto E4 Plus Charging Port Replacement: 9 단계, 이미지 3/3
    • Use the Spudger to lift up and detach the Fingerprint Scanner Flux Cable from the Cable Port.

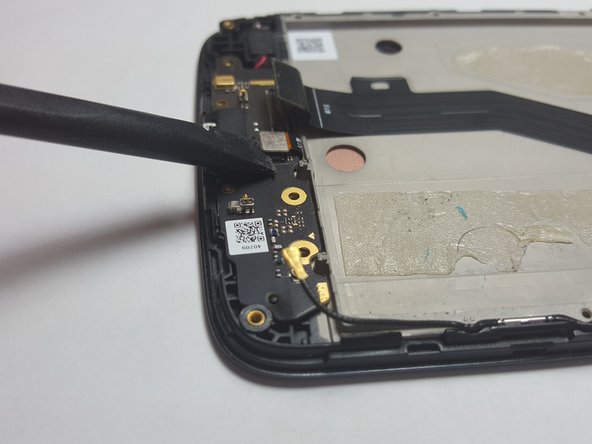
  10. Motorola Moto E4 Plus Charging Port Replacement: 10 단계, 이미지 1/2 Motorola Moto E4 Plus Charging Port Replacement: 10 단계, 이미지 2/2
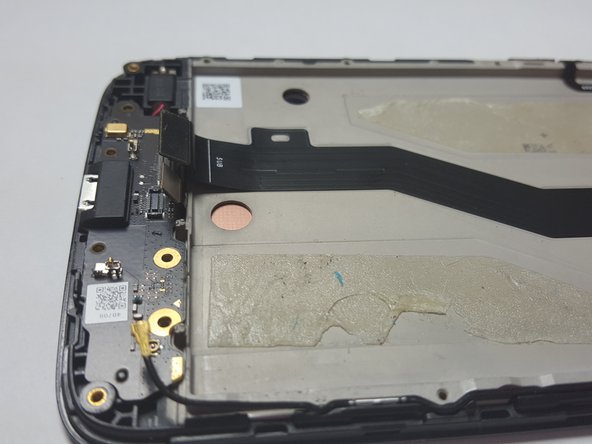
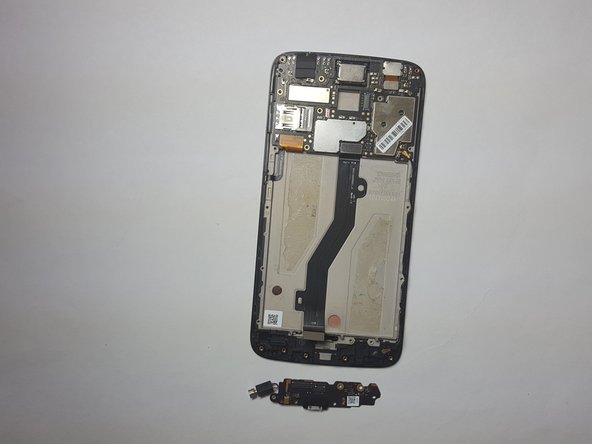
    • Use the Spudger to lift up and remove the Charging Port from the phone. The black box connected to the charging port will lift up with it. Remove the whole piece.

결론

To reassemble your device, follow these instructions in reverse order.

다른 6명이 해당 안내서를 완성하였습니다.

Jack Haseman

회원 가입일: 03/19/18

1,396 평판

안내서 6개 작성하였습니다

Baylor, Team S3-G2, Williams Spring 2018 Baylor, Team S3-G2, Williams Spring 2018 회원

BU-WILLIAMS-S18S3G2

4 회원들

안내서 13개 작성하였습니다

댓글 0개

댓글 쓰기

조회 통계:

24 시간 전: 2

7일 전: 7

30일 전: 11

전체 시간: 6,280