소개
Sometimes, the back speaker on your Moto G quits working. This guide will show you how to easily remove the back speaker.
필요한 것
-
-
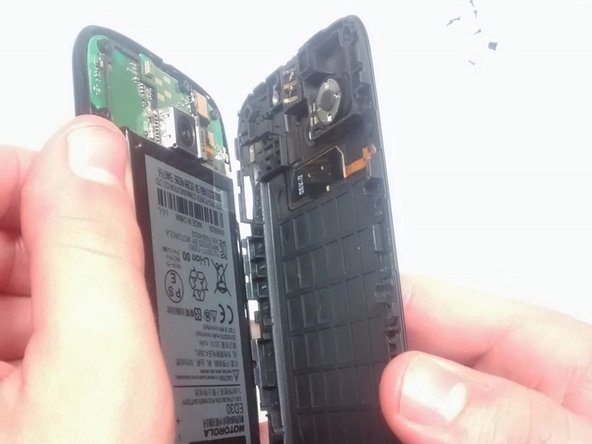
You can remove the outer cover on the back of the phone by using a plastic opening tool. After removal the inner back cover will be exposed as shown.
-
This part is moderately difficult, especially if you've never taken the outer back cover off before this point.
-
It may take you several tries, but please be patient. The cover is surprisingly flexible, but not enough to withstand a lot of pressure.
-
-
-
Shut down the phone.
-
Push SIM card until it pops out.
-
Remove SIM card.
-
Be careful as to not damage the microSD memory card. Unlike the SIM card, pushing this in may not spring release, as there may not be an eject mechanism.
-
If there is no spring release eject mechanism, hopefully your microSD card has a ridge/raised edge that you can push on with your fingernail or plastic/rubber tool to push the card out. This may be difficult - be patient and do not use excessive force/sharp tools that could cause permanent damage and permanent loss of data.
-
-
-
Using a T5 Torx screwdriver head, take out the 14 screws (3.5 mm diameter and 5 mm long) that hold the back plate in place.
-
Make sure to keep all of the screws together, as they are very easily lost.
-
The magnetic project mat or a container is a great way to keep all the little metal screws as well as other small metal pieces from being lost.
-
-
-
-
Use the plastic opening tool to take out the inner back cover after all the screws have been removed.
-
This will expose the motherboard and the attached battery.
-
Take note that once the inner back cover is removed the volume and power buttons on the side can easily fall out or be removed.
-
-
-
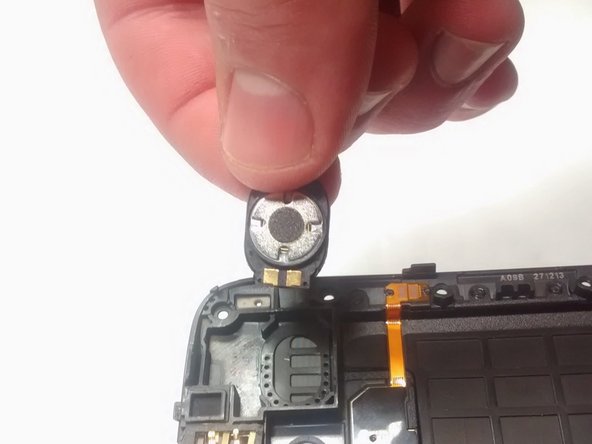
The back speaker will be located on the back plate. It is easily identified by a silver disc with a felt black middle. See it located in the yellow and red circle.
-
Looking at the back plate, it will be on the right.
-
-
-
For this procedure it is recommended to use the black plastic pick called a spudger shown in picture.
-
Using flat end, approach the speaker from top direction of case. Carefully and firmly wedge the flat end of spudger between where the speaker meets the case.
-
Gently push the speaker up. It may have some adhesive on the bottom to keep it in place, so some resistance is common.
-
If you find that the speaker is not coming up this is due to the adhesive. It may require multiple attempts, just take your time and stick with it. The area shown in the picture is what we found to be the easiest separation point.
-
-
-
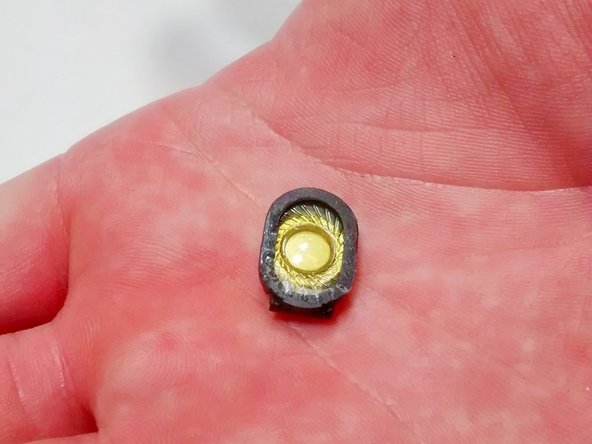
This is the speaker after removal.
-
To replace, line the new speaker up in the space the old one occupied. Gently press until the speaker fits snugly.
-


To reassemble your device, follow these instructions in reverse order.
To reassemble your device, follow these instructions in reverse order.
다른 13명이 해당 안내서를 완성하였습니다.
팀

USF Tampa, Team 1-6, Brown Fall 2014 USF Tampa, Team 1-6, Brown Fall 2014 회원
USFT-BROWN-F14S1G6
4 회원들
안내서 17개 작성하였습니다