이 안내서에는 최근 변경 사항이 더 있습니다. 최신 비검증 버전으로 전환하십시오.
필요한 것
-
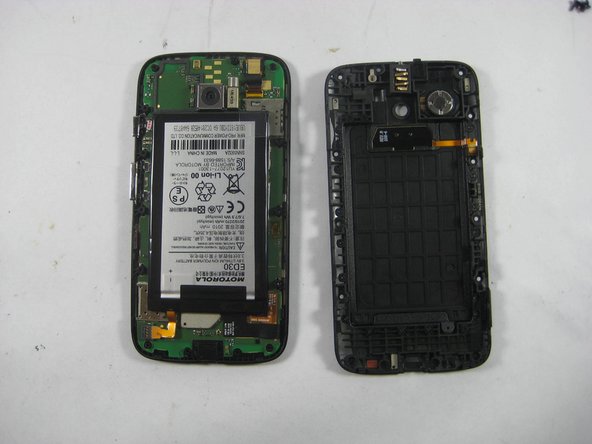
1 단계 Rear Panel
주의: 1-3 단계들은 진행 중으로 표시된 안내서에서 제공되었습니다.
-
Take the plastic back cover off by either using a plastic Pry tool or simply using your hands. Start from the bottom by the charging port
-
-
-
Unscrew the 3.5mm screws, total of 14, located on the back protective cover by using a T5 Torx screwdriver.
-
-
-
-
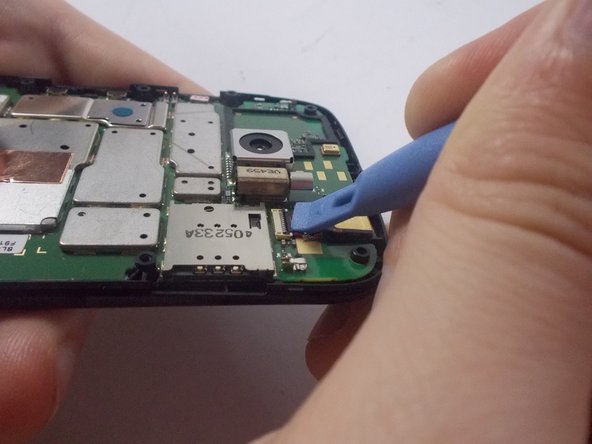
Use the Pry tool to disconnect the Front Camera, found in the upper right corner, from the motherboard.
-
-
-
Remove the camera from the phone by using the tweezers.
-
To reassemble, follow the steps in reverse.
-


To reassemble your device, follow these instructions in reverse order.
To reassemble your device, follow these instructions in reverse order.
다른 4명이 해당 안내서를 완성하였습니다.
팀

UMass Dartmouth, Team 5-7, Vijaybhaskar Fall 2014 UMass Dartmouth, Team 5-7, Vijaybhaskar Fall 2014 회원
UMASSD-VIJAYBHASKAR-F14S5G7
3 회원들
안내서 8개 작성하였습니다