주요 콘텐츠로 건너뛰기

이 버전에는 잘못된 편집 사항이 있을 수 있습니다. 최신 확인된 스냅샷으로 전환하십시오.

필요한 것

  1. 이 단계는 번역되지 않았습니다. 번역을 도와주십시오

    : 1 단계, 이미지 1/1
    • Use the Push Pin to remove the rubber screw covers by pushing the needle into the rubber and pulling up.

    • Be careful not to poke yourself when handling the push pin because it is very sharp.

  2. 이 단계는 번역되지 않았습니다. 번역을 도와주십시오

    : 2 단계, 이미지 1/1
    • Use the T6 screwdriver to remove the four screws holding the casing together.

    • Note: they are in the same place where you removed the four rubber coverings

  3. 이 단계는 번역되지 않았습니다. 번역을 도와주십시오

    : 3 단계, 이미지 1/2 : 3 단계, 이미지 2/2
    • Wedge the plastic opening tool in between the top and bottom cases. This may require a little or a lot of force so be careful.

    • Note: the phone should be face up and the plastic opening tool should be face downwards

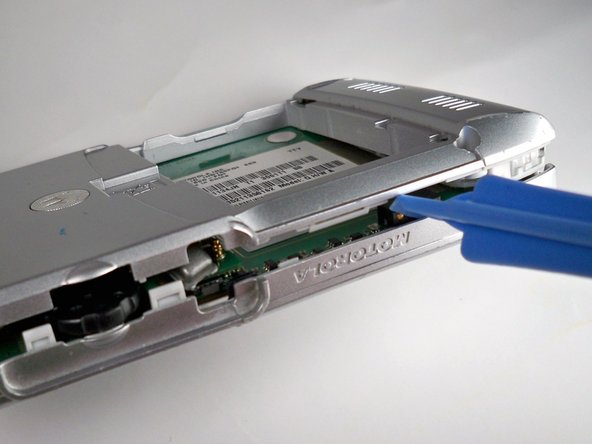
    • Once you get the plastic opening tool in, slide it across the side of the phone, making sure to keep the plastic opening tool wedged in between the two casings.

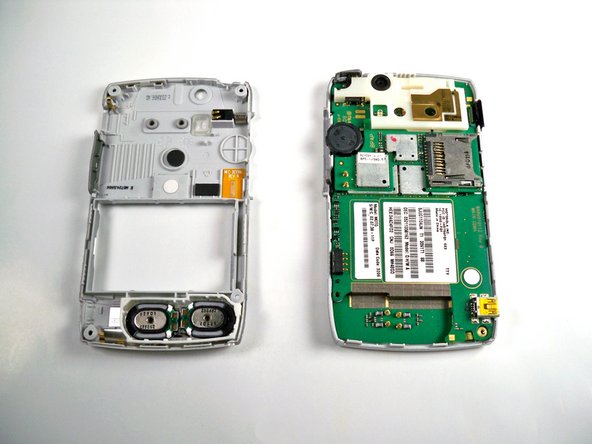
    • Repeat the 3 steps above for the top, bottom, and opposite side.

  4. 이 단계는 번역되지 않았습니다. 번역을 도와주십시오

    : 4 단계, 이미지 1/2 : 4 단계, 이미지 2/2
    • Gently lift and remove the back casing.

결승점

Luis Herrera

회원 가입일: 01/21/10

52 평판

안내서 4개 작성하였습니다

Cal Poly, Team 16-33, Maness Winter 2010 Cal Poly, Team 16-33, Maness Winter 2010 회원

CPSU-MANESS-W10S16G33

4 회원들

안내서 10개 작성하였습니다

댓글 0개

댓글 쓰기

조회 통계:

24 시간 전: 1

7일 전: 8

30일 전: 13

전체 시간: 5,155