이 버전에는 잘못된 편집 사항이 있을 수 있습니다. 최신 확인된 스냅샷으로 전환하십시오.
필요한 것
-
이 단계는 번역되지 않았습니다. 번역을 도와주십시오
-
Remove the five 3 mm T3 Torx screws from the headphone jack/speaker assembly.
-
-
이 단계는 번역되지 않았습니다. 번역을 도와주십시오
-
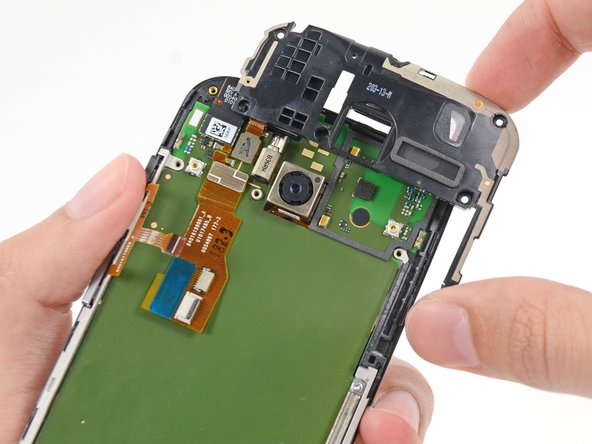
Insert a spudger under the panhandle of the headphone jack/speaker assembly and pry it up from its recess.
-
Remove the headphone jack/speaker assembly.
-
-
이 단계는 번역되지 않았습니다. 번역을 도와주십시오
-
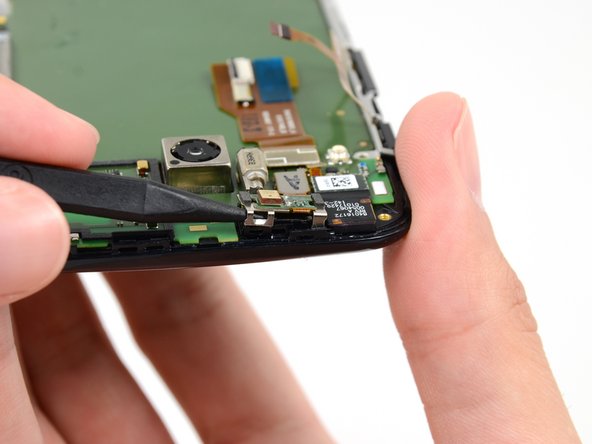
Push the tip of a spudger under the microphone assembly clip to free it from the earpiece speaker.
-
-
이 단계는 번역되지 않았습니다. 번역을 도와주십시오
-
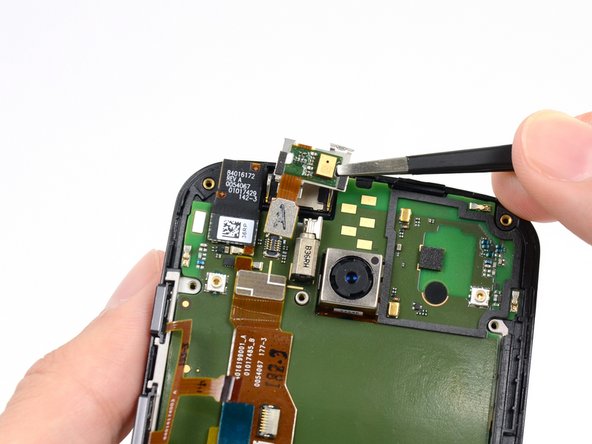
Use the flat end of a spudger to free the microphone assembly cable connector.
-
Use tweezers to remove the microphone assembly.
-
-
-
이 단계는 번역되지 않았습니다. 번역을 도와주십시오
-
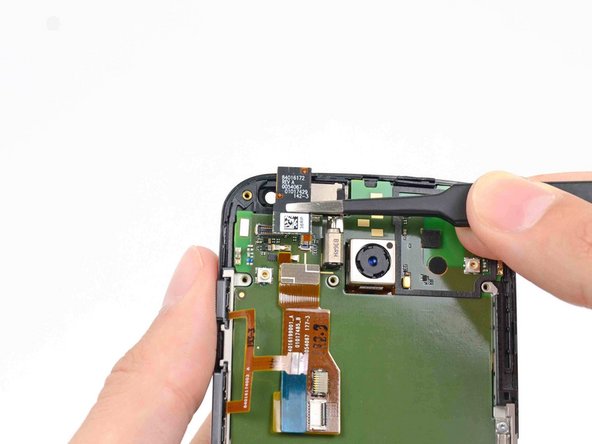
Disconnect the front-facing camera cable connector.
-
Remove the front-facing camera from its recess with a pair of tweezers.
-
-
이 단계는 번역되지 않았습니다. 번역을 도와주십시오
-
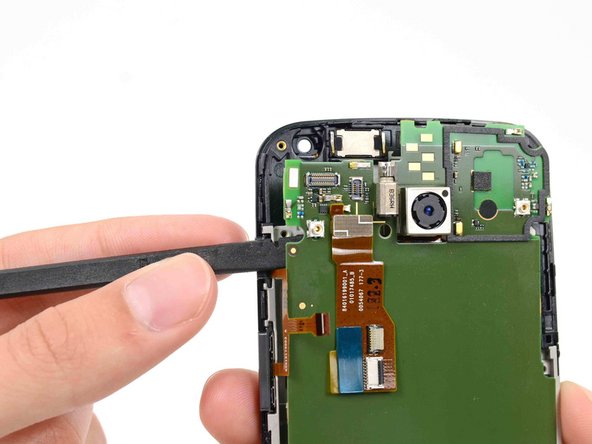
Insert the flat end of a spudger under the motherboard above the button assembly cable, and pry it out of the phone.
-
-
이 단계는 번역되지 않았습니다. 번역을 도와주십시오
-
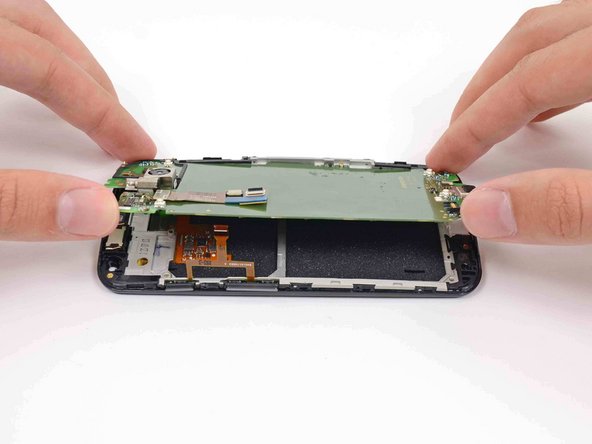
Gently lift the motherboard out of the phone, rotating it from the SIM slot edge of the phone.
-
-
이 단계는 번역되지 않았습니다. 번역을 도와주십시오
-
Use the flat end of a spudger to flip the retaining tab on the display cable ZIF connector.
-
Carefully pull the display cable out of its connector as you remove the motherboard from the display assembly.
-