이 안내서에는 최근 변경 사항이 더 있습니다. 최신 비검증 버전으로 전환하십시오.
소개
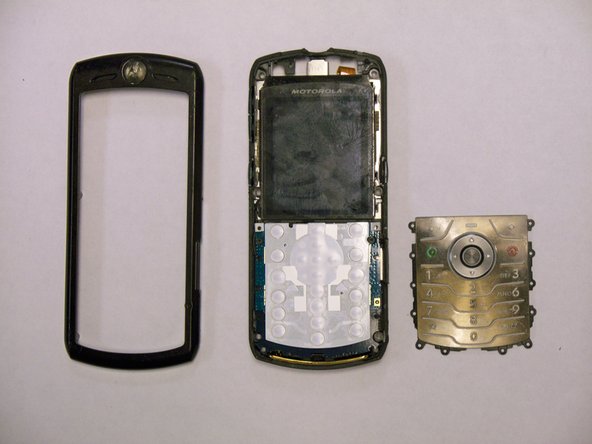
Use this guide to replace the keypad.
필요한 것
-
-
-
Starting at one side, use a spudger to lift and remove the black plastic screw cover at the bottom of the phone near the speaker
-
The cover is attached by several clips, so some force may be required, especially to unclip the first clip.
-
Be careful not to loose the round plastic piece that covers the microphone.
-
-
-
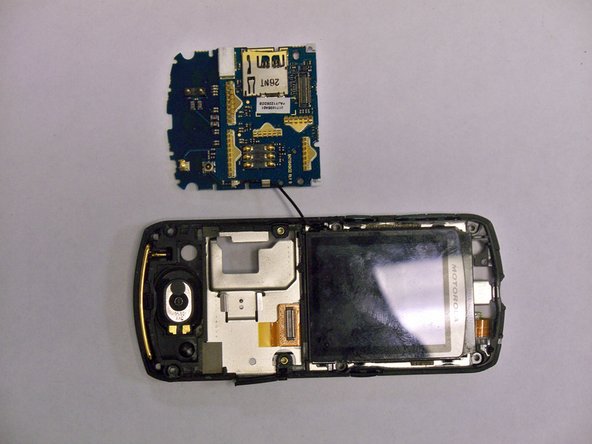
Starting at the top, insert the flat end of a spudger and pry the frame of the phone.
-
The frame is attached by several clips, so some force may be required to dislodge the first clip.
-
Work your tool around the entire edge of the phone, moving as soon as you hear a clip come undone, to avoid breaking the frame.
-


To reassemble your device, follow these instructions in reverse order.
To reassemble your device, follow these instructions in reverse order.
다른 2명이 해당 안내서를 완성하였습니다.
팀

CSU Los Angeles, Team 1-1, Nelson Spring 2011 CSU Los Angeles, Team 1-1, Nelson Spring 2011 회원
CSULA-NELSON-S11S1G1
2 회원들
안내서 4개 작성하였습니다