이 버전에는 잘못된 편집 사항이 있을 수 있습니다. 최신 확인된 스냅샷으로 전환하십시오.
필요한 것
-
이 단계는 번역되지 않았습니다. 번역을 도와주십시오
-
Remove the back battery cover by pressing the tab to the left, and lifting.
-
-
이 단계는 번역되지 않았습니다. 번역을 도와주십시오
-
Remove the batteries currently in the radio.
-
The orientation of the batteries is specified in the battery compartment.
-
-
이 단계는 번역되지 않았습니다. 번역을 도와주십시오
-
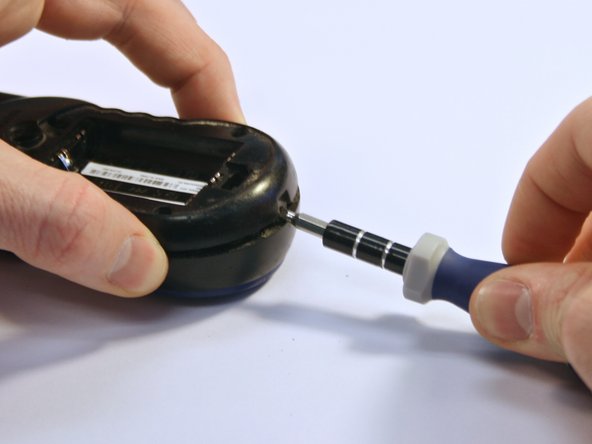
Firmly grasp and pull back on the volume knob. The knob should come off smoothly.
-
-
-
이 단계는 번역되지 않았습니다. 번역을 도와주십시오
-
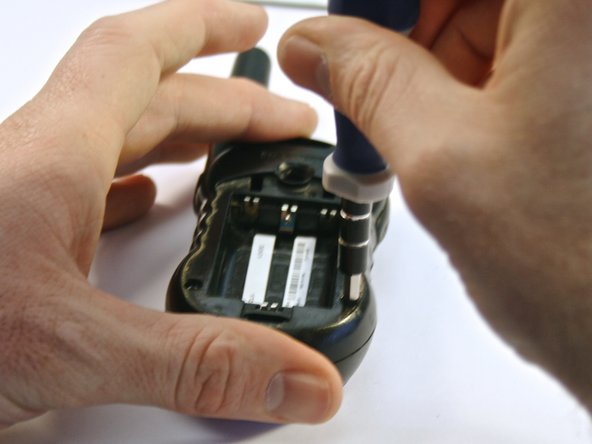
Remove the four 3 millimeter T6 Torx screws from the front of the radio.
-
-
이 단계는 번역되지 않았습니다. 번역을 도와주십시오
-
Remove the four 3 millimeter T8 Torx screws from the back of the radio.
-
-
이 단계는 번역되지 않았습니다. 번역을 도와주십시오
-
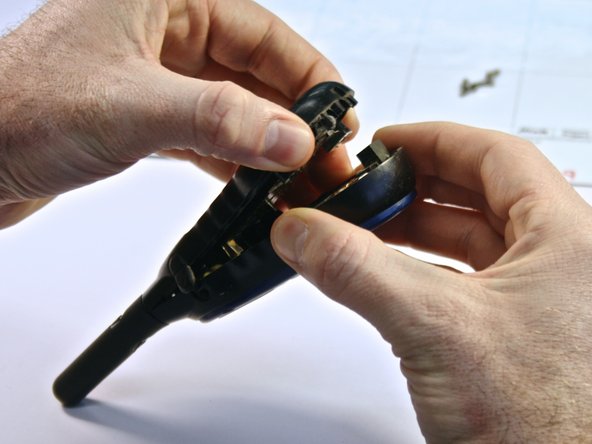
Gently open the backplate of the radio. Use a flathead screwdriver to slowly pry apart the two sides.
-
-
이 단계는 번역되지 않았습니다. 번역을 도와주십시오
-
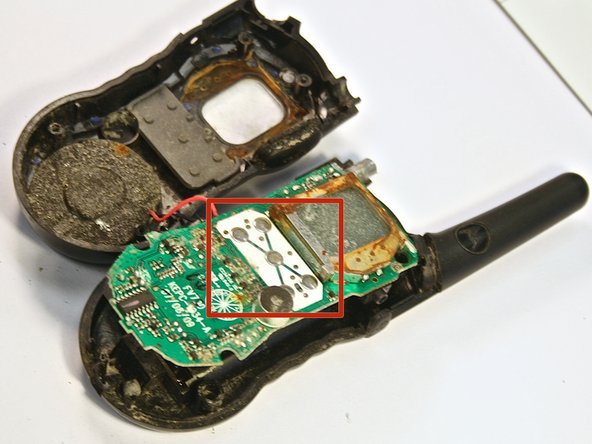
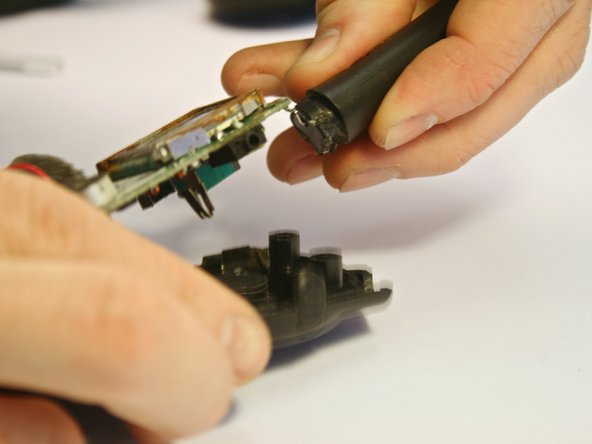
Now the circuit board can be removed from the back faceplate.
-
To do this, grip the back faceplate in one hand and the antenna in the other. Pull and twist the antenna away from the back faceplate. The circuit board should be removed with the antenna, as they are attached.
-
-
이 단계는 번역되지 않았습니다. 번역을 도와주십시오
-
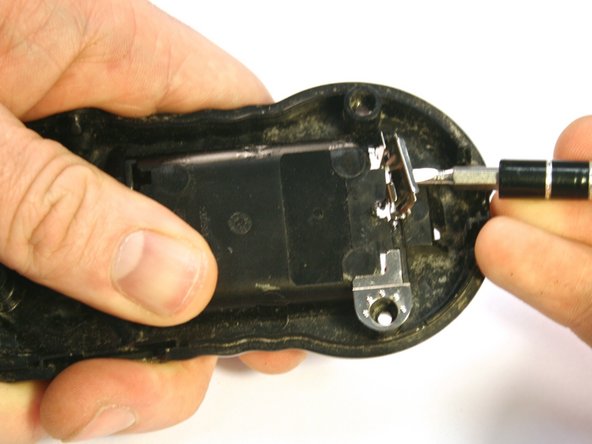
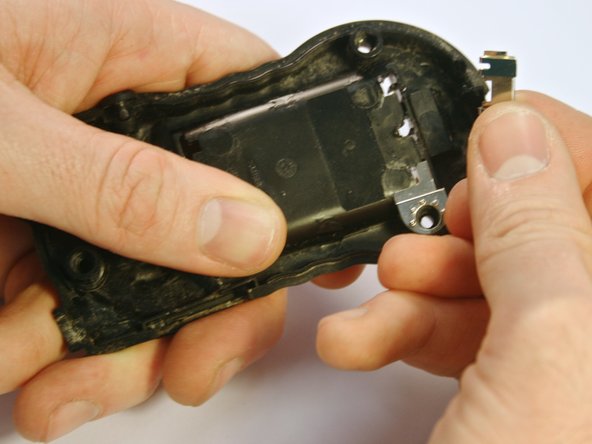
Once the circuit board is removed from the back plate of the radio, the battery terminals can be removed.
-
From the front side of the two-way radio, use the flathead screwdriver to pry the longer battery terminals up and out of the radio.
-
-
이 단계는 번역되지 않았습니다. 번역을 도와주십시오
-
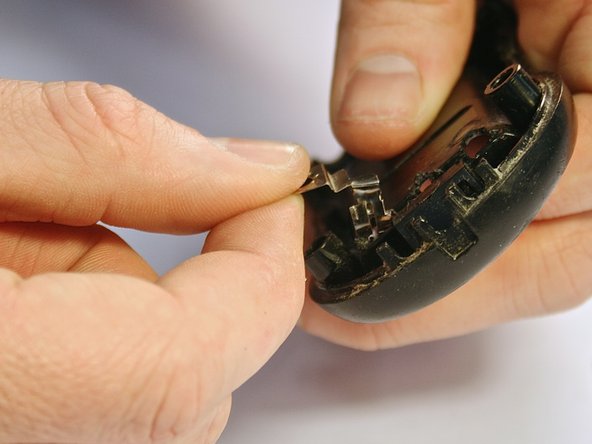
To remove the smaller batter terminals, you'll need to turn the radio back over to the back side.
-
Use the flathead screwdriver to push on the terminal.
-
Once the terminal is loose, you can turn the radio over and remove it with your hand.
-


다른 한 분이 해당 안내서를 완성하였습니다.

팀

Clemson, Team 6-4, Benson Spring 2014 Clemson, Team 6-4, Benson Spring 2014 회원
CLEM-BENSON-S14S6G4
3 회원들
안내서 7개 작성하였습니다