주요 콘텐츠로 건너뛰기

Motorola V190 Display Screen Replacement

필요한 것

  1. Motorola V190 Display Screen Replacement, Display Screen: 1 단계, 이미지 1/3 Motorola V190 Display Screen Replacement, Display Screen: 1 단계, 이미지 2/3 Motorola V190 Display Screen Replacement, Display Screen: 1 단계, 이미지 3/3
    • Remove the four 6.3mm TR6 Torx screws surrounding the screen.

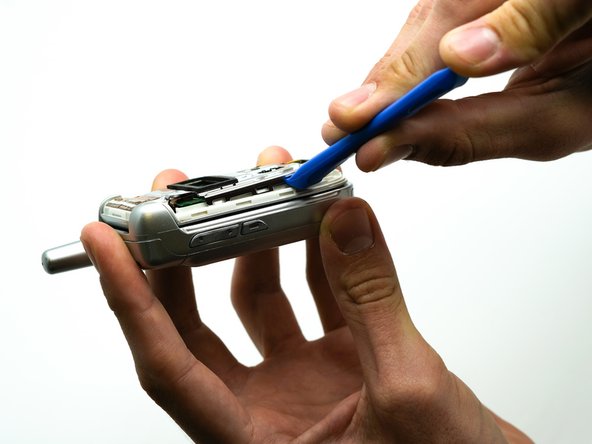
    • Use the iFixit opening tool to separate the casing.

    • To further separate the casing, start at the top of the screen, and run the opening tool along the edges.

    • Remove the face plate by pulling it from the top hinge.

  2. Motorola V190 Display Screen Replacement: 2 단계, 이미지 1/1
    • Use the soldering iron to separate the ribbon from the phone.

  3. Motorola V190 Display Screen Replacement: 3 단계, 이미지 1/1
    • Use the iFixit opening tool to remove the screen from the plastic casing .

  4. Motorola V190 Display Screen Replacement: 4 단계, 이미지 1/1
    • Use the precision tweezers set to remove the black rectangular piece from the phone casing.

  5. Motorola V190 Display Screen Replacement: 5 단계, 이미지 1/1
    • Use the precision tweezers set to remove the rectangular ribbon from the green display board.

  6. Motorola V190 Display Screen Replacement: 6 단계, 이미지 1/2 Motorola V190 Display Screen Replacement: 6 단계, 이미지 2/2
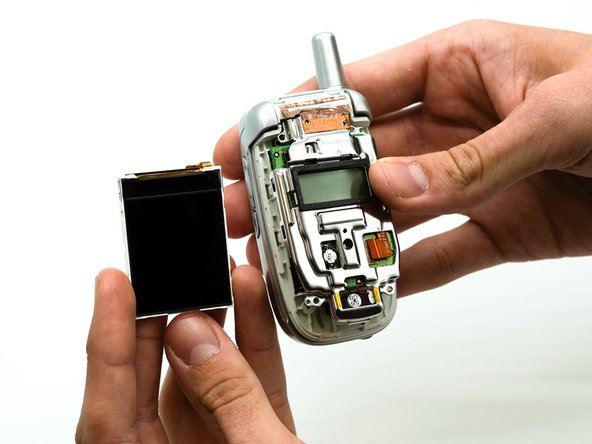
    • Remove the display screen from the phone.

결론

To reassemble your device, follow these instructions in reverse order.

Michael Pollock

회원 가입일: 08/28/19

545 평판

안내서 5개 작성하였습니다

댓글 0개

댓글 쓰기

조회 통계:

24 시간 전: 1

7일 전: 1

30일 전: 3

전체 시간: 200