주요 콘텐츠로 건너뛰기

Motorola Xoom 2 Battery Replacement

필요한 것

  1. Motorola Xoom 2 Battery Replacement, Backplate: 1 단계, 이미지 1/3 Motorola Xoom 2 Battery Replacement, Backplate: 1 단계, 이미지 2/3 Motorola Xoom 2 Battery Replacement, Backplate: 1 단계, 이미지 3/3
    • Pry off the silver top back cover (the panel around the camera) with iFixit opening picks or a similar implement.

  2. Motorola Xoom 2 Battery Replacement: 2 단계, 이미지 1/2 Motorola Xoom 2 Battery Replacement: 2 단계, 이미지 2/2
    • Using a T5 screwdriver, unscrew the four 1.5mm screws holding the main back cover. These screws are arranged in a line across the top of the back of the device.

  3. Motorola Xoom 2 Battery Replacement: 3 단계, 이미지 1/3 Motorola Xoom 2 Battery Replacement: 3 단계, 이미지 2/3 Motorola Xoom 2 Battery Replacement: 3 단계, 이미지 3/3
    • Turn the device over and using a pry tool and the opening picks, gently apply pressure between the outside edge of the seal marked with the arrow. Slowly move around the edges of the device, applying even pressure, and separate the back plate from the display.

    • There is adhesive between the back-plate and battery.

  4. Motorola Xoom 2 Battery Replacement: 4 단계, 이미지 1/1
    • Remove the back plate from your device.

  5. Motorola Xoom 2 Battery Replacement, Battery: 5 단계, 이미지 1/2 Motorola Xoom 2 Battery Replacement, Battery: 5 단계, 이미지 2/2
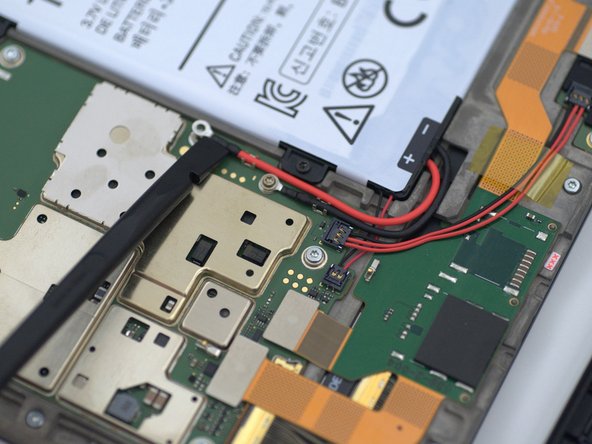
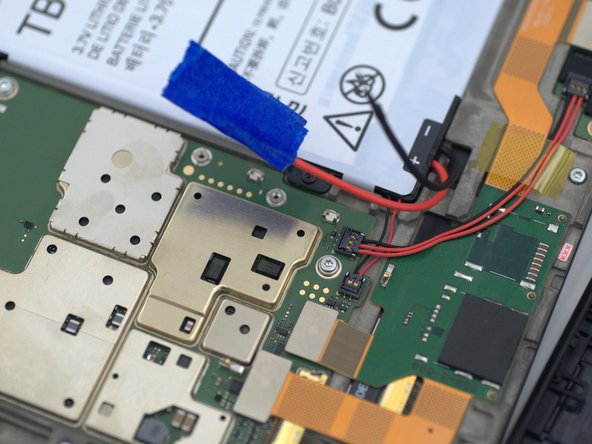
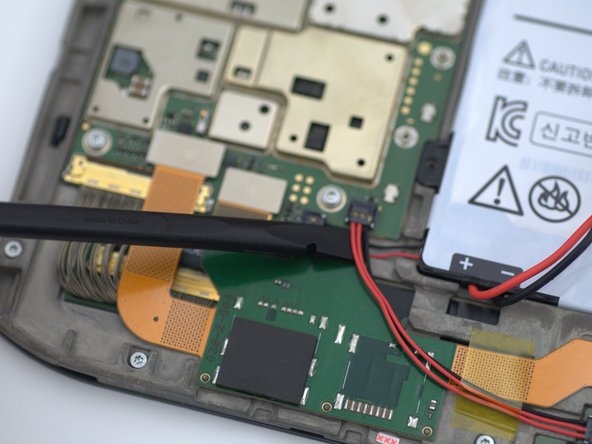
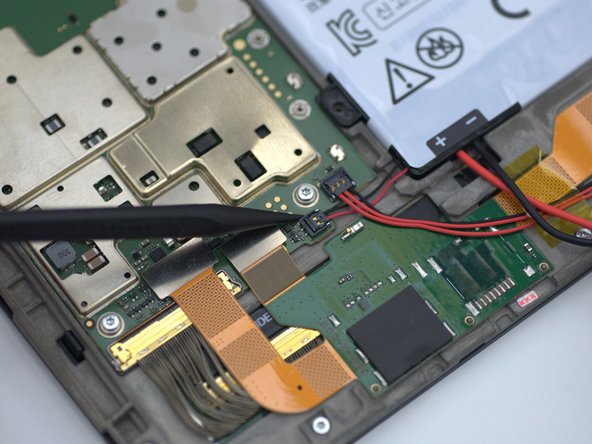
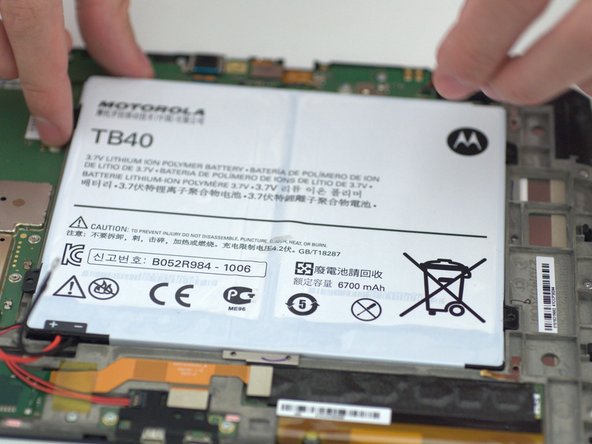
    • Using a Torx T5 screwdriver, remove the four 1.5mm screws holding down the battery around its perimeter.

  6. Motorola Xoom 2 Battery Replacement: 6 단계, 이미지 1/3 Motorola Xoom 2 Battery Replacement: 6 단계, 이미지 2/3 Motorola Xoom 2 Battery Replacement: 6 단계, 이미지 3/3
    • Using a Torx T5 screwdriver remove the two 1.5mm screws holding down the battery leads and carefully pry the battery leads loose from the cable clips with a spudger.

    • Following best safety practices, insulate the red positive lead by wrapping the connector with any form of non-conductive tape, such as masking tape or electrical tape.

  7. Motorola Xoom 2 Battery Replacement: 7 단계, 이미지 1/3 Motorola Xoom 2 Battery Replacement: 7 단계, 이미지 2/3 Motorola Xoom 2 Battery Replacement: 7 단계, 이미지 3/3
    • Lifting gently from the bottom with a spudger, first disconnect the three pin connector from the tablet.

    • After disconnecting the three pin connector, remove the two pin battery connector by lifting gently from the bottom with a spudger.

    • Be careful not to use too much force! The connectors used are made of soft plastic and can break easily.

  8. Motorola Xoom 2 Battery Replacement: 8 단계, 이미지 1/2 Motorola Xoom 2 Battery Replacement: 8 단계, 이미지 2/2
    • Using the opening picks, carefully lift the battery and remove it from the device.

결론

To reassemble your device, follow these instructions in reverse order.

다른 2명이 해당 안내서를 완성하였습니다.

Ryker Hull

회원 가입일: 09/18/19

383 평판

안내서 3개 작성하였습니다

댓글 한 개

Looks great, loving all the work you guys

Enrique Escobar - 답글

댓글 쓰기

조회 통계:

24 시간 전: 0

7일 전: 0

30일 전: 0

전체 시간: 505