소개
Common problems with the screen may include (and are not limited to): dead pixels, images not properly displaying, device isn’t turning on, nothing is showing on the display, etc. When your device isn’t properly displaying images or if there are ‘dead pixels’ in your device, your screen may need to be replaced.
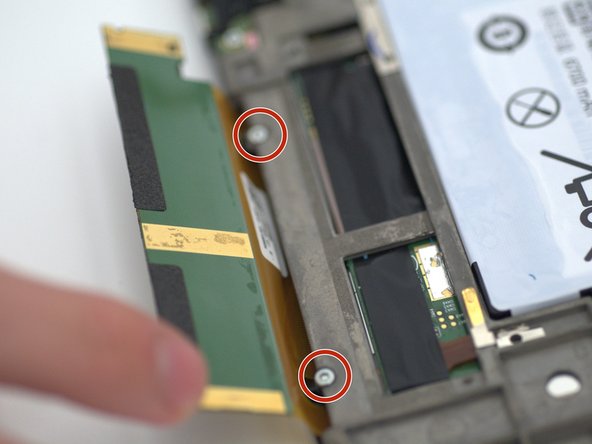
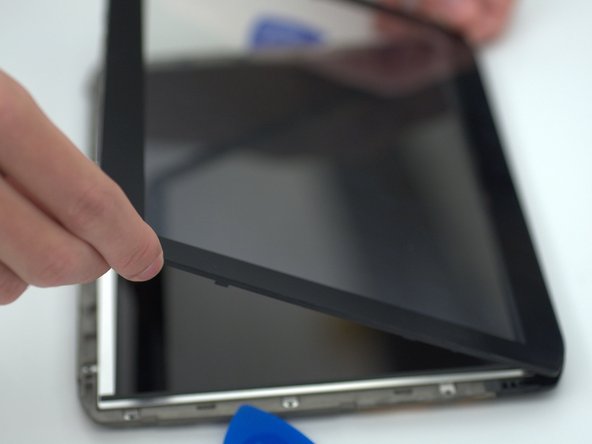
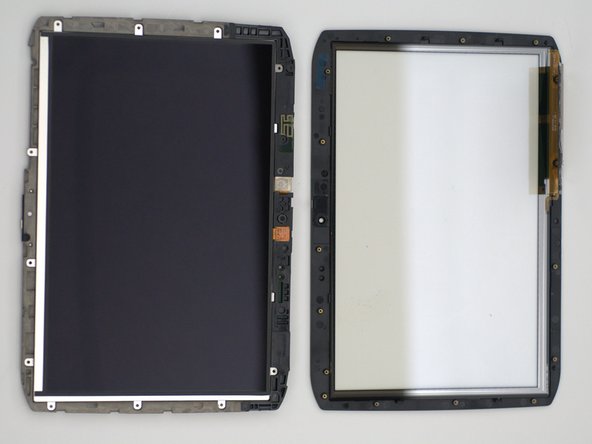
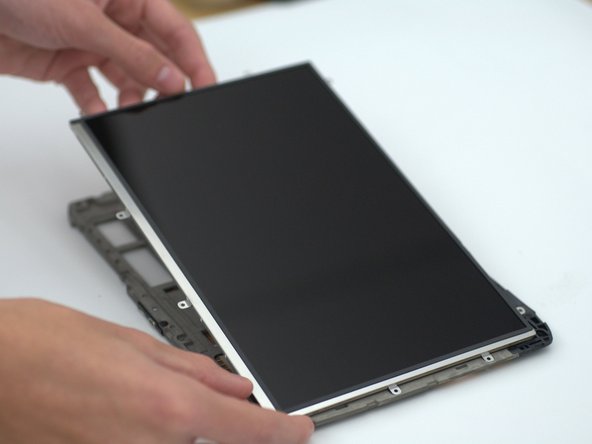
If your Motorola Xoom 2's (MZ615-16) screen is damaged and in need of a replacement this guide can help. Use caution when working on this part because the screen is very fragile.
필요한 것
-
-
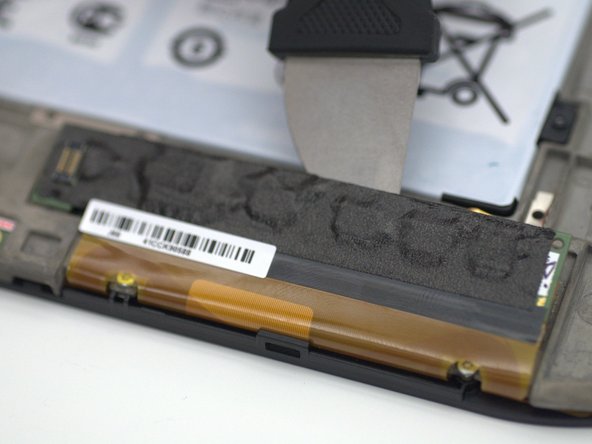
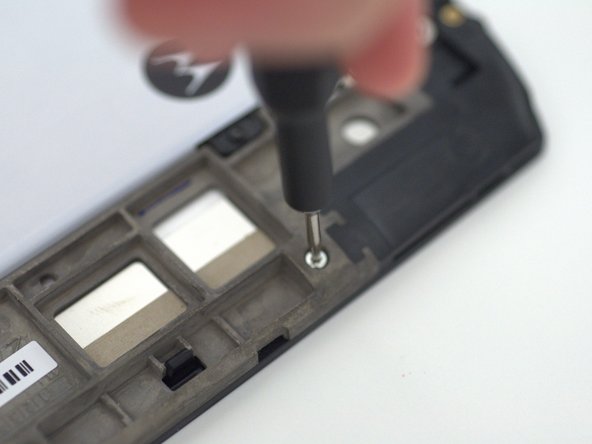
Pry off the silver top back cover (the panel around the camera) with iFixit opening picks or a similar implement.
-
-
-
-
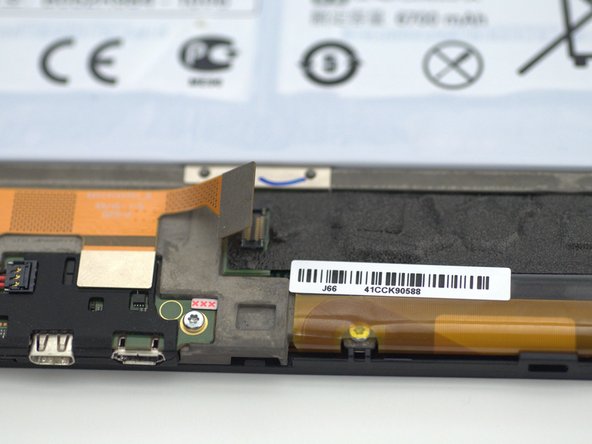
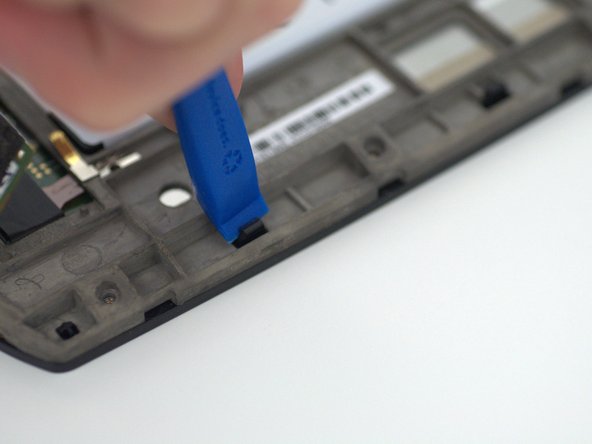
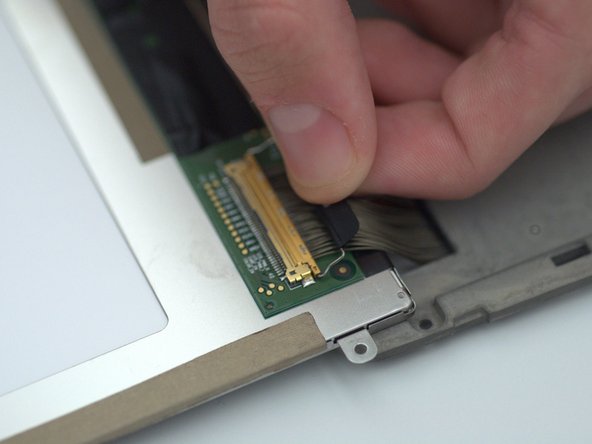
Using a pry tool, gently un-clip the orange ribbon cable attached to the left of the digitizer connector and fold the digitizer connector away from the device.
-


To reassemble your device, follow these instructions in reverse order.
To reassemble your device, follow these instructions in reverse order.
다른 한 분이 해당 안내서를 완성하였습니다.

팀

Embry-Riddle Aeronautical University, Team S13-G6, Lamothe Fall 2019 Embry-Riddle Aeronautical University, Team S13-G6, Lamothe Fall 2019 회원
ERAU-LAMOTHE-F19S13G6
4 회원들
안내서 7개 작성하였습니다