이 안내서에는 최근 변경 사항이 더 있습니다. 최신 비검증 버전으로 전환하십시오.
소개
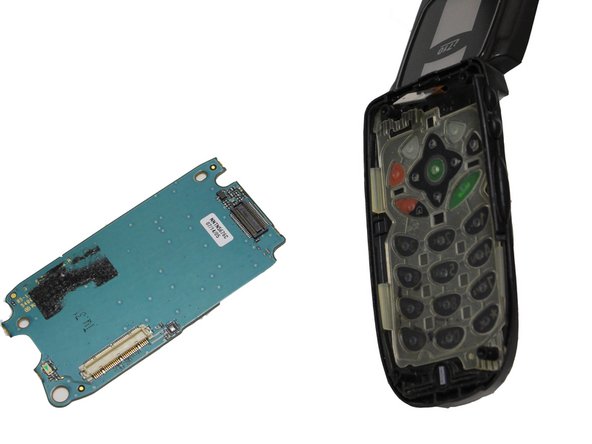
Once the back cover, battery, and motherboard have been removed, the keypad can accessed.
-
-
Slide the cover release button towards the bottom of the phone
-
Once the battery cover pops up, slide the cover towards the top of the phone and lift up.
-
-
-
-
Lift the motherboard away from the case of the phone, being careful not to break the wire that goes up into the hinge.
-
Peel the motherboard off of the keypad. The two pieces are glued together and separate without much effort.
-
The motherboard should now be completely disconnected from the phone.
-
-
-
Once the motherboard has been removed from the keypad, the keypad sensor can be detached from the phone at the hinge.
-
Gently pry off the cable connecting the keypad sensor. The keypad sensor should now be completely separated from the phone.
-


To reassemble your device, follow these instructions in reverse order.
To reassemble your device, follow these instructions in reverse order.
팀

Clemson, Team 14-2, Benson Fall 2012 Clemson, Team 14-2, Benson Fall 2012 회원
CLEM-BENSON-F12S14G2
4 회원들
안내서 17개 작성하였습니다