소개
Warning: This guide requires desoldering/soldering.
This guide will walk you through the steps to removing the Nabi 2 motherboard. A motherboard replacement may be necessary if you experience total device failure. Before beginning this guide we recommend you follow all of the listed prerequisite guides.
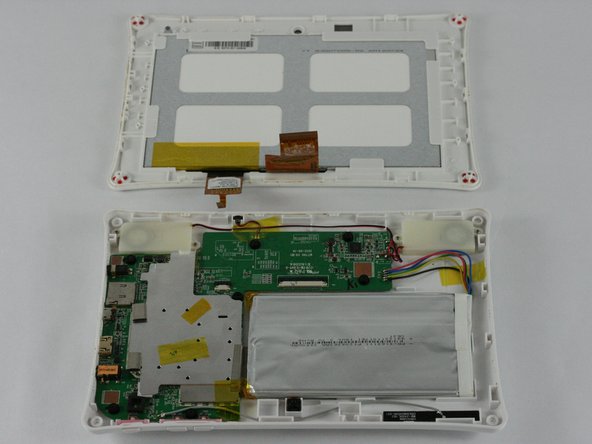
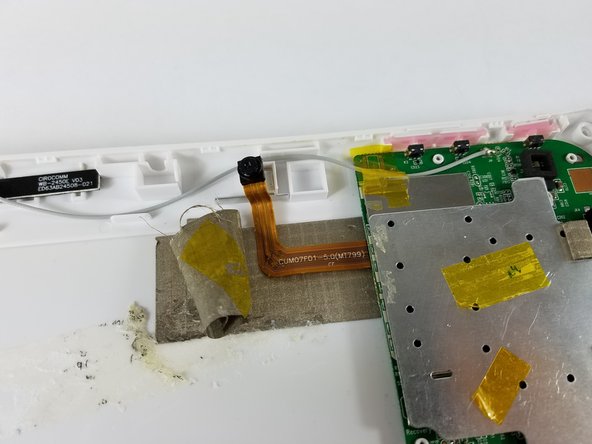
Be sure to take extra care when removing the wifi antenna, camera and microphone from the Nabi 2 chassis, before lifting the motherboard out of the device.
필요한 것
-
-
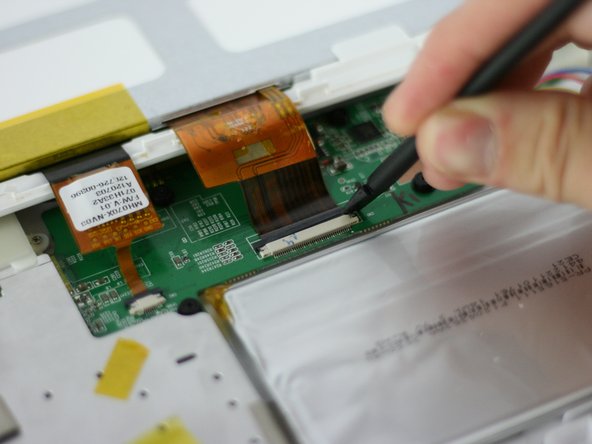
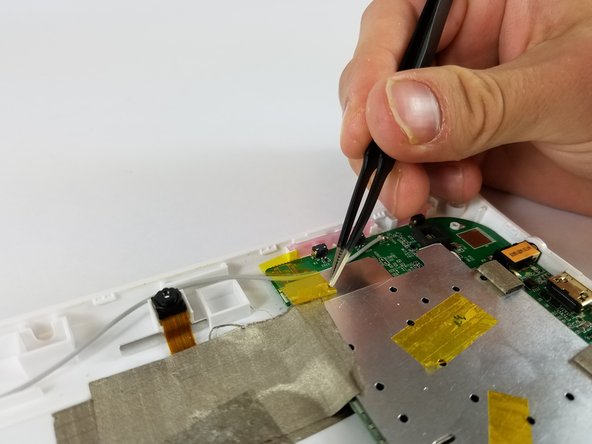
Lay the tablet down flat and remove the yellow tape from the ZIF connector on each side
-
-
-
-
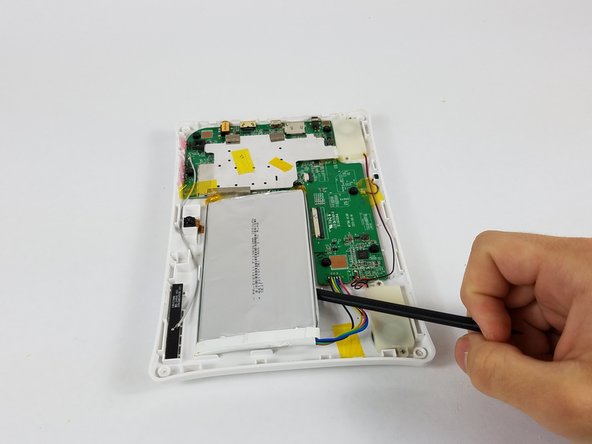
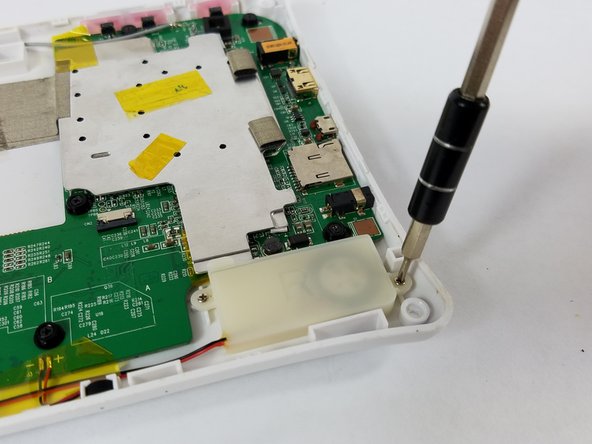
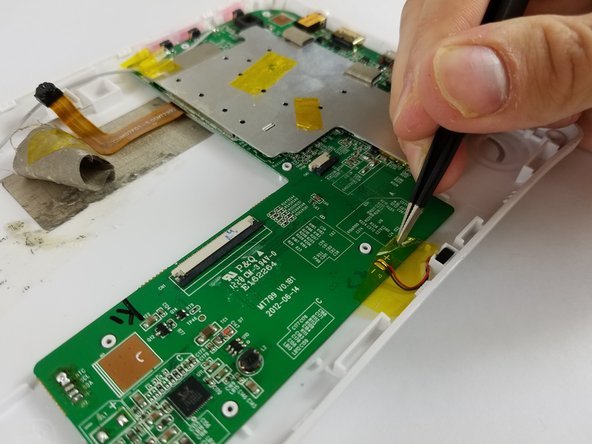
Using the soldering iron, detach the speaker's wires from the circuit board.
-


To reassemble your device, follow these instructions in reverse order.
To reassemble your device, follow these instructions in reverse order.
다른 한 분이 해당 안내서를 완성하였습니다.

팀

USF Tampa, Team 4-3, Lacy Spring 2016 USF Tampa, Team 4-3, Lacy Spring 2016 회원
USFT-LACY-S16S4G3
4 회원들
안내서 14개 작성하였습니다