소개
The trigger for the Nerf Dart Tag Swarmfire sometimes malfunctions. This is typically caused by an issue with the trigger spring. Issues can include the spring wearing out or being installed incorrectly. This guide will walk you through how to disassemble the blaster, replace the spring, and reassemble the blaster so the trigger works again.
필요한 것
-
-
Place the blaster on its side with the handle to the right and loosen all screws so the shell can be opened. (Not all screws are visible in the provided pictures.)
-
Avoid the fake plastic screw, which is merely decorative.
-
-
-
-
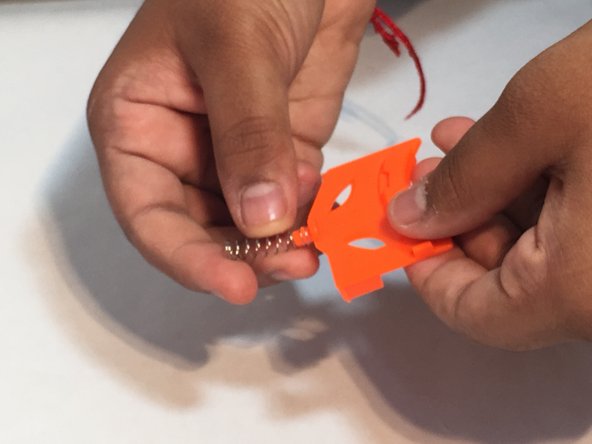
If it is damaged, pull the spring off the trigger, then push the replacement spring onto the knob so it catches and doesn't fall off.
-
If the spring is not damaged, it is possible the spring was installed incorrectly. Ensure the spring is attached to the knob so it sticks straight out and doesn't fall off.
-


To reassemble the blaster, replace the shell pieces from innermost to outer and gently tighten the screws until they give a little resistance. If the screws give significant resistance initially, back them up and loosely turn them until they screw in with little effort.
To reassemble the blaster, replace the shell pieces from innermost to outer and gently tighten the screws until they give a little resistance. If the screws give significant resistance initially, back them up and loosely turn them until they screw in with little effort.
다른 한 분이 해당 안내서를 완성하였습니다.
팀

University of Memphis, Team 2-3, Kim SU 2016 University of Memphis, Team 2-3, Kim SU 2016 회원
UM-KIM-SU16S2G3
4 회원들
안내서 3개 작성하였습니다