주요 콘텐츠로 건너뛰기

Nest Cam Outdoor S Internal Camera Replacement

필요한 것

  1. Nest Cam Outdoor S Internal Camera Replacement, Plastic Camera Cover: 1 단계, 이미지 1/2 Nest Cam Outdoor S Internal Camera Replacement, Plastic Camera Cover: 1 단계, 이미지 2/2
    • Wedge a spudger between the black front panel and the white outer shell.

    • Slide the spudger around the edge of the panel to pop it off.

  2. Nest Cam Outdoor S Internal Camera Replacement: 2 단계, 이미지 1/1
    • Remove the four small screws from the plastic camera cover.

  3. Nest Cam Outdoor S Internal Camera Replacement: 3 단계, 이미지 1/1
    • Disconnect the microphone cable to separate the motherboard from the main camera unit.

  4. Nest Cam Outdoor S Internal Camera Replacement: 4 단계, 이미지 1/2 Nest Cam Outdoor S Internal Camera Replacement: 4 단계, 이미지 2/2
    • Remove the plastic camera cover from the device.

  5. Nest Cam Outdoor S Internal Camera Replacement, Internal Camera: 5 단계, 이미지 1/1
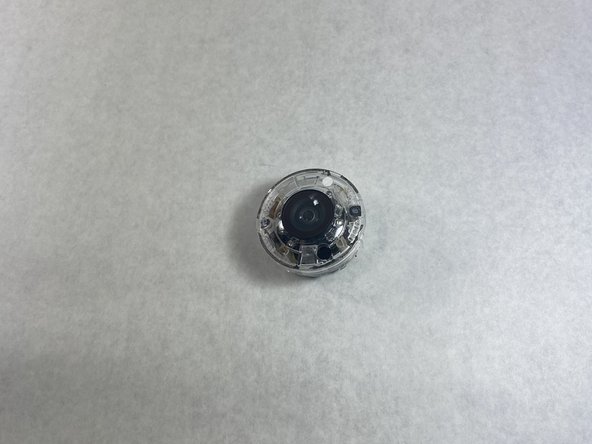
    • Pry the plastic cover away from the motherboard at the plastic clips using a spudger.

  6. Nest Cam Outdoor S Internal Camera Replacement: 6 단계, 이미지 1/1
    • Remove the four mounting screws from the motherboard.

  7. Nest Cam Outdoor S Internal Camera Replacement: 7 단계, 이미지 1/1
    • Disconnect the yellow camera cable from the motherboard.

    • Remove the camera from the device.

결론

To reassemble your device, follow these instructions in reverse order.

다른 2명이 해당 안내서를 완성하였습니다.

Skylar DeVoe

회원 가입일: 10/28/21

235 평판

안내서 2개 작성하였습니다

UMass Dartmouth, Team 4-6, Gulbrandsen Fall 2021 UMass Dartmouth, Team 4-6, Gulbrandsen Fall 2021 회원

UMASSD-GULBRANDSEN-F21S4G6

2 회원들

안내서 4개 작성하였습니다

댓글 2개

Can you replace the corn to the actual camera

Cathy Willis - 답글

Can you replace the corn to actual camera

Cathy Willis - 답글

댓글 쓰기

조회 통계:

24 시간 전: 2

7일 전: 8

30일 전: 39

전체 시간: 1,636