주요 콘텐츠로 건너뛰기

Nest Learning Thermostat 2nd Generation Base Motherboard Replacement

필요한 것

  1. Nest Learning Thermostat 2nd Generation Base Motherboard Replacement, Remove display from wall: 1 단계, 이미지 1/3 Nest Learning Thermostat 2nd Generation Base Motherboard Replacement, Remove display from wall: 1 단계, 이미지 2/3 Nest Learning Thermostat 2nd Generation Base Motherboard Replacement, Remove display from wall: 1 단계, 이미지 3/3
    • Before disassembling your Nest Thermostat, be sure that your HVAC system is powered off.

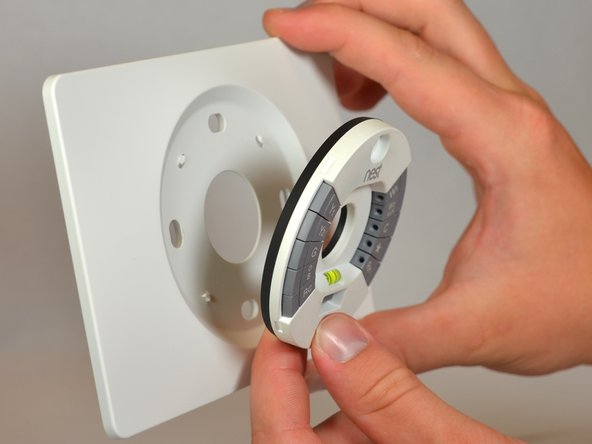
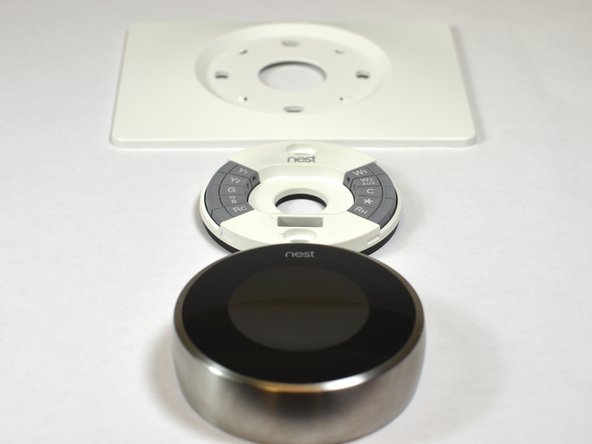
    • Grasp the display's metal outer ring with your fingers and pull directly away from the wall, leaving the base behind.

  2. Nest Learning Thermostat 2nd Generation Base Motherboard Replacement, Disconnect wires: 2 단계, 이미지 1/3 Nest Learning Thermostat 2nd Generation Base Motherboard Replacement, Disconnect wires: 2 단계, 이미지 2/3 Nest Learning Thermostat 2nd Generation Base Motherboard Replacement, Disconnect wires: 2 단계, 이미지 3/3
    • Remember to turn off the power to your HVAC system and the thermostat.

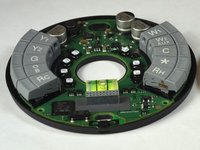
    • Disconnect all wires from the grey spring-loaded connectors. This can be done using your fingers.

  3. Nest Learning Thermostat 2nd Generation Base Motherboard Replacement, Remove screws from wall: 3 단계, 이미지 1/1
    • Remove the two 40mm screws from the base of the thermostat using a #0 Phillips screw driver.

  4. Nest Learning Thermostat 2nd Generation Base Motherboard Replacement, Remove base from trim plate: 4 단계, 이미지 1/3 Nest Learning Thermostat 2nd Generation Base Motherboard Replacement, Remove base from trim plate: 4 단계, 이미지 2/3 Nest Learning Thermostat 2nd Generation Base Motherboard Replacement, Remove base from trim plate: 4 단계, 이미지 3/3
    • Unsnap the base from the trim plate (if used) using a plastic opening tool.
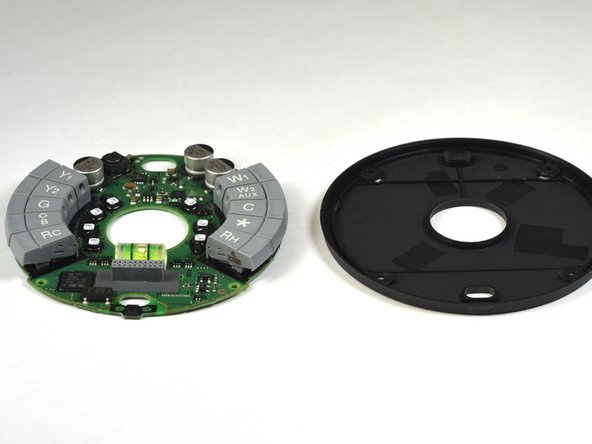
  5. Nest Learning Thermostat 2nd Generation Base Motherboard Replacement, Remove screws from back of base: 5 단계, 이미지 1/2 Nest Learning Thermostat 2nd Generation Base Motherboard Replacement, Remove screws from back of base: 5 단계, 이미지 2/2
    • Turn the base over.

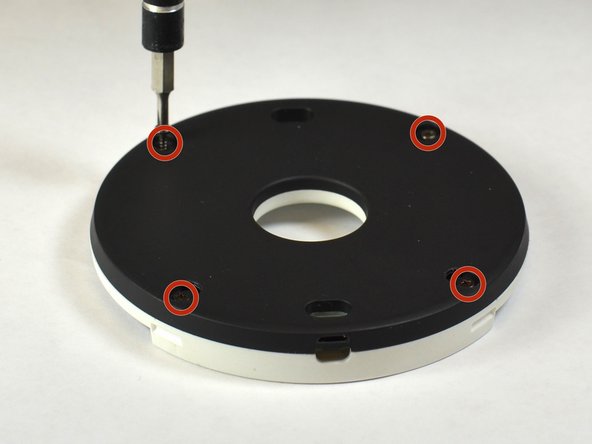
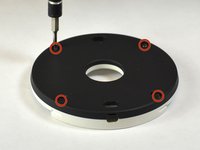
    • Remove the four 6 mm screws from the back of the base using a #0 Phillips screwdriver.

  6. Nest Learning Thermostat 2nd Generation Base Motherboard Replacement, Opening base: 6 단계, 이미지 1/2 Nest Learning Thermostat 2nd Generation Base Motherboard Replacement, Opening base: 6 단계, 이미지 2/2
    • Pry the base mother board open from the side using a plastic opening tool.

  7. Nest Learning Thermostat 2nd Generation Base Motherboard Replacement, Remove base motherboard from base back: 7 단계, 이미지 1/3 Nest Learning Thermostat 2nd Generation Base Motherboard Replacement, Remove base motherboard from base back: 7 단계, 이미지 2/3 Nest Learning Thermostat 2nd Generation Base Motherboard Replacement, Remove base motherboard from base back: 7 단계, 이미지 3/3
    • The base mother board is only held together by light adhesive.

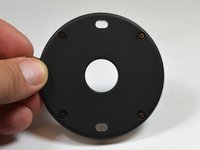
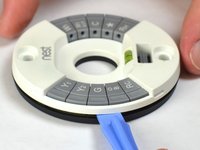
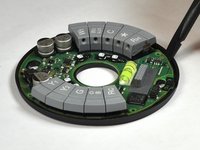
    • Pry the baseboard from the bottom using the flat end of a spudger.

결론

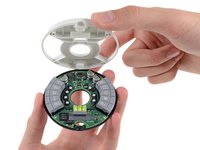
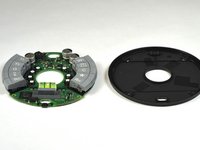
To reassemble your device, follow these instructions in reverse order.

다른 6명이 해당 안내서를 완성하였습니다.

Rachael Deptula

회원 가입일: 09/03/14

1,090 평판

안내서 1개 작성함

USF Tampa, Team 11-5, Blackwell Fall 2014 USF Tampa, Team 11-5, Blackwell Fall 2014 회원

USFT-BLACKWELL-F14S11G5

5 회원들

안내서 12개 작성하였습니다

댓글 8개

Would like to know where I can get just the base motherboard.

wesbug - 답글

Where can we purchase replacement parts?

brettspradley - 답글

i want the baseboard.. where i can buy? pls help...

john gemora - 답글

Yep, my base unit lasted exactly 8 days, then it shorted out. The furnace repairman said he has seen it a couple of times, the base unit can't handle the current needed by the furnace so it goes poof. Back to Honeywell...

bbolen - 답글

No replacement parts from Nest, my base unit died and I have perfectly working thermostat but am forced to buy a new one cause I can't get the base unit on its own.

Adrian Ma - 답글

댓글 쓰기

조회 통계:

24 시간 전: 3

7일 전: 11

30일 전: 36

전체 시간: 92,844