주요 콘텐츠로 건너뛰기

Nest Thermostat E Motherboard Replacement

필요한 것

  1. Nest Thermostat E Motherboard Replacement, Base Plate: 1 단계, 이미지 1/1
    • Grasp the display's outer ring with your fingers and pull directly away while rotating clockwise to remove the thermostat from the wall.

    • Go to the electrical panel and turn off the circuit to make sure no power is running to the thermostat.

    • Once the power is off, disconnect the Y1, G, R, W1, C, and OB wires.

    • Remember the placement of each wire for reassembly.

  2. Nest Thermostat E Motherboard Replacement: 2 단계, 이미지 1/1
    • Remove the two 1 ¼” drywall screws holding the base display and base plate in the wall using a Phillips #2 screwdriver.

    • Remove the base plate and base display.

  3. Nest Thermostat E Motherboard Replacement: 3 단계, 이미지 1/1
    • Pry the base display off of the baseplate using an iFixit opening tool.

  4. Nest Thermostat E Motherboard Replacement, Motherboard: 4 단계, 이미지 1/1
    • Remove the four 6 mm screws using a Phillips #0 screwdriver.

    • The two smaller screws go around the pin connector and the two larger screws go by the outside bezel.

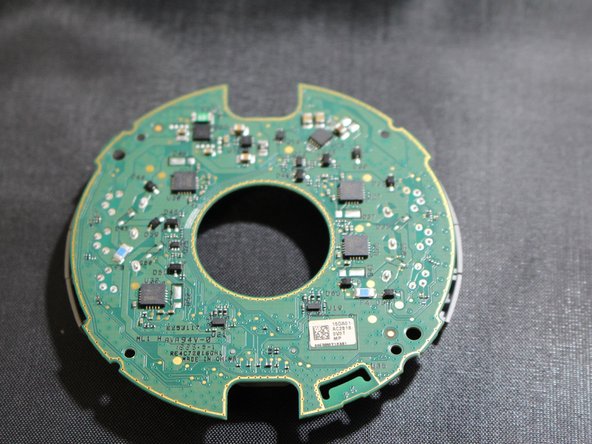
    • Grab the pin connector and pull up to remove the thermostat backplate from the thermostat.

  5. Nest Thermostat E Motherboard Replacement: 5 단계, 이미지 1/2 Nest Thermostat E Motherboard Replacement: 5 단계, 이미지 2/2
    • Flip the base display over and the display motherboard will remove itself from the display.

결론

To reassemble your device, follow these instructions in reverse order.

Andrew Ahlborn

회원 가입일: 02/27/23

368 평판

안내서 3개 작성하였습니다

University of Delaware, Team 11-6, McGuire Spring 2023 University of Delaware, Team 11-6, McGuire Spring 2023 회원

UD-MCGUIRE-S23S11G6

5 회원들

안내서 5개 작성하였습니다

댓글 0개

댓글 쓰기

조회 통계:

24 시간 전: 1

7일 전: 1

30일 전: 9

전체 시간: 200