이 버전에는 잘못된 편집 사항이 있을 수 있습니다. 최신 확인된 스냅샷으로 전환하십시오.
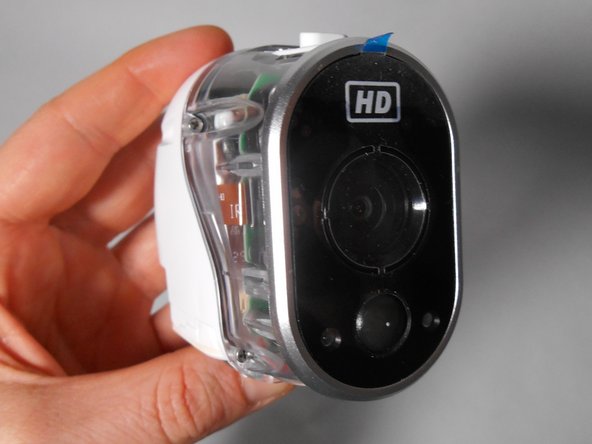
필요한 것
-
이 단계는 번역되지 않았습니다. 번역을 도와주십시오
-
Unscrew the two 3.0 mm Phillips #00 screws on the bottom of the camera.
-
Open the battery compartment on the bottom by pushing the switch marked in orange to the side and pushing the bottom of the camera back, sliding it open.
-
-
이 단계는 번역되지 않았습니다. 번역을 도와주십시오
-
Remove the bottom piece of the case over the battery compartment by placing a plastic opening tool underneath the edge of the case and prying it up.
-
Unscrew the four 3.0 mm Phillips #00 screws on the outside of the battery pocket.
-
-
이 단계는 번역되지 않았습니다. 번역을 도와주십시오
-
When facing the camera lens, the left panel of the case will be removed first (more steps are needed for the right panel).
-
Place the plastic opening tool between the two pieces of the case and pry them apart from the bottom.
-
Gently pull the side of the case off as it comes loose.
-
-
-
이 단계는 번역되지 않았습니다. 번역을 도와주십시오
-
Unscrew the smaller 3.0 mm Phillips #00 screw in the center on the back of the device.
-
Flip the camera over and unscrew the center 3.0 mm Phillips #00 screw above the SYNC button.
-
-
이 단계는 번역되지 않았습니다. 번역을 도와주십시오
-
Using the plastic opening tool, gently pry the right panel from the device.
-
Replace either side of the plastic case as needed.
-
-
이 단계는 번역되지 않았습니다. 번역을 도와주십시오
-
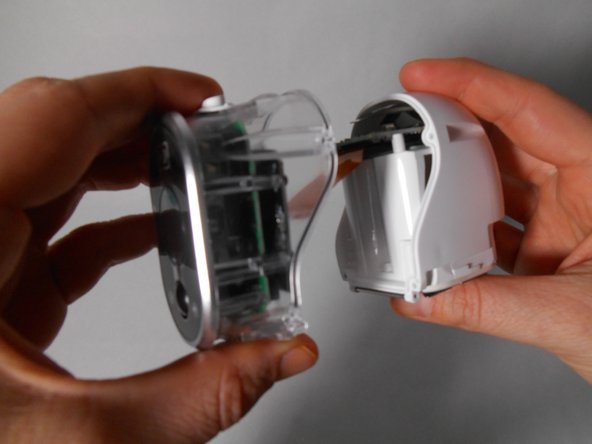
Unscrew the four 4.0 mm Phillips #00 screws on either side of the transparent case.
-
Separate the transparent half of the case from the white half.
-
-
이 단계는 번역되지 않았습니다. 번역을 도와주십시오
-
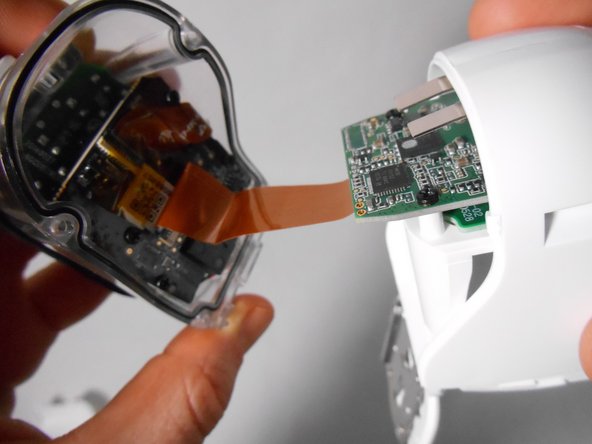
Lift the small thin black rectangular latch that covers the connectors of the flat ribbon cable.
-
With the latch lifted, the cable will pull away freely as you separate the white half from the transparent half.
-
-
이 단계는 번역되지 않았습니다. 번역을 도와주십시오
-
Repeat the same process as in Step 6 to release the flat ribbon cable from the black rectangular latch
-
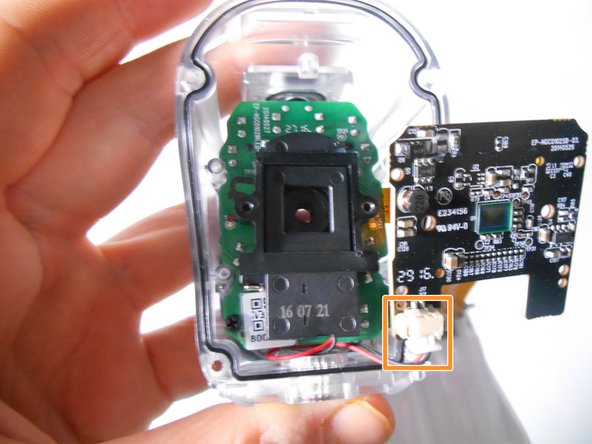
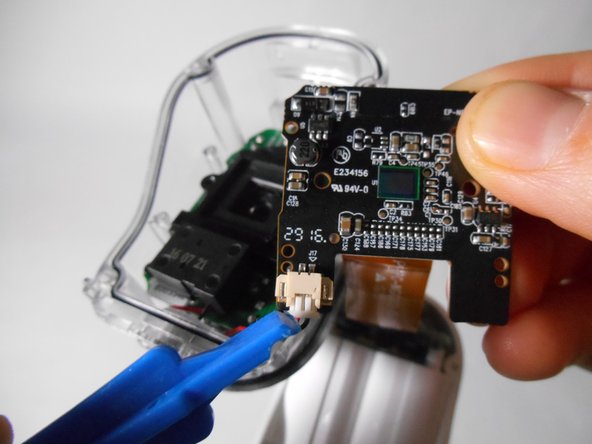
Unscrew the six black 3.0 mm Phillips #00 screws that hold the black motherboard on.
-
Release the clip at the bottom left corner of the black motherboard by pinching the wings at either side of the clip.
-
-
이 단계는 번역되지 않았습니다. 번역을 도와주십시오
-
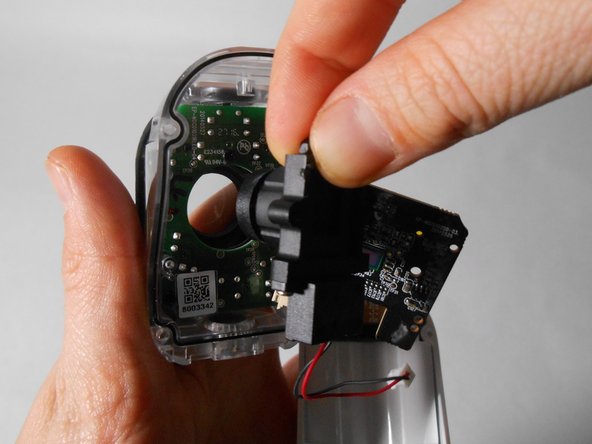
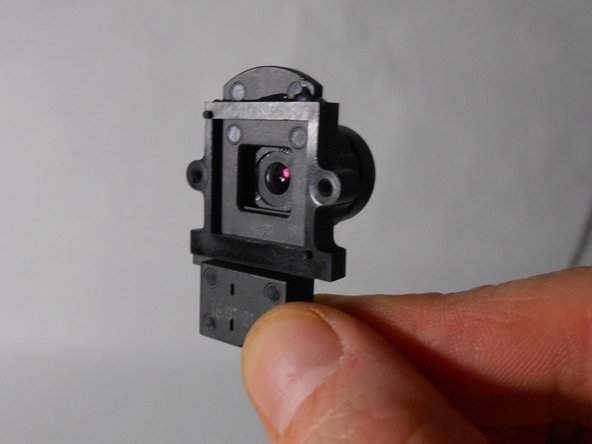
Remove the black plastic that contains the camera from its place.
-
Discard and replace this part as needed.
-


팀

UMass Dartmouth, Team S2-G4, Peak Fall 2018 UMass Dartmouth, Team S2-G4, Peak Fall 2018 회원
UMASSD-PEAK-F18S2G4
3 회원들
안내서 10개 작성하였습니다