소개
Use this guide to replace a broken screen. Sliding the plastic opening tool between the back panel and the front glass can be difficult. This guide is relatively simple, mainly unscrewing and disconnecting a ribbon connector.
필요한 것
-
-
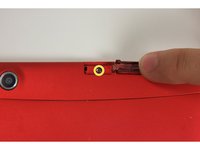
Using your finger, open the plastic tab to the right of the rear-facing camera.
-
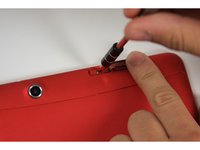
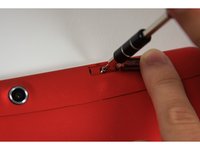
Wedge your fingernail in between the back panel and the plastic tab and pull the plastic tab towards your body.
 FixBot에 문의하기
-
-
-
Using your finger, remove the SD card by pressing down on top of it (toward the bottom of the device) until you hear a clicking sound.
-
Once the card pops out, use your finger to pull the card completely out of the SD card slot.
-
-
-
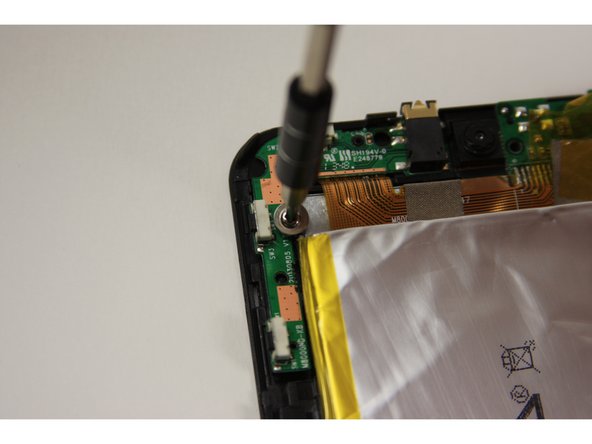
Remove the 5 mm screw using the Phillips PH00 bit in the iFixit metal Screwdriver.
-
-
-
-
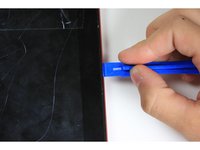
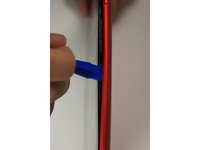
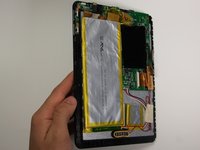
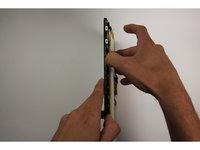
Use the plastic opening tool to separate the back panel by carefully sliding the narrow end of the tool between the front glass and back panel.
-
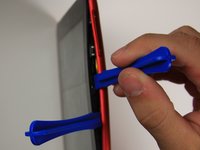
Use a second plastic opening tool to help pry the front glass from the back panel.
-
-
-
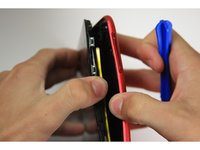
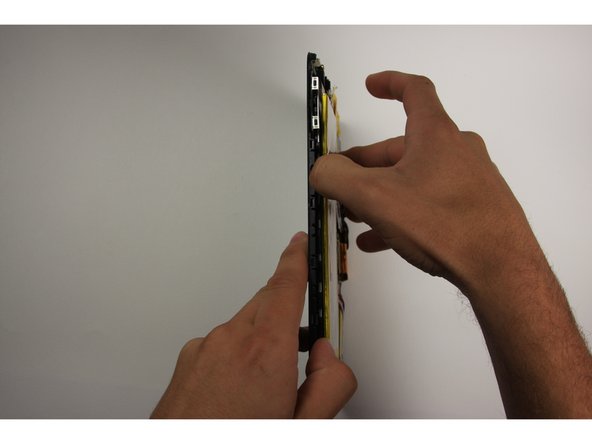
Use your hands to completely separate the rest of the front glass from the back panel.
-
-
-
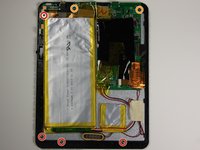
Using the Phillips #0 bit with the iFixit screwdriver, remove the four 5 mm screws with the washers around them connecting the digitizer to the screen.
-
Using the Phillips #0 bit with the iFixit screwdriver, remove the two 5 mm screws connecting the motherboard to the back of the digitizer.
-
-
-
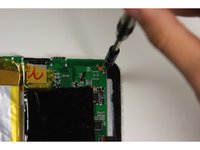
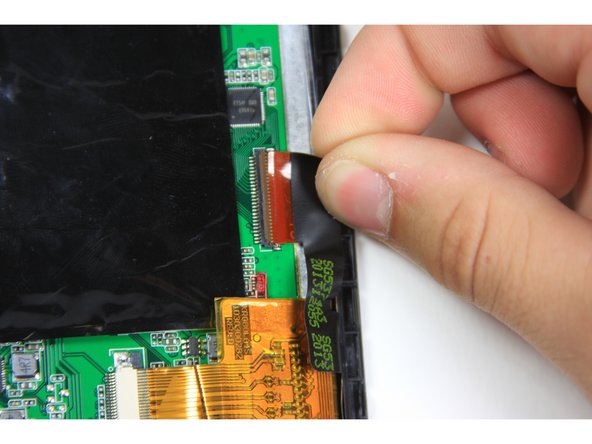
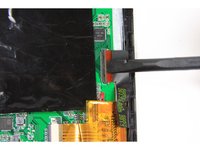
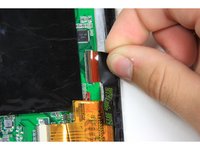
Using the flat end of the plastic spudger, open the black ribbon connector door on the right side of the motherboard.
-
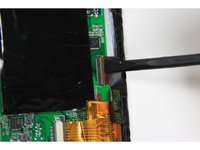
Pull the ribbon out of the ribbon connector using your finger.
-
-
-
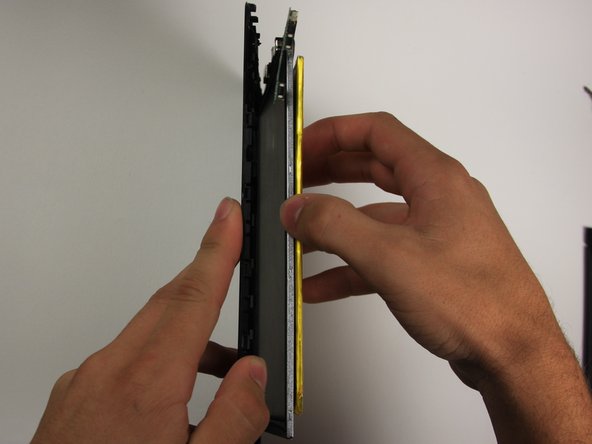
To separate the digitizer from the screen, tilt the device on its right side and use your other hand to pull the battery to the right.
-


To reassemble your device, follow these instructions in reverse order.
다른 8명이 해당 안내서를 완성하였습니다.
팀

Baylor, Team 10-15, Williams Fall 2015 Baylor, Team 10-15, Williams Fall 2015 회원
BU-WILLIAMS-F15S10G15
3 회원들
안내서 8개를 작성함
3가이드 댓글
No parts? Except the replacement screen. No link to buy the replacement screen. What are you doing putting the same broken screen back on?
Benny Uranga - 답글 공유