이 버전에는 잘못된 편집 사항이 있을 수 있습니다. 최신 확인된 스냅샷으로 전환하십시오.
필요한 것
-
이 단계는 번역되지 않았습니다. 번역을 도와주십시오
-
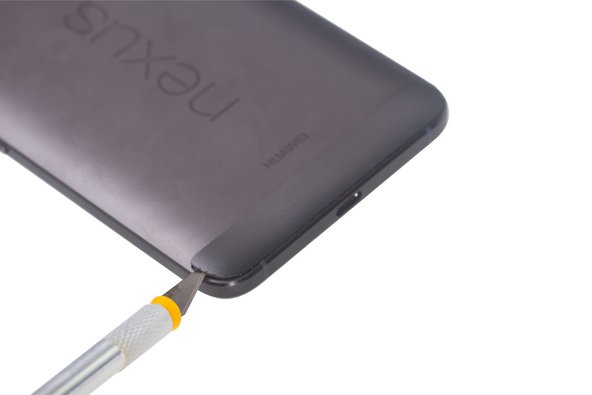
Heat up back glass panel.
-
Use hobby knife to open a gap and cut the fierce sticker underneath rear glass panel.
-
-
이 단계는 번역되지 않았습니다. 번역을 도와주십시오
-
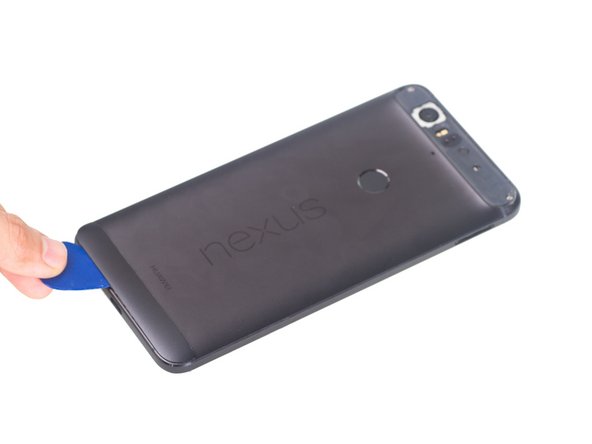
Heat up bottom plastic panel.
-
Use hobby knife to open a gap and insert guitar picks to cut adhesive underneath.
-
-
-
이 단계는 번역되지 않았습니다. 번역을 도와주십시오
-
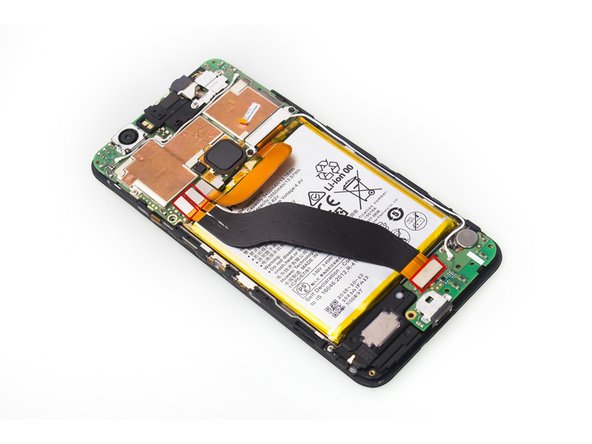
Twist off 6 Phillips screws together.
-
Insert guitar picks and plastic opening tool to separate front assembly from back cover.
-
-
이 단계는 번역되지 않았습니다. 번역을 도와주십시오
-
Unscrew one Phillips screw.
-
Remove metal bracket securing flex contactors.
-
Release 3 flex contactors and remove it .
-
-
이 단계는 번역되지 않았습니다. 번역을 도와주십시오
-
Disconnect signal cable contactor and twist off one Phillips screw.
-
Remove daughterboard.
-


다른 23명이 해당 안내서를 완성하였습니다.

댓글 13개
Do you know the part number of the daughterboard, or where I can buy a replacement?
Global Direct Parts seems to have OEM parts. Don't go with eBay and stuff. The ones I saw are cheap knockoffs that don't work right (even when they say OEM).
Sunny Wu -
Do we need more adhesive or everything will stick back with heat?
I have replaced my battery. You most likely will need more adhesive. I just plan on using some double sided tape as the original glue was too tough in case I have to open it again. You can just buy a case for it after. It will keep everything nice and tight on there.
Sunny Wu -