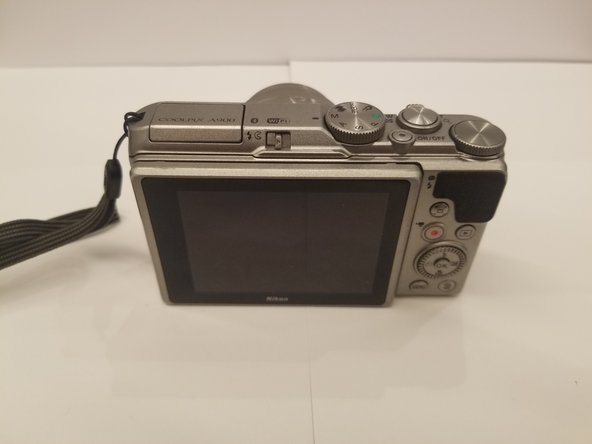
주요 콘텐츠로 건너뛰기

Nikon Coolpix A900 Rear Case Replacement

필요한 것

  1. Nikon Coolpix A900 Rear Case Replacement, Battery: 1 단계, 이미지 1/1
    • Orient the camera so that it is upside down, with the lens facing towards you.

  2. Nikon Coolpix A900 Rear Case Replacement: 2 단계, 이미지 1/2 Nikon Coolpix A900 Rear Case Replacement: 2 단계, 이미지 2/2
    • Slide the battery door lock left to unlock it.

    • The battery door will automatically open.

  3. Nikon Coolpix A900 Rear Case Replacement: 3 단계, 이미지 1/2 Nikon Coolpix A900 Rear Case Replacement: 3 단계, 이미지 2/2
    • Slide the yellow tab up to release the battery.

    • To re-insert a battery, slide the battery back in until the yellow tab locks it in place.

    • There is a diagram on the opposite side of the battery compartment to help you orient the battery correctly.

  4. Nikon Coolpix A900 Rear Case Replacement, Rear Case: 4 단계, 이미지 1/3 Nikon Coolpix A900 Rear Case Replacement, Rear Case: 4 단계, 이미지 2/3 Nikon Coolpix A900 Rear Case Replacement, Rear Case: 4 단계, 이미지 3/3
    • Orient the camera upside down, with the lens facing away from you.

    • Remove the two 3mm Phillips #00 screws from the right.

    • Remove the two 3.4mm Phillips #00 screws from the left.

  5. Nikon Coolpix A900 Rear Case Replacement: 5 단계, 이미지 1/3 Nikon Coolpix A900 Rear Case Replacement: 5 단계, 이미지 2/3 Nikon Coolpix A900 Rear Case Replacement: 5 단계, 이미지 3/3
    • Turn the camera on its side, with the lens facing away from you.

    • Remove the 3.4mm Phillips #00 screw. Repeat this for the opposite side of the camera.

  6. Nikon Coolpix A900 Rear Case Replacement: 6 단계, 이미지 1/3 Nikon Coolpix A900 Rear Case Replacement: 6 단계, 이미지 2/3 Nikon Coolpix A900 Rear Case Replacement: 6 단계, 이미지 3/3
    • Place the camera upright with the lens facing away from you.

    • Move the monitor down, and remove two 4.4 mm screws.

  7. Nikon Coolpix A900 Rear Case Replacement: 7 단계, 이미지 1/2 Nikon Coolpix A900 Rear Case Replacement: 7 단계, 이미지 2/2
    • Remove the two black 2.5 mm screws from the monitor bracket.

  8. Nikon Coolpix A900 Rear Case Replacement: 8 단계, 이미지 1/2 Nikon Coolpix A900 Rear Case Replacement: 8 단계, 이미지 2/2
    • Return the monitor to the closed position.

    • Gently open the rear case.

    • You may need opening tools to help separate the rear case.

    • Be careful when opening the rear case to not damage the ribbon connectors.

  9. Nikon Coolpix A900 Rear Case Replacement: 9 단계, 이미지 1/3 Nikon Coolpix A900 Rear Case Replacement: 9 단계, 이미지 2/3 Nikon Coolpix A900 Rear Case Replacement: 9 단계, 이미지 3/3
    • Place the camera lens down, while supporting the rear case.

    • Unlock the two ribbons by using your finger to lift the plastic hinge on the ribbon connector.

    • With the ribbons disconnected, you can now remove the rear case.

결론

To reassemble your device, follow these instructions in reverse order.

Andres Aronstam

회원 가입일: 09/17/19

735 평판

안내서 5개 작성하였습니다

댓글 0개

댓글 쓰기

조회 통계:

24 시간 전: 0

7일 전: 2

30일 전: 9

전체 시간: 395