주요 콘텐츠로 건너뛰기

Nikon Coolpix L840 Lanyard Ring Replacement

필요한 것

  1. Nikon Coolpix L840 Lanyard Ring Replacement, Motherboard: 1 단계, 이미지 1/3 Nikon Coolpix L840 Lanyard Ring Replacement, Motherboard: 1 단계, 이미지 2/3 Nikon Coolpix L840 Lanyard Ring Replacement, Motherboard: 1 단계, 이미지 3/3
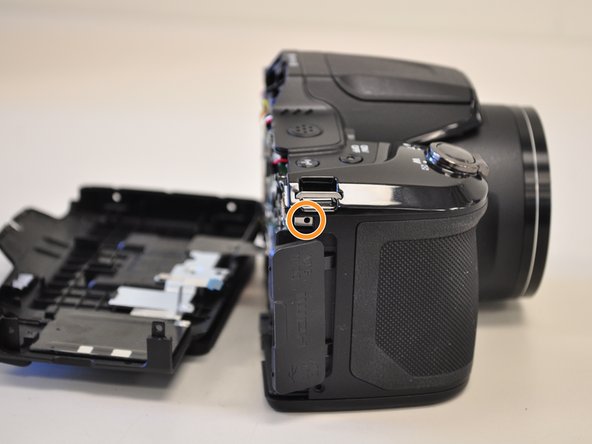
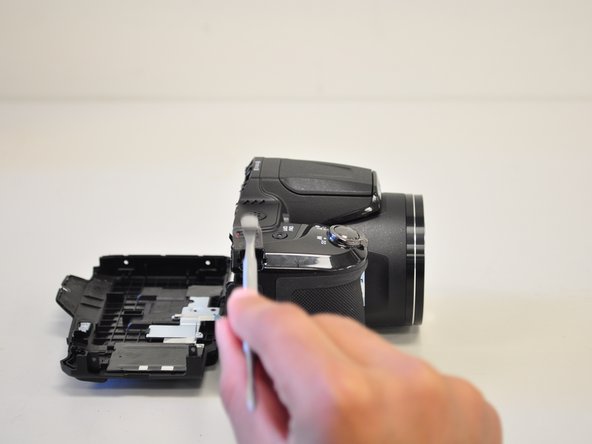
    • Unscrew all eight black, 4mm screws with a Philips 000. (The top-most screw shown in the third image can be accessed by lifting the cover flap off.)

  2. Nikon Coolpix L840 Lanyard Ring Replacement: 2 단계, 이미지 1/1
    • Pry case open with a metal spludger by slipping the spludger between the back and front case of the camera and wiggling the spludger forwards and backwards.

    • Be careful not to damage the inner components of the camera when slipping the spludger into the camera.

  3. Nikon Coolpix L840 Lanyard Ring Replacement: 3 단계, 이미지 1/2 Nikon Coolpix L840 Lanyard Ring Replacement: 3 단계, 이미지 2/2
    • Carefully unhook the silver strip with tweezers. Get a grasp of the sides of the silver strip with the tweezers, and pull upwards and out.

    • The strip may also be identified by its blue tip, which becomes more visible once pulled out.

  4. Nikon Coolpix L840 Lanyard Ring Replacement, Lanyard Ring: 4 단계, 이미지 1/2 Nikon Coolpix L840 Lanyard Ring Replacement, Lanyard Ring: 4 단계, 이미지 2/2
    • Identify lanyard ring.

    • Unscrew the 4 mm black screw with a Philips 000.

  5. Nikon Coolpix L840 Lanyard Ring Replacement: 5 단계, 이미지 1/2 Nikon Coolpix L840 Lanyard Ring Replacement: 5 단계, 이미지 2/2
    • Insert a metal spludger (or another sturdy tool with a thin tip) into the hole of the lanyard ring and lift the ring upwards and out of the camera.

결론

To reassemble your device, follow these instructions in reverse order.

다른 한 분이 해당 안내서를 완성하였습니다.

Abraham Lozano

회원 가입일: 04/11/16

595 평판

안내서 4개 작성하였습니다

Cal Poly, Team 1-11, Maness Spring 2016 Cal Poly, Team 1-11, Maness Spring 2016 회원

CPSU-MANESS-S16S1G11

4 회원들

안내서 10개 작성하였습니다

댓글 0개

댓글 쓰기

조회 통계:

24 시간 전: 0

7일 전: 1

30일 전: 5

전체 시간: 620