소개
If you have a jammed button or if you simply want to replace a part on your Nikon Coolpix P100 camera, then this guide is perfect for you! This guide will help users easily replace a broken back button on your Nikon Coolpix P100 camera.The only required tools you need are a Phillips #00 Screwdriver and a iFixit Opening Tool.
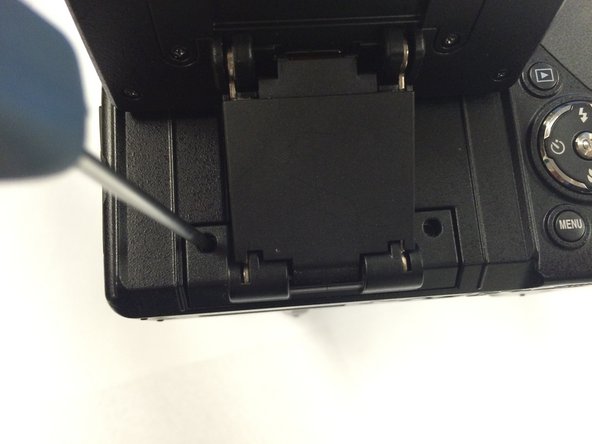
Before using this guide make sure that the camera is powered off!
필요한 것


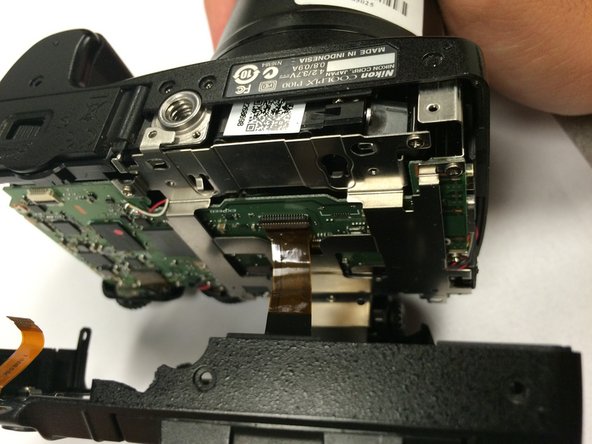


To reassemble your device, follow these instructions in reverse order.
To reassemble your device, follow these instructions in reverse order.
팀

USF Tampa, Team 1-1, Tanski Winter 2015 USF Tampa, Team 1-1, Tanski Winter 2015 회원
USFT-TANSKI-W15S1G1
3 회원들
안내서 8개 작성하였습니다