소개
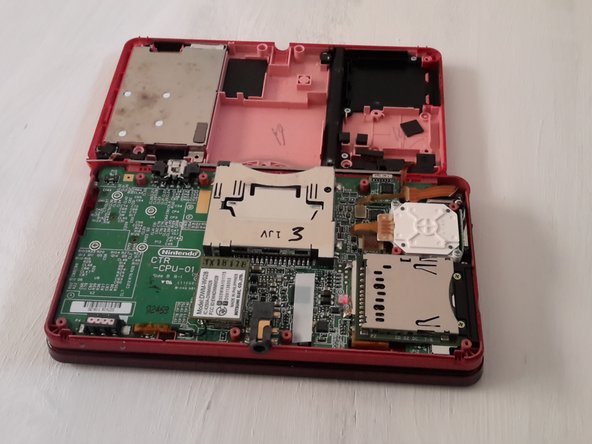
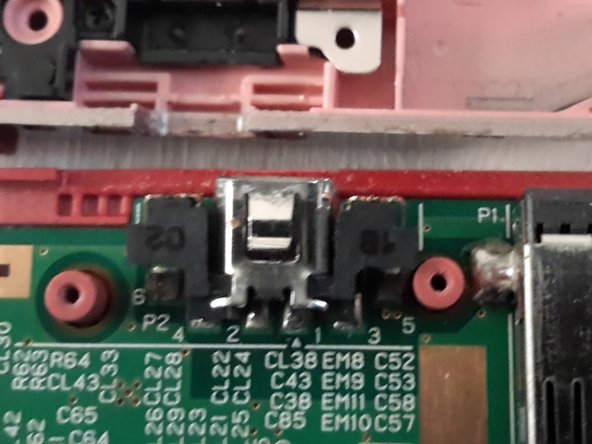
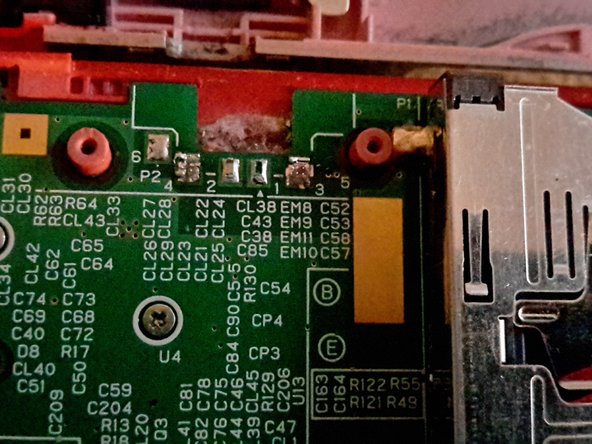
The 3DS charging port is soldered to the motherboard. To remove it, click here and follow this guide to remove the motherboard, and then use your soldering skills to remove and replace the charging port.
Note: steps 7-8 are for replacing the charging port piece with one from another 3DS system. You can order a new piece from amazon and just use it instead.
The guide you are currently viewing has been archived until the procedure can be updated. Following this guide may damage your device.
필요한 것
-
-
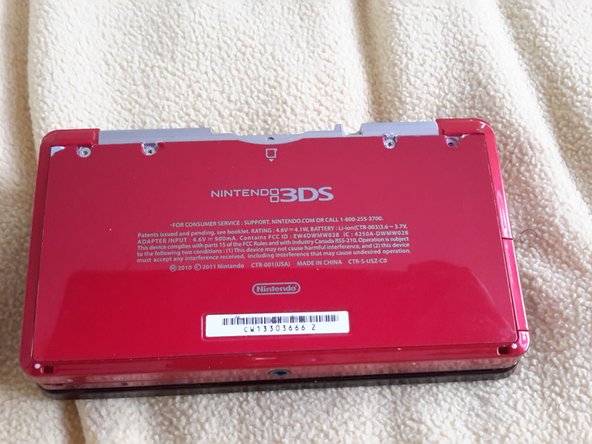
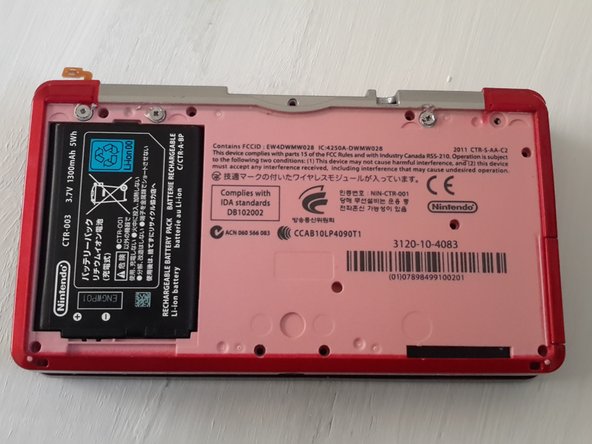
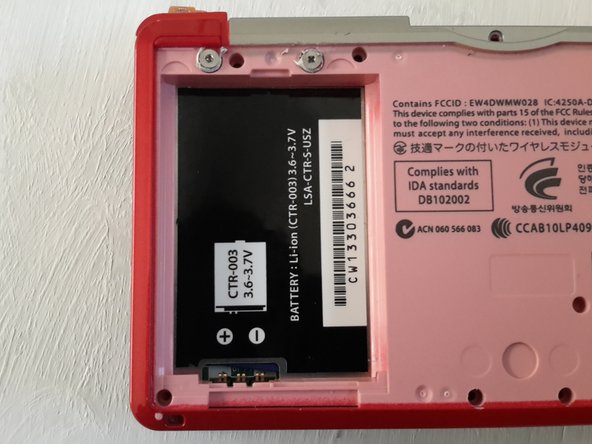
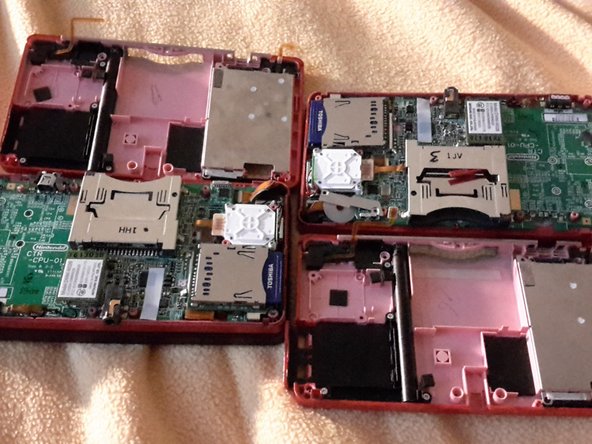
Take out the 4 screws on the back of the system using a Phillips #00 Screwdriver.
-
-


To reassemble your device, follow these instructions in reverse order.
To reassemble your device, follow these instructions in reverse order.
다른 4명이 해당 안내서를 완성하였습니다.
댓글 2개
you solder with everything connected to the mobo??
Everything but the battery. I actually took mine out of the case before doing anything. But I kept it connected to the screen. I would not do this without a very fine soldering gun.