소개
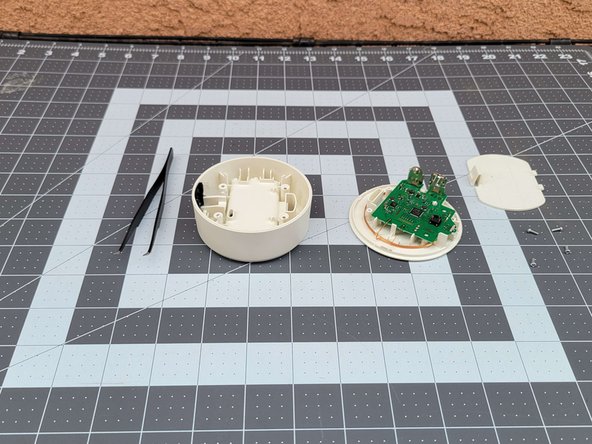
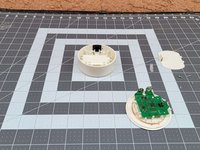
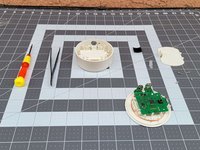
The 3DS NFC Adapter is an external device that gives older 3DS family models the ability to use Amiibos. This guide goes over the dismantling of a Nintendo 3DS NFC Adapter. Model number: CTRAFGWA.
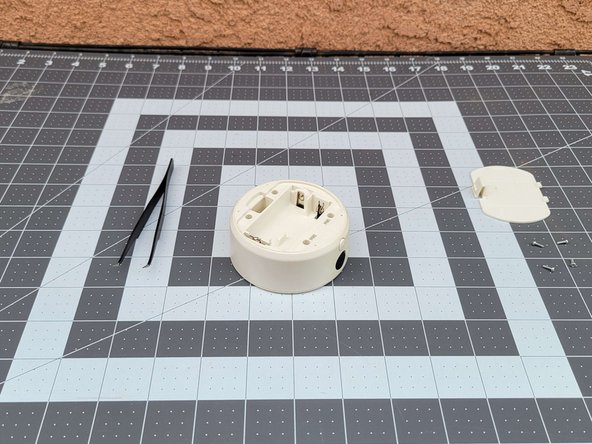
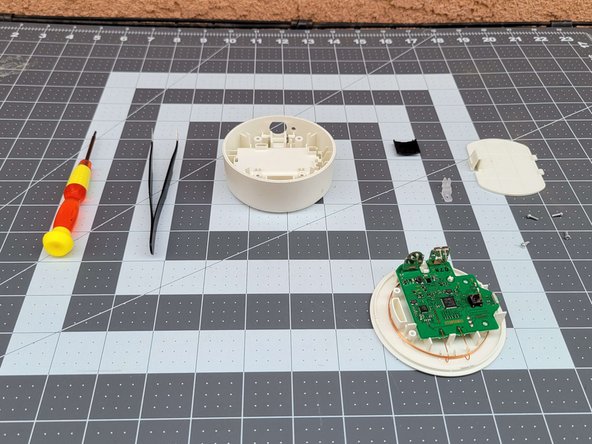
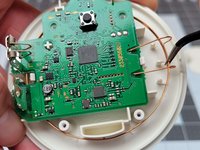
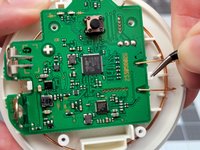
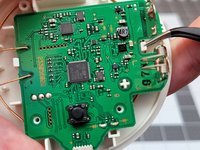
The NFC Adapter is a very simple device to take apart. The adapter contains a button, infrared slide, light-up plastic piece, and motherboard.
Steps 8 involve removing the motherboard, so take caution to prevent damage.
필요한 것
-
-
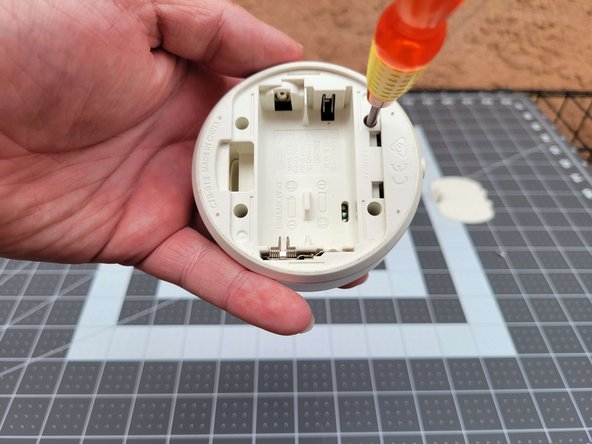
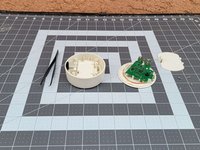
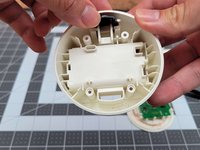
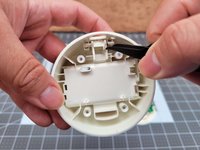
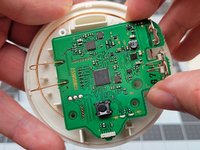
Flip the adapter so the bottom side faces up.
-
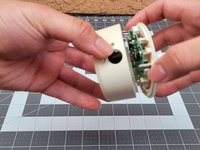
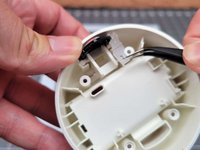
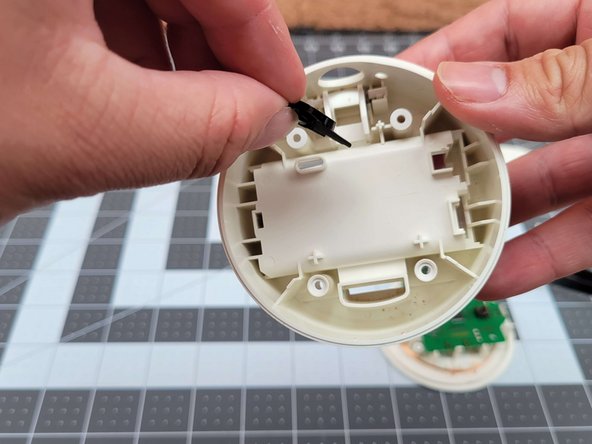
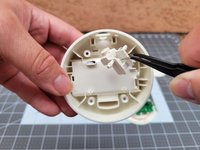
Remove the cover by pressing the plastic flap and lifting it up with one finger.
-
-


다른 한 분이 해당 안내서를 완성하였습니다.

팀

CSU Los Angeles, Team 87-87, Briggs Spring 2023 CSU Los Angeles, Team 87-87, Briggs Spring 2023 회원
CSULA-BRIGGS-S23S87G87
1 회원
안내서 2개를 작성함