소개
So you managed to break your circle pad and can't play your favorite games? Don't fear, the circle pad can be replaced!
필요한 것
-
-
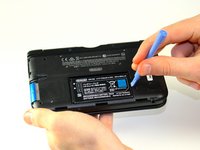
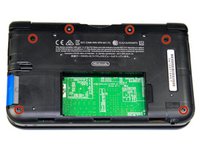
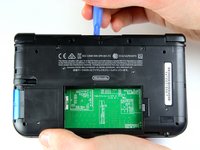
Loosen the two #00 Phillips 4.2 mm-length screws located at the top of the back cover.
-
-
-
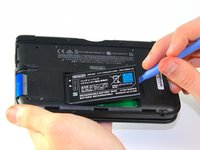
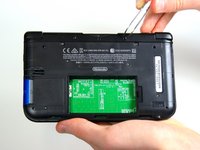
Hold the device so that the cover is facing up.
-
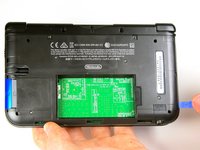
Using a plastic opening tool, pry off the cover starting at the top right corner.
-
Hold the edge of the cover to ensure it does not reattach.
-
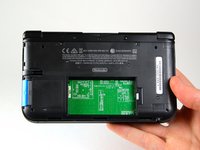
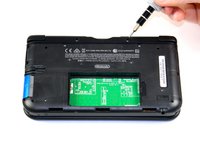
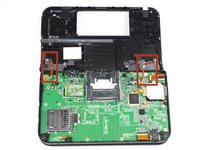
Look for the small section below the stylus compartment. Pry off the cover at that point if it is still attached.
-
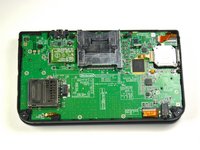
Take off the cover of the device and set it aside.
-
-
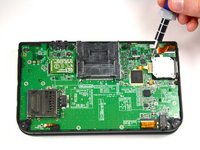
이 단계에 사용된 도구:Tweezers$4.99
-
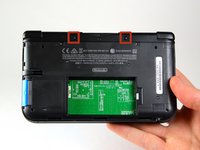
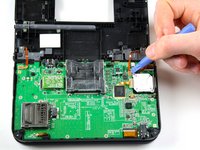
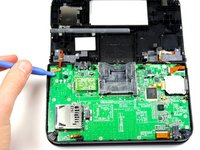
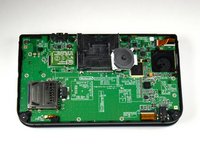
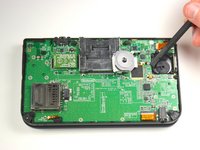
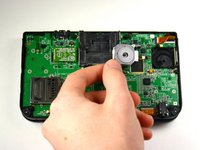
Using tweezers pull out the rubber bumpers that are located at the top of the device on either side of the game cartridge compartment.
-
-


To reassemble your device, follow these instructions in reverse order.
To reassemble your device, follow these instructions in reverse order.
다른 102명이 해당 안내서를 완성하였습니다.
팀

Cal Poly, Team 9-13, Regan Spring 2014 Cal Poly, Team 9-13, Regan Spring 2014 회원
CPSU-REGAN-S14S9G13
5 회원들
안내서 44개를 작성함
댓글 31개
Thank you very much.Perfect repair the circle pad.
The circle pad link:http://www.ebay.com/itm/Genuine-New-Anal...?
mouyi chen - 답글
Great guide, just upgraded my joystick. Bought my replacement from shapeways. The replacement is metal so it won't break like the last one. Also it's a lot more comfortable.
Anyway highly recommend this replacement:
I'm having trouble removing the plastic case in step 7, it seems it refuses to come apart at the SD card part. What should I do? What is holding it down?
Remove the SD card
My son broke the circle pad on his 3DS XL while playing Super Smash Bros.. I purchased 2 circle pads just in-case from http://www.ebay.com/itm/Genuine-New-Anal...
Excellent replacement, just like the original circle pad. The write-up and pics were very helpful. Highly recommend for anyone needing to buy and replace the circle button on a 3DS XL.