소개
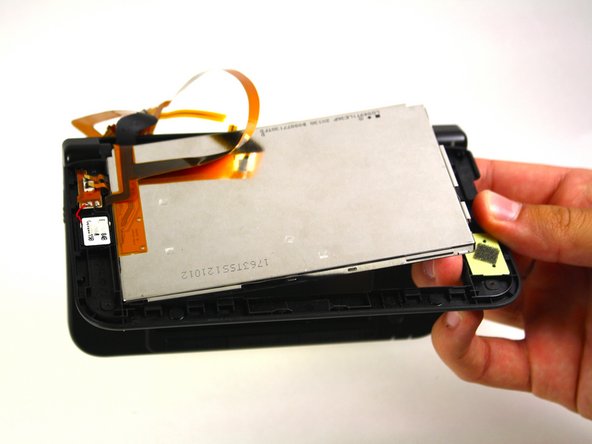
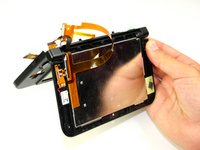
First you will take apart the lower case of the Nintendo 3DS XL, then the upper case in order to reach the ribbons that attach the Upper LCD screen to the rest of the device.
필요한 것
-
-
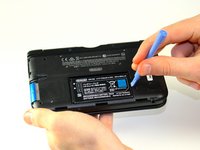
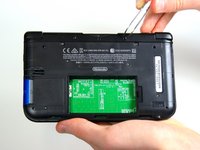
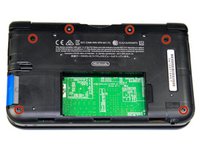
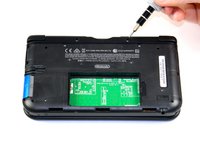
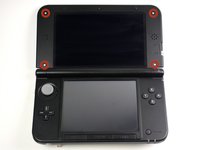
Loosen the two #00 Phillips 4.2 mm-length screws located at the top of the back cover.
-
-
-
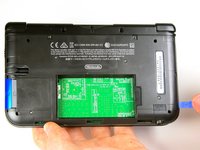
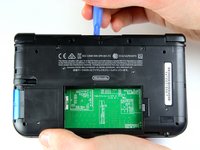
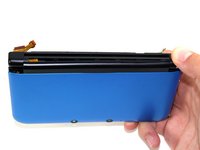
Hold the device so that the cover is facing up.
-
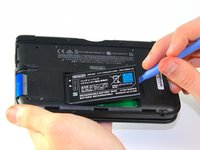
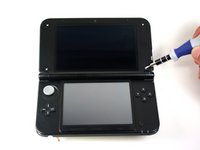
Using a plastic opening tool, pry off the cover starting at the top right corner.
-
Hold the edge of the cover to ensure it does not reattach.
-
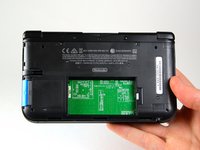
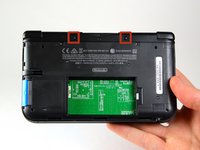
Look for the small section below the stylus compartment. Pry off the cover at that point if it is still attached.
-
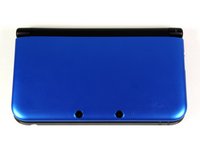
Take off the cover of the device and set it aside.
-
-
이 단계에 사용된 도구:Tweezers$4.99
-
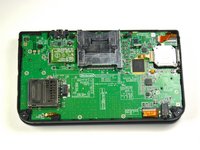
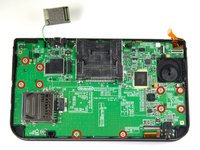
Using tweezers pull out the rubber bumpers that are located at the top of the device on either side of the game cartridge compartment.
-
-
-
-
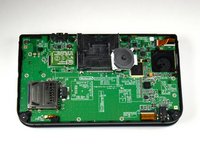
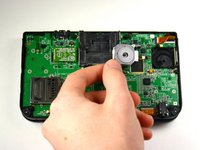
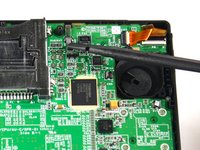
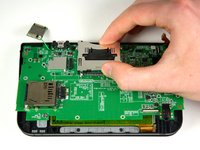
Using the flat head side of the spudger carefully lift up the retaining flap that attaches the circle pad ribbon to the motherboard.
-
Remove the ribbon and circle pad joystick.
-
(not pictured) To remove the circle pad joystick, remove the thin ring of plastic under the back of the circle pad, and set it aside. Then, rotate the pad to make it slip out.
-
-
-
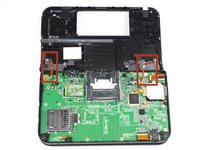
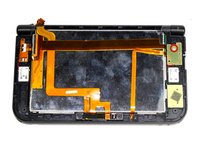
Position the device such that the game cartridge slot is located at the top.
-
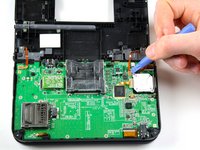
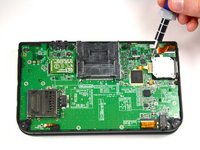
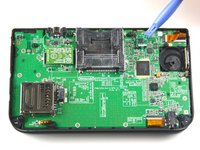
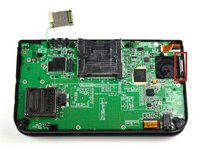
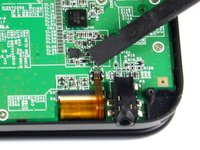
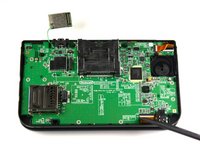
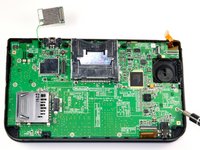
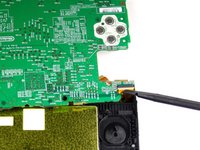
Locate the IR board located on the upper right side of the motherboard.
-
Remove the IR board with a plastic opening tool by inserting the tool below the IR board and gently prying up.
-
-
-
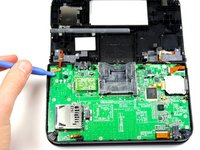
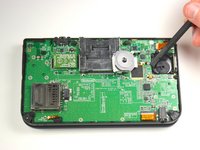
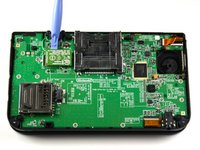
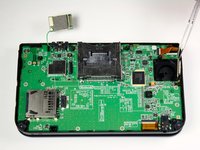
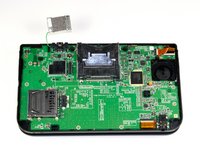
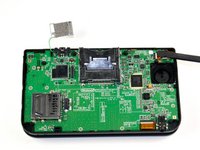
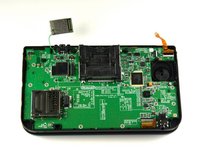
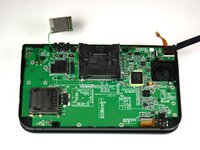
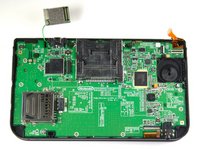
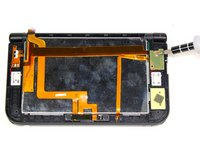
Using a plastic opening tool, pry off the Wi-Fi board.
-
The Wi-Fi board will still be connected by a wire and it is not necessary to completely remove it for this step. Simply place it out of the way for this step.
-
-
이 단계에 사용된 도구:Tweezers$4.99
-
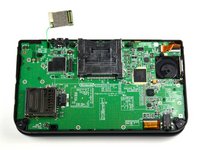
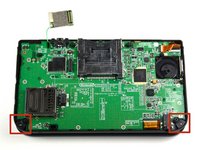
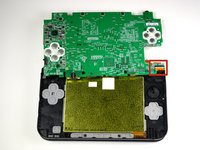
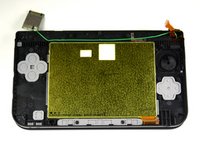
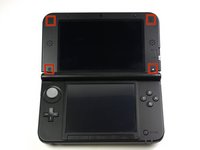
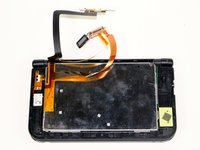
Open the device such that the upper LCD is on top.
-
Using tweezers remove the four rubber pieces that are in all four corners.
-


To reassemble your device, follow these instructions in reverse order.
다른 156명이 해당 안내서를 완성하였습니다.
팀

Cal Poly, Team 9-13, Regan Spring 2014 Cal Poly, Team 9-13, Regan Spring 2014 회원
CPSU-REGAN-S14S9G13
5 회원들
안내서 55개를 작성함
66가이드 댓글
Any good ways to get the ribbon cable back through the hole?
did u find a solution?? i need help.
Carefully just have a pre-twist to it....good luck
Note: If your top or bottom screen was working before disassembly and doesn't work after reassembly, then it's likely that the connector is loose or dirty or damaged or not clipped or PLACED UPSIDE-DOWN. I had this issue with my Super3DS XL(2015) and it turns out that the reason why my top screen wasn't working after put together, was because I had the top LCD connector upside-down. After I correctly put the connector in, It worked again! :)
Try a Bobby hair pin.