소개
2011년형 Nintendo Wii DVD 리더를 교체해야 하는데 어디서부터 시작해야 할지 모르겠나요? 이 안내서는 Nintendo Wii 2011 DVD 리더 데이터 케이블을 교체하는 방법을 상세하게 설명합니다.
필요한 것
-
-
-
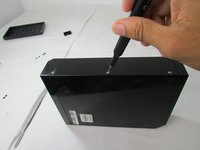
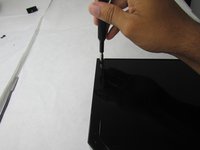
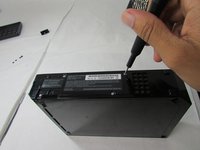
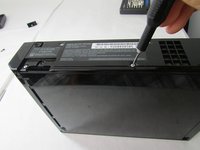
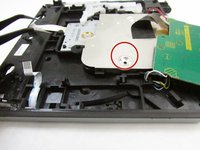
필립스 #0 스크루드라이버를 사용하여 기기 하단에 있는 나사 1개를 제거하세요.
-
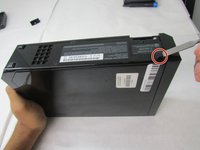
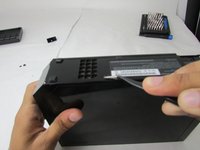
배터리가 들어 있는 슬롯을 당겨서 빼내세요(세 번째 사진 참고). 배터리와 슬롯을 제거한 나사와 함께 옆에 잘 정리해 두세요.
 FixBot에 문의하기
-
-
이 단계에 사용된 도구:Tweezers$4.99
-
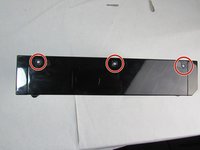
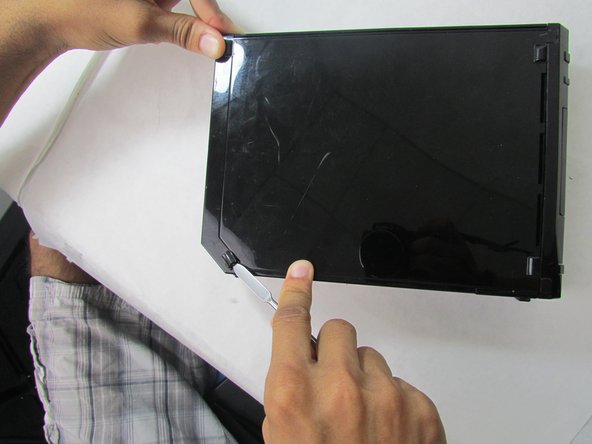
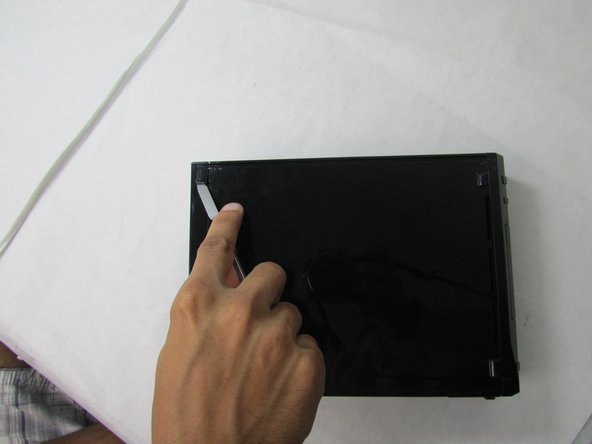
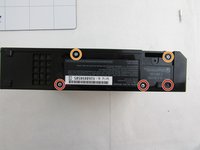
집게를 사용하여 콘솔 상단에 있는 3개의 검은색 사각형 스티커 아래를 들어 올리고 부드럽게 당겨서 3개의 나사를 노출하세요.
-
-
-
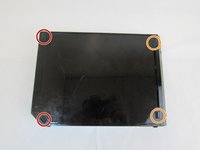
필립스 #0 스크루드라이버를 사용하여 고무 받침 아래에 있는 4.1mm 필립스 나사 3개를 모두 풀어 주세요.
-
나사는 구멍에 그대로 둔 채 이 플레이트를 제거하세요.
-
-
-
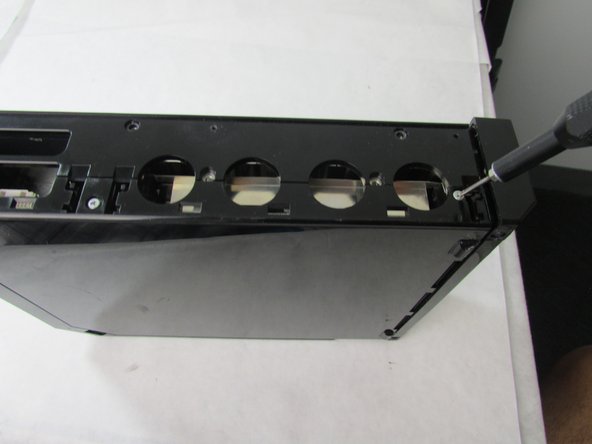
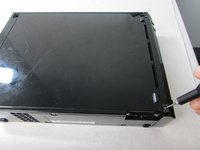
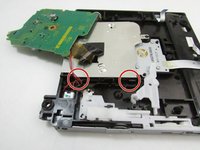
필립스 #0 스크루드라이버를 사용하여 5.9 mm 나사 2개를 제거하세요.
-
Y1 트라이포인트 스크루드라이버를 사용하여 8.3 mm 나사 2개를 제거하세요.
-
-
-
스퍼저를 사용하여 Wii의 뒤쪽 왼쪽 측면에 있는 두 개의 반원통형 스티커를 제거하세요.
-
집게를 사용하여 Wii 앞쪽에 가장 가까이 있는 두 개의 직사각형 크기 스티커를 제거하세요. 다른 두 개의 반원통형 스티커는 무시하세요.
-
-
-
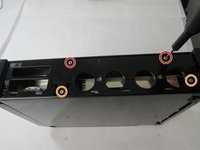
콘솔 하단에서 스퍼저를 사용하여 사각형 고무 패드 1개를 제거하세요.
-
그런 다음 집게를 사용하여 나사를 덮고 있는 납작한 사각형 스티커 3개를 떼어내세요.
-
-
-
-
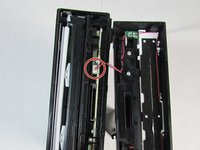
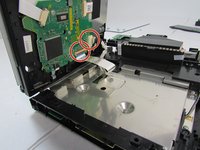
다른 배선 왼쪽에 있는 넓고 평평한 배선의 경우, 고정 잠금장치를 위로 젖힌 다음 디스크 드라이브와 평행하게 조심스럽게 당겨서 빼내세요.
-
넓은 배선 오른쪽의 다중 배선은 디스크 드라이브와 평행하게 당겨서 분리하세요.
-
-
-
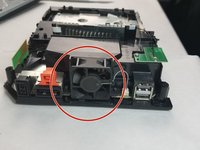
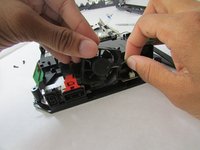
콘솔 프레임에 부착된 모든 은색 나사와 10 mm 검은색 나사를 제거한 다음, 회색 배선과 검은색 배선을 동시에 잡고 팬을 제거하세요. 포트에서 배선을 분리하세요.
-
-
-
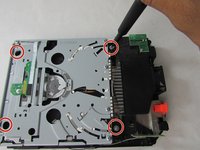
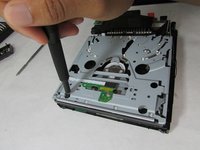
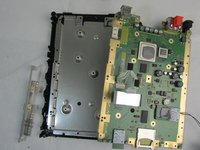
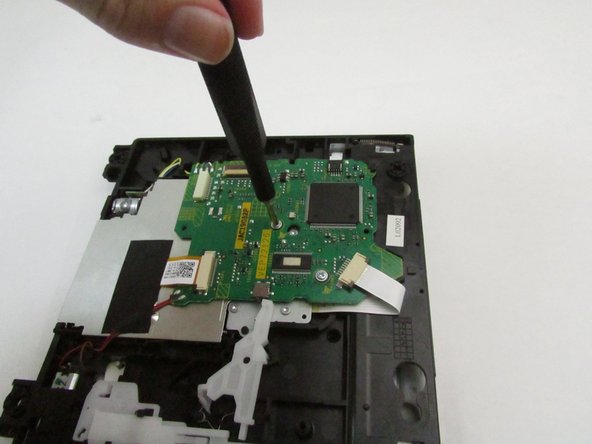
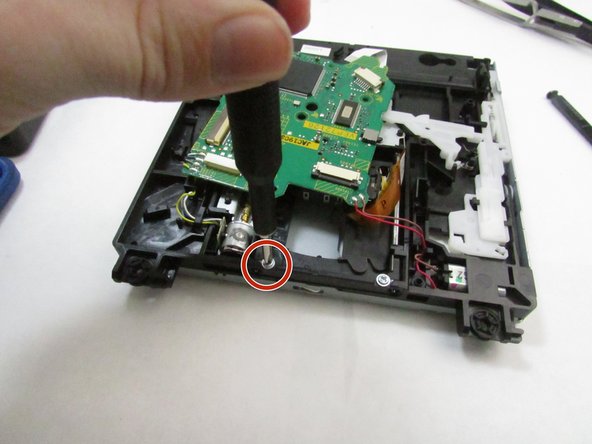
필립스 #0 스크루드라이버를 사용하여 히트싱크를 프레임과 마더보드에 고정하고 있는 11.3 mm 필립스 나사 4개를 제거하세요.
-
히트싱크를 당겨 분리한 다음 건조한 표면 위에 조심스럽게 놓으세요.
-
-
-
-
이 단계에 사용된 도구:Tweezers$4.99
-
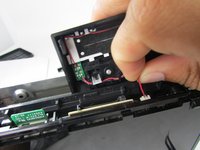
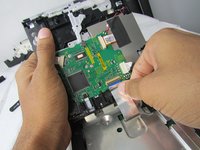
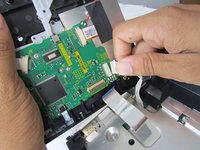
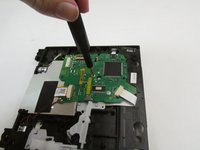
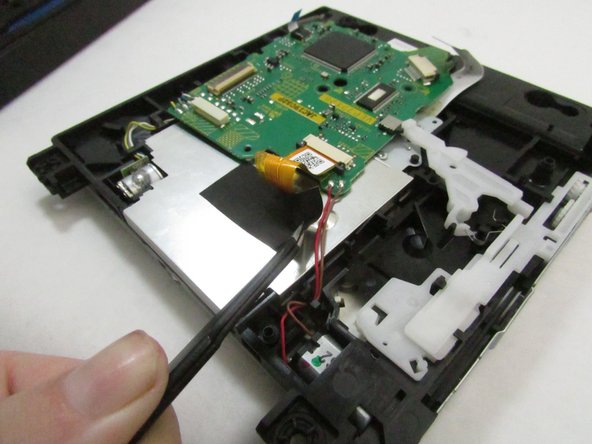
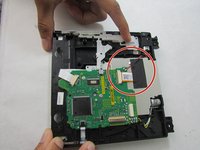
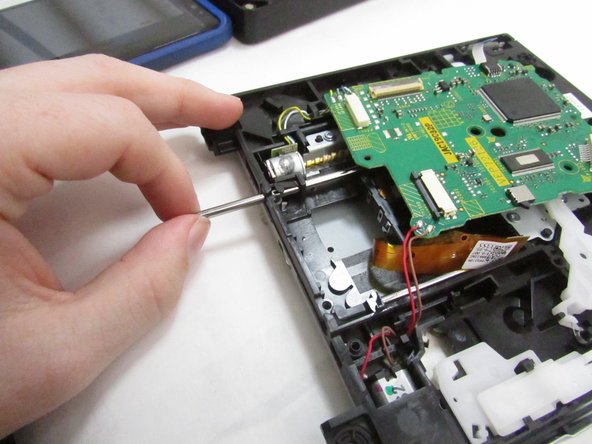
집게를 사용하여 케이블을 고정하고 있는 스티커를 제거하세요.
-
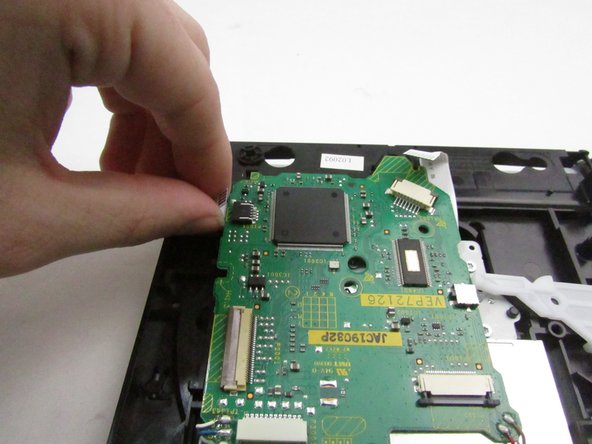
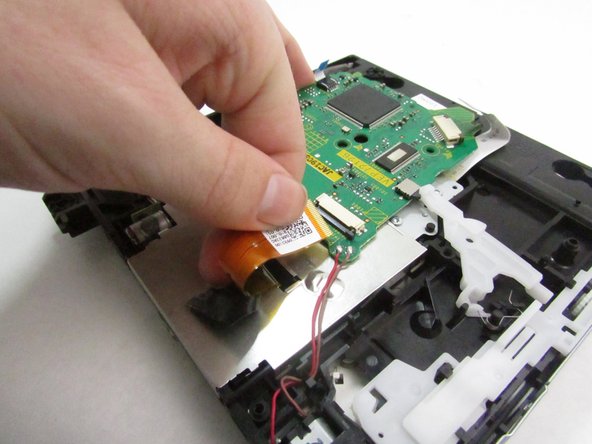
케이블을 엄지와 검지로 잡고 똑바로 당겨 빼내세요.
-
-
-
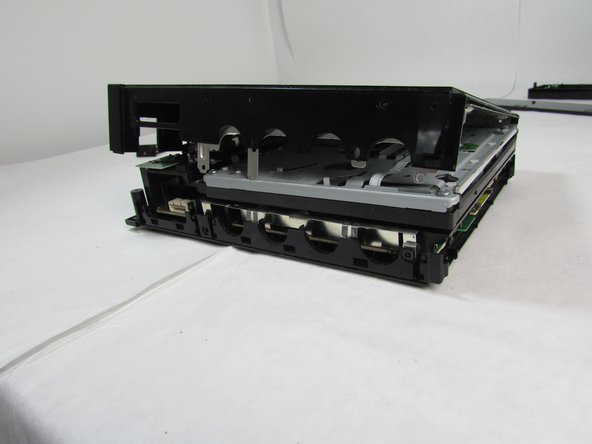
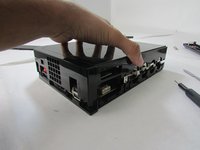
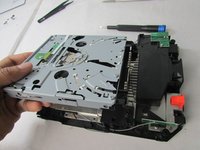
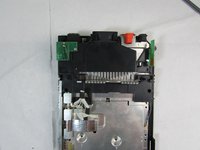
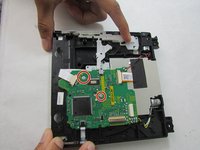
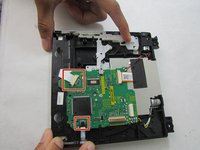
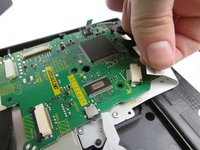
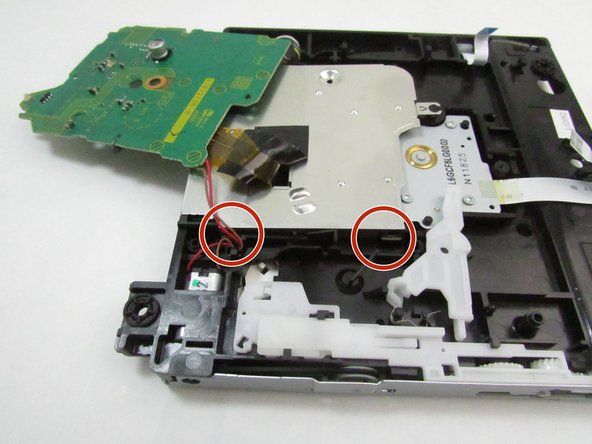
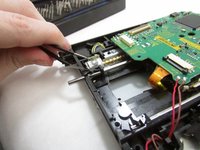
집게를 사용하여 금속 판 양쪽에 있는 4개의 클립을 각각 들어 올리세요.
-
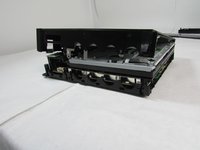
금속 판을 보드가 위치한 DVD 디스크 드라이브 끝부분 쪽으로 동시에 밀면서 들어 올리세요.
-
-
-
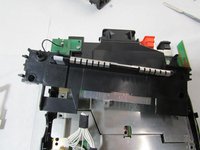
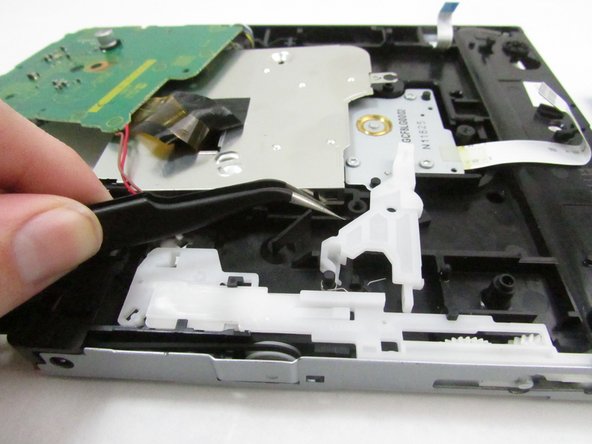
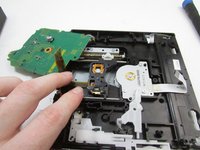
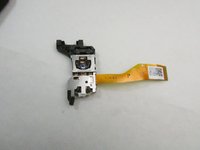
집게를 사용하여 플라스틱 조각을 들어 올리세요.
-
손가락을 사용하여 금속 축을 당겨 빼내세요.
-
광학 드라이브를 디스크 드라이브에서 들어 올리세요.
-


기기를 재조립하려면 이 지침을 역순으로 따르세요.
다음 번역가들에게 특별히 감사 드립니다:
100%

Translation Bot님은 저희가 세상을 수리하는데 동참하신 분입니다! 기여하시겠습니까?
번역 시작하기 ›

팀

Embry-Riddle Aeronautical University, Team S23-G2, McClure Fall 2019 Embry-Riddle Aeronautical University, Team S23-G2, McClure Fall 2019 회원
ERAU-MCCLURE-F19S23G2
4 회원들
안내서 55개를 작성함