소개
The Wii was first released on November 19, 2006.
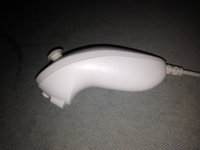
The model number of the original Wii remote that appears in this guide is: RVL-003.
This guide will also show how to tear down a Wii nunchuk.
The model number of the Wii nunchuk is RVL-004.
필요한 것
-
-
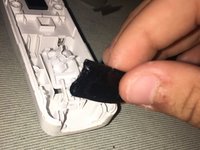
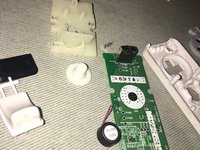
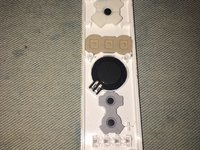
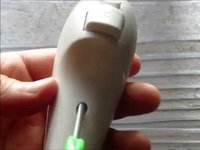
Remove the battery cover from the remote and batteries inside.
-
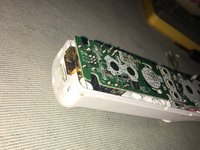
Unscrew the four visible Y1 tri-point screws on the remote.
-
-
-
-
There are two small Y1 tri-point screws that need to be loosened on the bottom of the remote.
-
-
이 단계에 사용된 도구:iFixit Opening Picks (Set of 6)$4.99
-
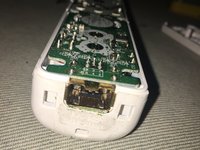
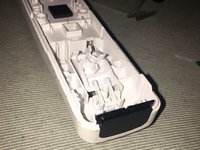
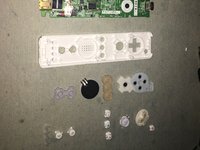
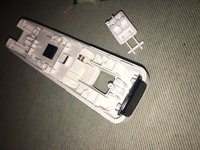
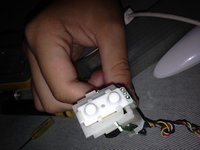
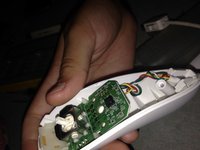
Once the screws are removed, you can remove the top half of the chassis off.
-
You may use an opening tool to assist with this step, such as the iFixit opening pick as an example.
-
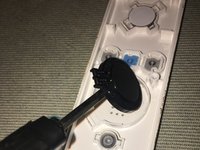
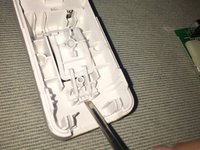
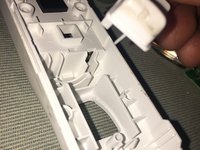
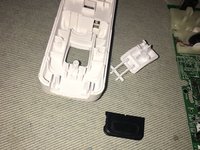
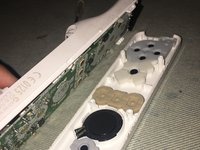
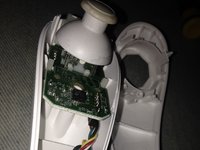
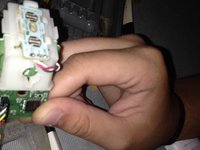
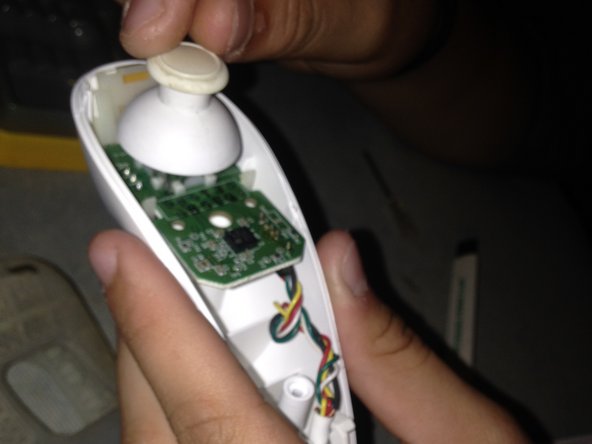
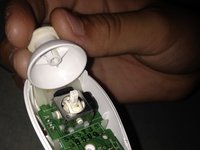
Next gently pull off the thumb stick.
-
-
-
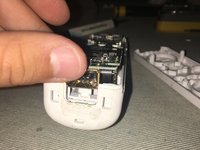
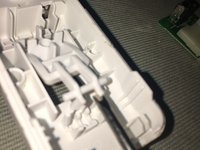
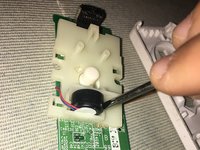
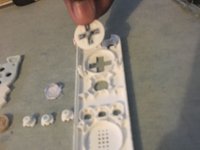
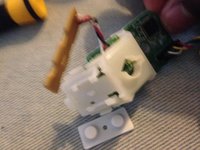
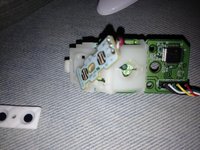
Begin reassembly by mounting the white plastic housing cage back onto the motherboard.
-
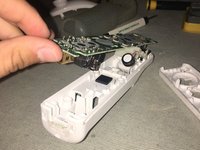
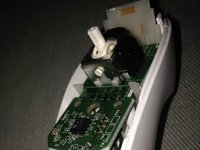
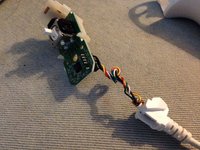
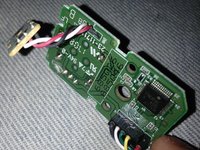
Slide the daughterboard for the C and Z buttons upwards into the plastic housing cage. Make sure not to force the daughterboard during this process to prevent breaking it.
-
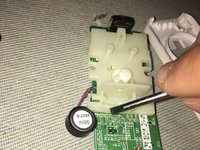
Then slide the white conductive rubber pad button contact for the C and Z buttons on top of the daughterboard.
-
-
-
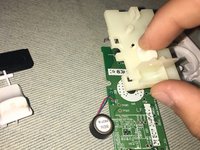
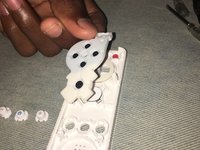
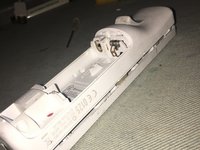
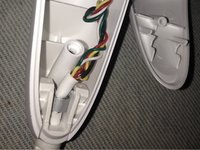
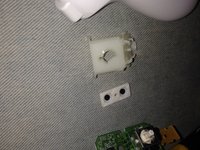
Seat the motherboard assembly, with the complete C and Z button housing cage, and Wii nunchuck cable back into the bottom half of the Wii nunchuck.
-
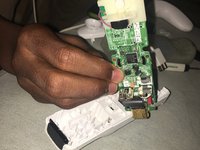
Seat the Wii nunchuck cable into the bottom half of the Wii remote.
-
Take care when putting the wires for the Wii nunchuck cable back in the Wii remote's bottom half of the remote casing, because they can easily fall out if not seated correctly.
-


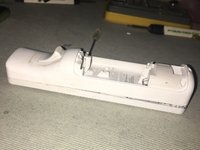


To reassemble your device, follow these instructions in reverse order.
다른 24명이 해당 안내서를 완성하였습니다.
8가이드 댓글
Great guide! I took one of my remotes apart some years ago. Now, with fresh tri-wing driver in hand, I am ready to reassemble the thing. Problem: where to solder the green ground? It currently is fused to the nunchuk connector housing, but where does the other end go??? Wish I'd noted that, back then
K. Lehnert - 답글
Hello do you have tutorials for unassembly nunchuck's connector please?