주요 콘텐츠로 건너뛰기

Nokero N222-Huron Battery Replacement

필요한 것

  1. Nokero N222-Huron Battery Replacement, Clear Cover: 1 단계, 이미지 1/1
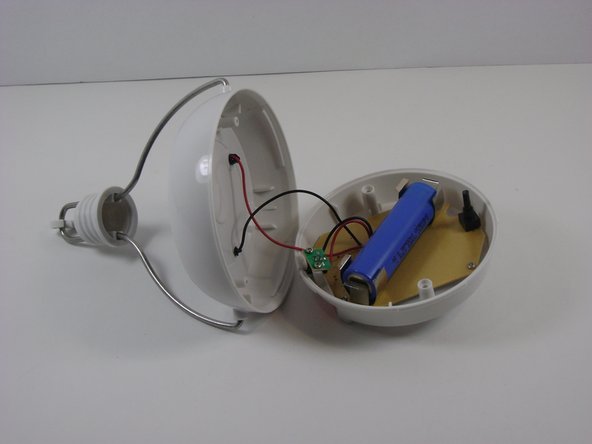
    • Grasp the clear cover and the white housing and twist the cover counter-clockwise.

    • The lid may hold fast, but it will come off with some firm twisting.

  2. Nokero N222-Huron Battery Replacement: 2 단계, 이미지 1/1
    • Lift the lid from the device

    • It may be helpful to use a spudger to pry under the lid if there is difficulty in getting a good grip on the smooth plastic.

  3. Nokero N222-Huron Battery Replacement, Battery: 3 단계, 이미지 1/3 Nokero N222-Huron Battery Replacement, Battery: 3 단계, 이미지 2/3 Nokero N222-Huron Battery Replacement, Battery: 3 단계, 이미지 3/3
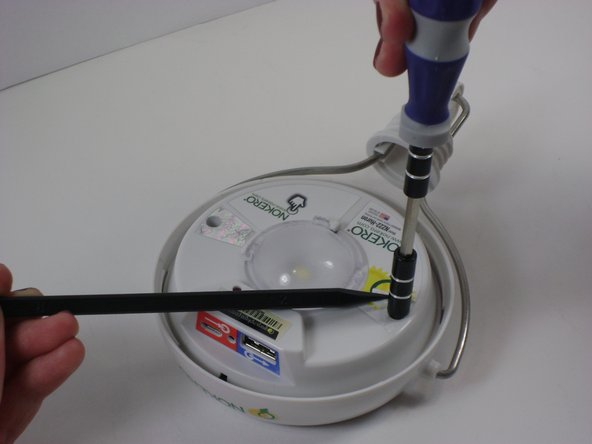
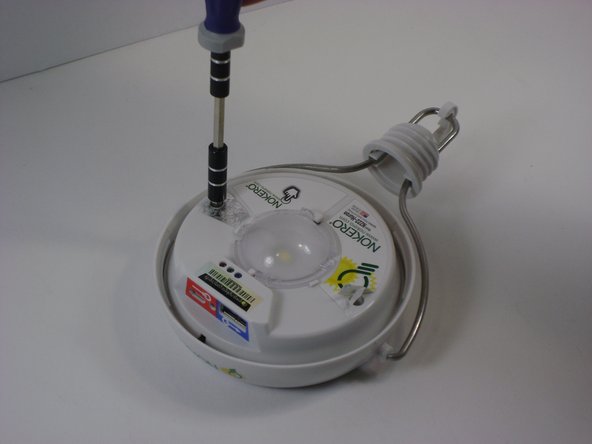
    • Remove the two #1 Phillips screws hidden underneath stickers on the face of the device. Use a plastic spudger to carefully peel back the metallic sticker that reads, “Warranty Void if Removed” and the Nokero sticker as shown in the picture.

    • In case there was any question, removing this sticker and taking your device apart will void the warranty

  4. Nokero N222-Huron Battery Replacement: 4 단계, 이미지 1/2 Nokero N222-Huron Battery Replacement: 4 단계, 이미지 2/2
    • Carefully separate the two halves of the device. You will notice a red and a black wire connecting the solar panel to the circuit board. Set the device as shown to keep the wires relaxed.

    • If the halves of the device are separated too quickly, it is possible for the wires to be strained or to come loose from the circuit board. If this happens, the wires will need to be resoldered to the board.

  5. Nokero N222-Huron Battery Replacement: 5 단계, 이미지 1/1
    • Remove the battery from the clips and set aside

    • The battery can be replaced by any 18650 battery found online, but the device battery is a 1400mAh, 3.2V battery. Keep in mind that the light will last longer with a higher mAh rated battery, but it will also take longer to fully charge, especially when using the solar panel.

  6. Nokero N222-Huron Battery Replacement: 6 단계, 이미지 1/1
    • Be careful assembling the device to ensure that the wires do not get caught. Make sure that the switch is lined up with the rubber button and that the screws are lined up with the stand-offs.

결론

To reassemble your device, follow these instructions in reverse order.

다른 한 분이 해당 안내서를 완성하였습니다.

Vinny Capone

회원 가입일: 10/18/13

549 평판

안내서 5개 작성하였습니다

UMass Dartmouth, Team 2-4, Gulbrandsen Fall 2013 UMass Dartmouth, Team 2-4, Gulbrandsen Fall 2013 회원

UMASSD-GULBRANDSEN-F13S2G4

3 회원들

안내서 5개 작성하였습니다

댓글 한 개

Good instructions, thanks. I dropped mine on the floor and was afraid it was broken but upon opening it, turns out the battery just jolted loose from its contacts. I put it back with a big wad of masking tape to pad out the extra space so hopefully it won’t fall out so easily next time.

Hwa Shi-Hsia - 답글

댓글 쓰기

조회 통계:

24 시간 전: 0

7일 전: 2

30일 전: 16

전체 시간: 781