소개
Follow this guide to replace the Motherboard in your Nokia 2780 Flip.
The Motherboard is the main circuit board of the Nokia 2780 Flip and helps all the phone's parts work together, including the screen, buttons, battery, and charging port. If the motherboard stops working, the phone may not turn on, charge, or respond as expected. Replacing the motherboard can help restore the phone if other basic fixes do not solve the problem.
Before you begin the repair, ensure your phone is powered off and unplugged from the charger.
필요한 것
-
-
Insert an iFixit opening tool into the seam between the back case and the bottom edge of the phone.
 FixBot에 문의하기
-
-
-
Slide the opening tool or spudger around the edge of the phone to release the clips securing the bottom case.
-
Gently pry the bottom case from the phone to remove it.
-
-
-
-
Use a Torx T5 screwdriver to remove the six visible 1.4 mm screws that secure the internal rear housing.
-
-
-
Insert a plastic opening tool in the seam between the top case and midframe and slide it around the perimeter to release the clips holding them together.
-
Remove the midframe from the phone.
-
-
-
Place a spudger or an opening tool under the edge of the press connector and pry straight up to disconnect it.
-
-
-
Pull back the frame surrounding the motherboard from both sides and gently remove the motherboard.
-


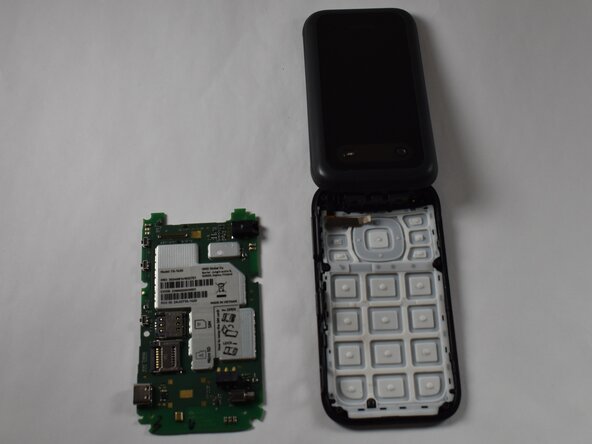


To reassemble your device, follow these instructions in reverse order. Take your e-waste to an R2 or e-Stewards certified recycler.

팀

Purdue University Northwest, Team 7-5, Dieterle Spring 2026 Purdue University Northwest, Team 7-5, Dieterle Spring 2026 회원
PNW-DIETERLE-S26S7G5
4 회원들
안내서 5개를 작성함
