소개
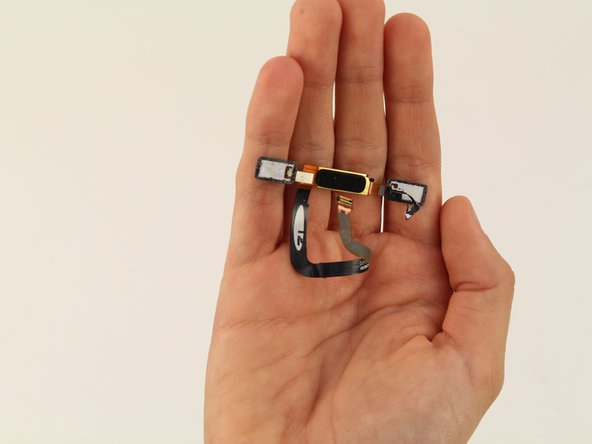
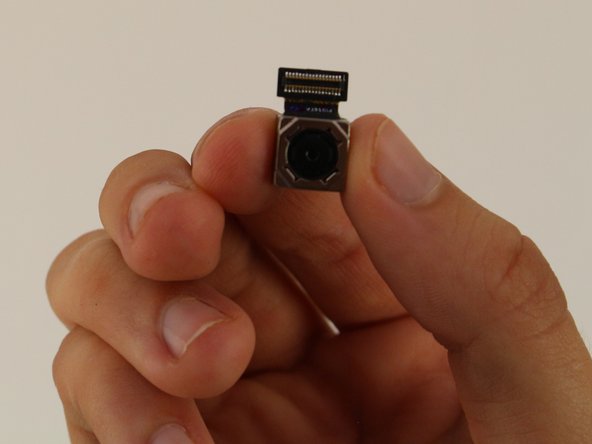
This guide will help you replace the front-facing camera for the Nokia 6.
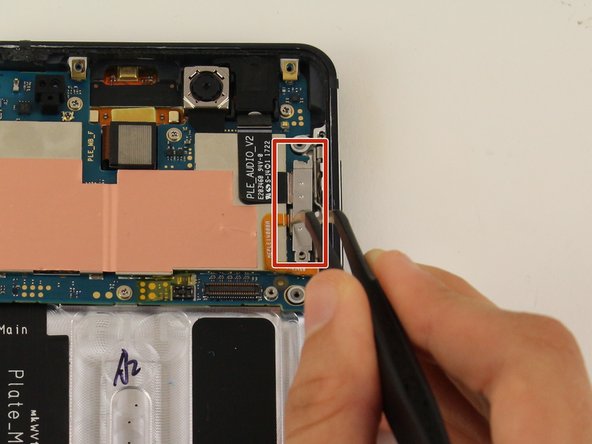
Be sure to take extra caution when removing it from the motherboard.
필요한 것
-
-
Insert the SIM card ejection tool into the hole on the left side of the phone.
-
Remove the SIM card and microSD card.
-
-
-
-
Remove 18 screws.
-
There is one 1 mm x 1.4 mm screw that needs to be removed by a Phillips #000 screwdriver.
-
One of the screws is 1.2 mm x 4.2 mm and will be removed by a Phillips #00.
-
The remaining 16 screws can be removed by the Phillips #00 screwdriver and are 1.2 mm x 2.2 mm.
-


To reassemble your device, follow these instructions in reverse order.
To reassemble your device, follow these instructions in reverse order.

팀

Cal Poly, Team S9-G15, Maness Spring 2019 Cal Poly, Team S9-G15, Maness Spring 2019 회원
CPSU-MANESS-S19S9G15
4 회원들
안내서 14개 작성하였습니다