이 버전에는 잘못된 편집 사항이 있을 수 있습니다. 최신 확인된 스냅샷으로 전환하십시오.
필요한 것
-
이 단계는 번역되지 않았습니다. 번역을 도와주십시오
-
Use the plastic opening tool to pry between the seam of the black phone cover which is located at the base of the screen.
-
-
이 단계는 번역되지 않았습니다. 번역을 도와주십시오
-
Have a container ready to keep track of small parts.
-
Use the t6 screwdriver to remove the two visible screws that are immediately below the screen.
-
-
-
이 단계는 번역되지 않았습니다. 번역을 도와주십시오
-
Keep the phone closed, and slide the Ipod tool between the the silver and black phone case. Use the tool to slide all the way around the case to release the catches.
-
-
이 단계는 번역되지 않았습니다. 번역을 도와주십시오
-
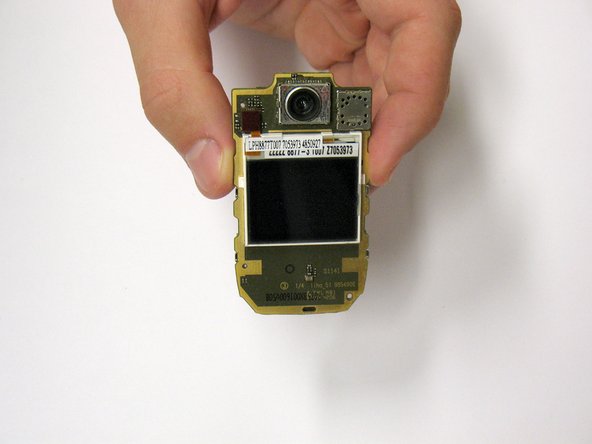
Pull out the circuit board, which will remove it completely from the case
-
-
이 단계는 번역되지 않았습니다. 번역을 도와주십시오
-
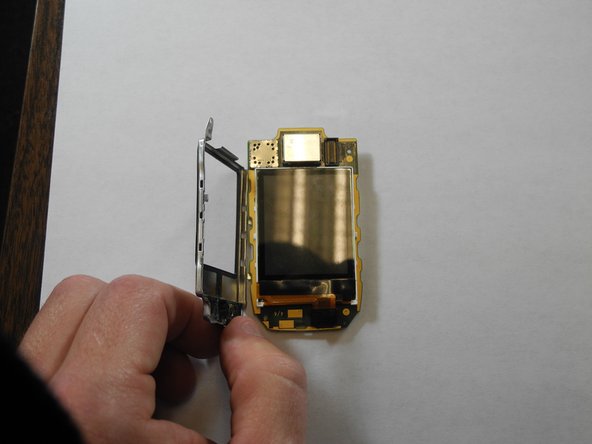
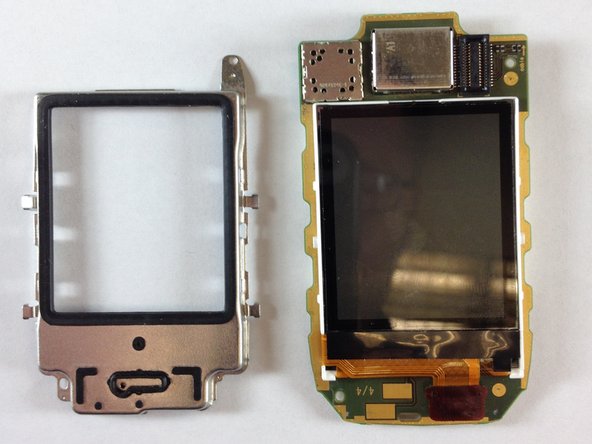
If the metal case is not already free, simultaneously release the metal tabs on both sides of the metal casing to remove the display screen.
-


다른 한 분이 해당 안내서를 완성하였습니다.
팀

Cal Poly, Team 23-78, Johann Spring 2010 Cal Poly, Team 23-78, Johann Spring 2010 회원
CPSU-JOHANN-S10S23G78
4 회원들
안내서 5개 작성하였습니다