이 버전에는 잘못된 편집 사항이 있을 수 있습니다. 최신 확인된 스냅샷으로 전환하십시오.
필요한 것
-
이 단계는 번역되지 않았습니다. 번역을 도와주십시오
-
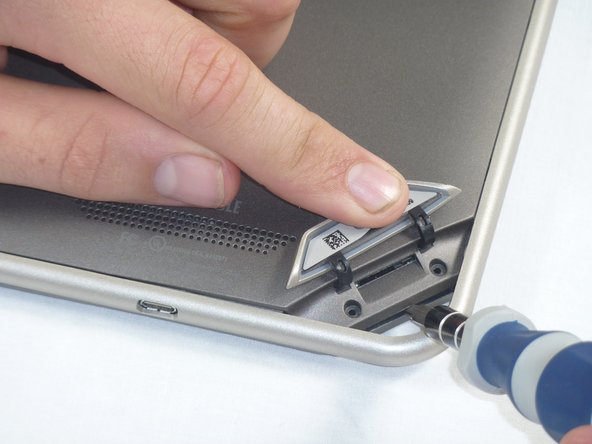
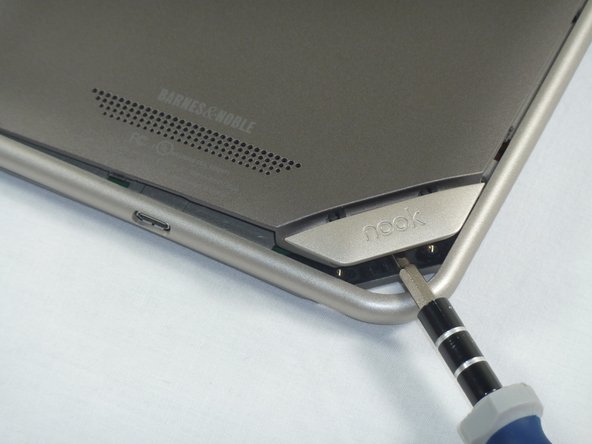
Lift the flap that reads "Nook" to reveal the tape that is underneath. Remove the memory card if one is present.
-
Remove the tape covering the round holes to reveal two T5 Torx screws.
-
Remove the two T5 Torx screws securing the back cover.
-
-
이 단계는 번역되지 않았습니다. 번역을 도와주십시오
-
Insert the flat end of a spudger between the front panel and the rear assembly.
-
Use a spudger to lift the the back panel from the rest of the Nook.
-
-
이 단계는 번역되지 않았습니다. 번역을 도와주십시오
-
Slide the spudger around the edges of the Nook to loosen the back panel.
-
-
-
이 단계는 번역되지 않았습니다. 번역을 도와주십시오
-
Using the T5 Torx screwdriver, remove the ten T5 screws from around the edges of the silver midframe.
-
-
이 단계는 번역되지 않았습니다. 번역을 도와주십시오
-
Using a spudger or plastic opening tool, carefully pry the screen bezel away from the silver midframe.
-
-
이 단계는 번역되지 않았습니다. 번역을 도와주십시오
-
Lift up the foam pad at the corner of the battery to reveal the battery connector.
-
Use a spudger or plastic opening tool to disconnect the battery cable from the motherboard.
-
-
이 단계는 번역되지 않았습니다. 번역을 도와주십시오
-
Lift up the foam that covers the power connector and volume connector.
-
Disconnect the power and volume cables from their sockets on the motherboard.
-
-
이 단계는 번역되지 않았습니다. 번역을 도와주십시오
-
Carefully lift the silver midframe away from the motherboard and display assembly.
-


팀

Cal Poly, Team 1-4, Propen Fall 2012 Cal Poly, Team 1-4, Propen Fall 2012 회원
CPSU-PROPEN-F12S1G4
4 회원들
안내서 14개 작성하였습니다