이 안내서에는 최근 변경 사항이 더 있습니다. 최신 비검증 버전으로 전환하십시오.
소개
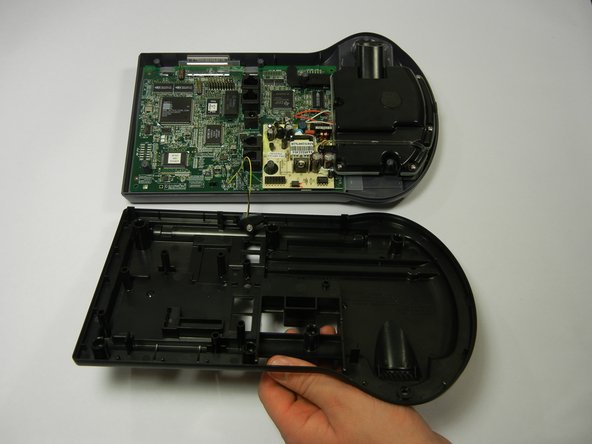
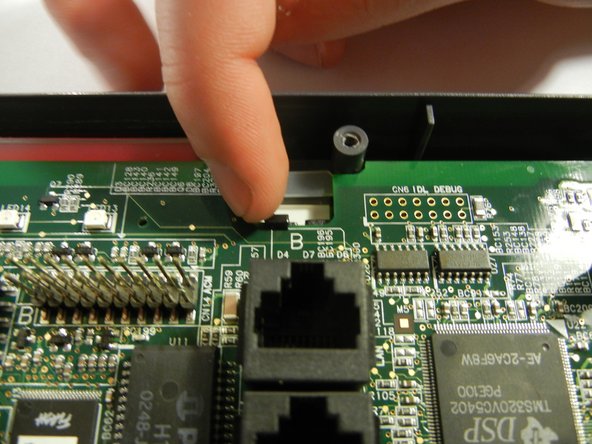
This guide will help you remove the circuit board from the outer telephone case. You may need to remove the circuit board to repair internal components, such as buttons.
필요한 것


To reassemble your device, follow these instructions in reverse order.
To reassemble your device, follow these instructions in reverse order.
다른 2명이 해당 안내서를 완성하였습니다.
팀

Cal Poly, Team 10-35, Amido Winter 2012 Cal Poly, Team 10-35, Amido Winter 2012 회원
CPSU-AMIDO-W12S10G35
4 회원들
안내서 10개 작성하였습니다