이 버전에는 잘못된 편집 사항이 있을 수 있습니다. 최신 확인된 스냅샷으로 전환하십시오.
필요한 것
-
이 단계는 번역되지 않았습니다. 번역을 도와주십시오
-
Flip the phone over to view the back.
-
Remove the power and phone cords.
-
-
이 단계는 번역되지 않았습니다. 번역을 도와주십시오
-
Disconnect the rubber piece by pulling it out of the slot, freeing the back cover completely.
-
-
이 단계는 번역되지 않았습니다. 번역을 도와주십시오
-
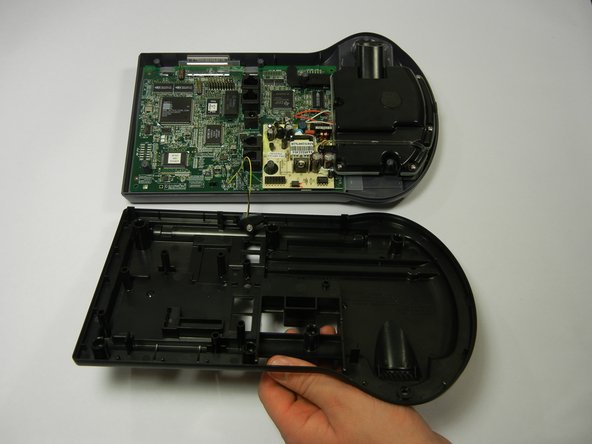
Remove the six 8mm Phillips #2 screws.
-
Pull the speaker phone cover straight up.
-
-
-
이 단계는 번역되지 않았습니다. 번역을 도와주십시오
-
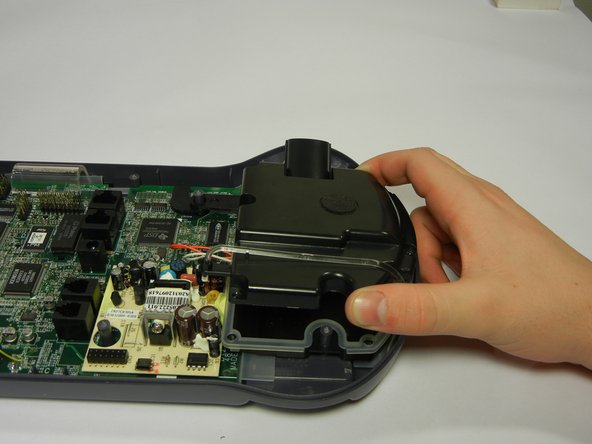
Lift out the speaker and set it away from the tray that holds it.
-
Then remove the black plastic tray at the bottom by lifting it straight up.
-
-
이 단계는 번역되지 않았습니다. 번역을 도와주십시오
-
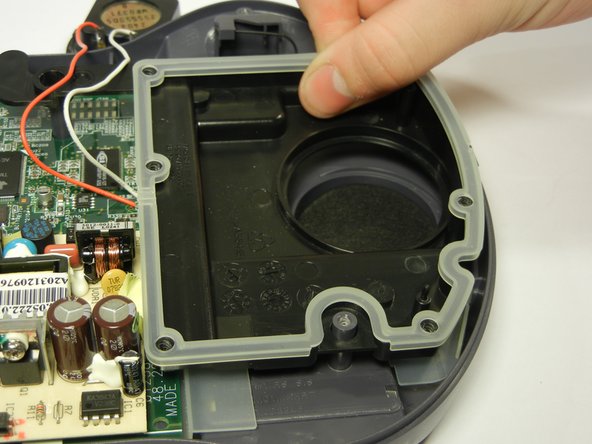
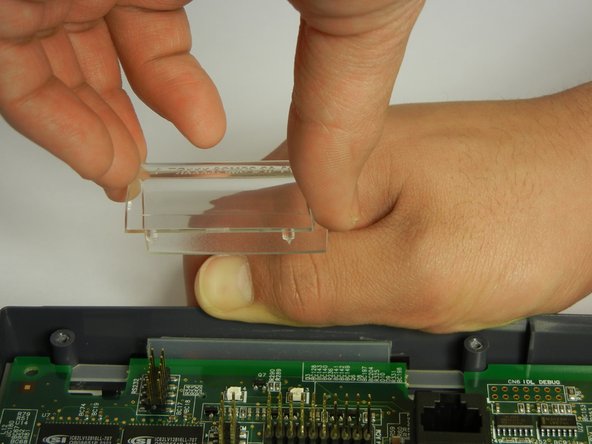
Pull the gray plastic casing away from the circuit board as you remove the clear, curved, plastic piece straight up.
-
-
이 단계는 번역되지 않았습니다. 번역을 도와주십시오
-
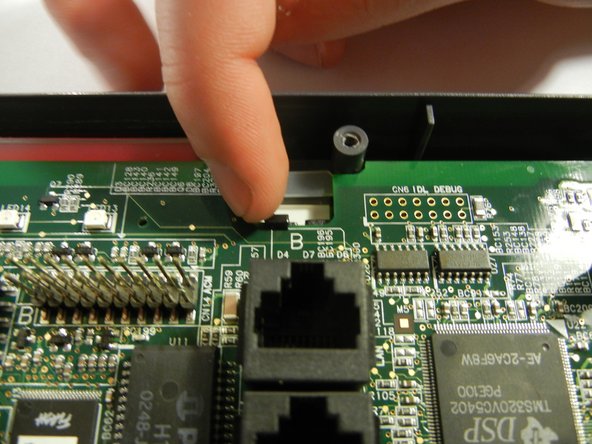
There are three clips on the circuit board to un-clip.
-
Unclip both back black clips with your fingertips.
-
Push the middle black clip towards the bottom of the picture with a flathead screwdriver.
-
-
이 단계는 번역되지 않았습니다. 번역을 도와주십시오
-
Lift the edge of the circuit board over the phone case and slightly up, so the bottom of circuit board can be viewed.
-
-
이 단계는 번역되지 않았습니다. 번역을 도와주십시오
-
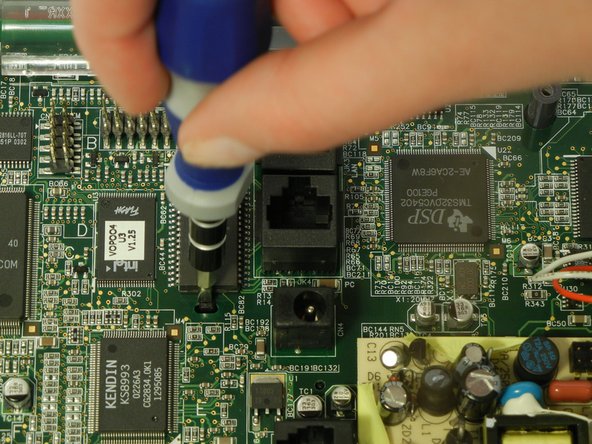
Push down each brown clip on either side of the brown metal strip using your fingertip.
-
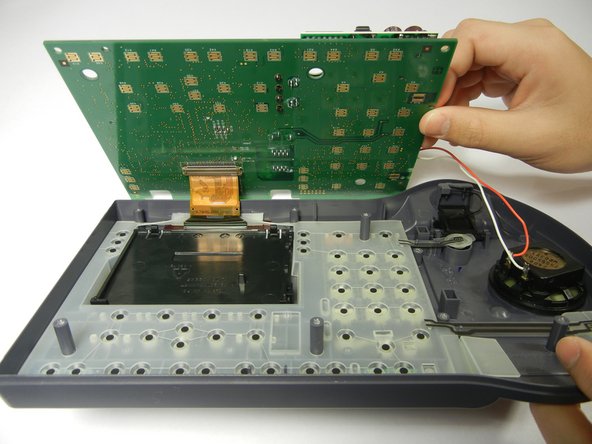
Detach the circuit board from the brown ribbon.
-


다른 2명이 해당 안내서를 완성하였습니다.
팀

Cal Poly, Team 10-35, Amido Winter 2012 Cal Poly, Team 10-35, Amido Winter 2012 회원
CPSU-AMIDO-W12S10G35
4 회원들
안내서 10개 작성하였습니다