주요 콘텐츠로 건너뛰기

NuVision 10.1 Atom Glass Screen Replacement

필요한 것

  1. NuVision 10.1 Atom Glass Screen Replacement, Camera: 1 단계, 이미지 1/3 NuVision 10.1 Atom Glass Screen Replacement, Camera: 1 단계, 이미지 2/3 NuVision 10.1 Atom Glass Screen Replacement, Camera: 1 단계, 이미지 3/3
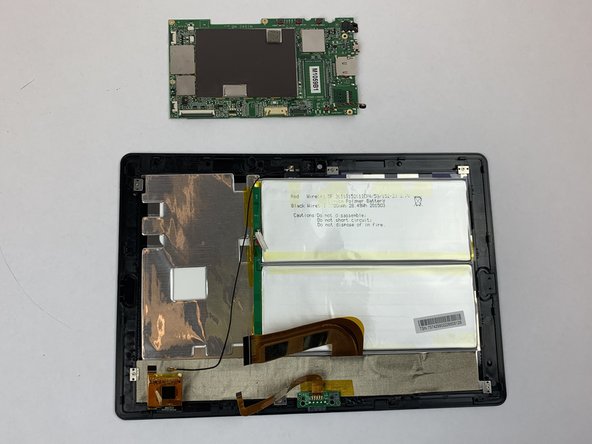
    • Turn the device screen side down.

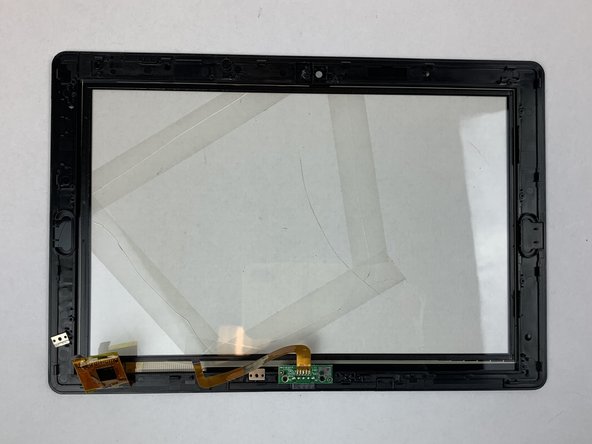
    • Carefully remove the back piece with the iFixit opening tool.

  2. NuVision 10.1 Atom Glass Screen Replacement: 2 단계, 이미지 1/1
    • Remove the yellow tape covering the motherboard gently with your fingers.

  3. NuVision 10.1 Atom Glass Screen Replacement: 3 단계, 이미지 1/3 NuVision 10.1 Atom Glass Screen Replacement: 3 단계, 이미지 2/3 NuVision 10.1 Atom Glass Screen Replacement: 3 단계, 이미지 3/3
    • Pull the camera plug upward and away from the motherboard with your fingers.

    • Gently pull the camera from the device. The camera is held by tension.

  4. NuVision 10.1 Atom Glass Screen Replacement, Speaker: 4 단계, 이미지 1/1
    • Carefully remove silver tape with your fingers.

  5. NuVision 10.1 Atom Glass Screen Replacement: 5 단계, 이미지 1/2 NuVision 10.1 Atom Glass Screen Replacement: 5 단계, 이미지 2/2
    • Remove speakers gently using your fingers, they pop out easily.

    • Disconnect cords attached to the speaker from white pod.

  6. NuVision 10.1 Atom Glass Screen Replacement, Motherboard: 6 단계, 이미지 1/1
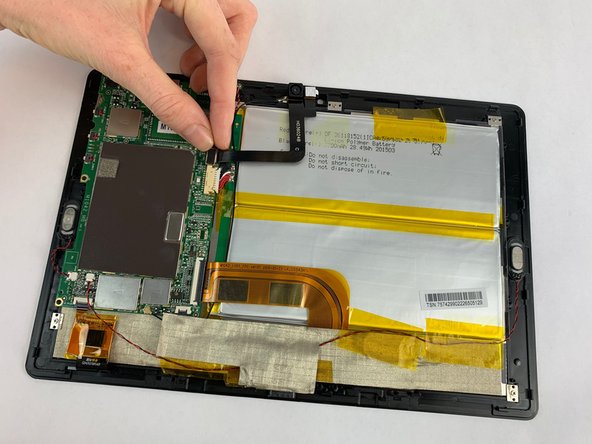
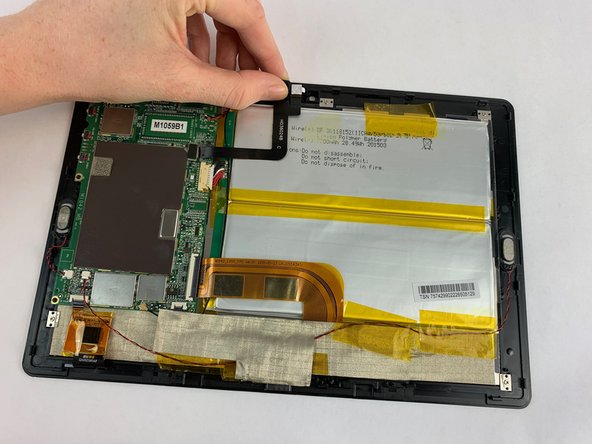
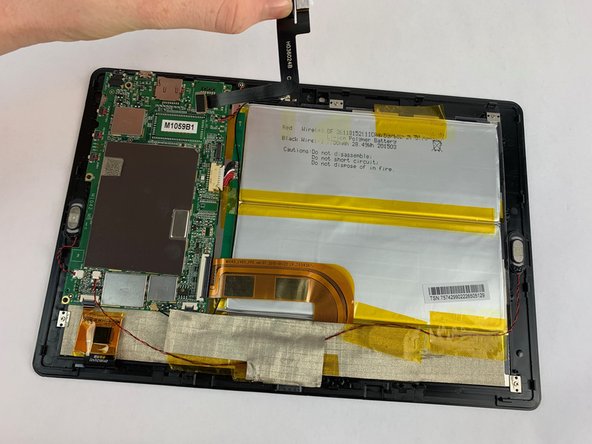
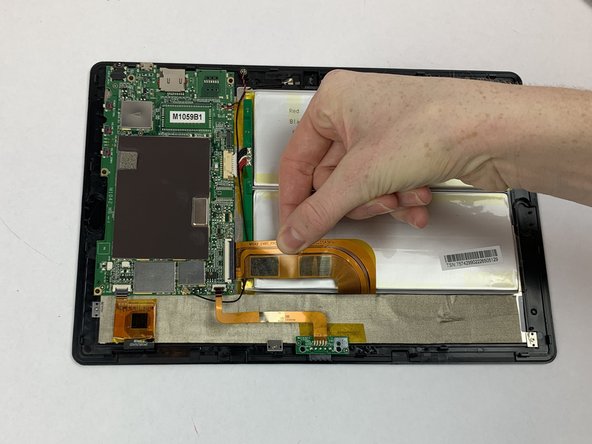
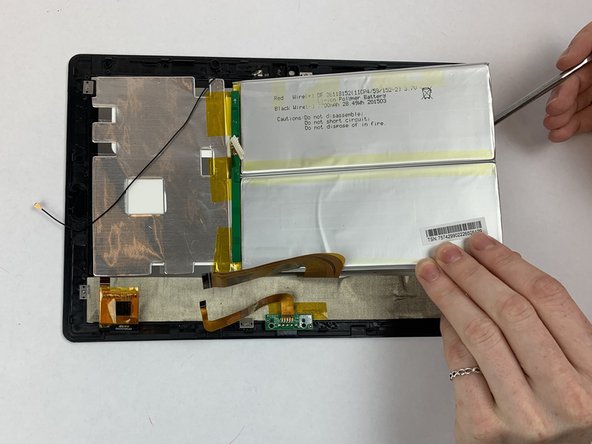
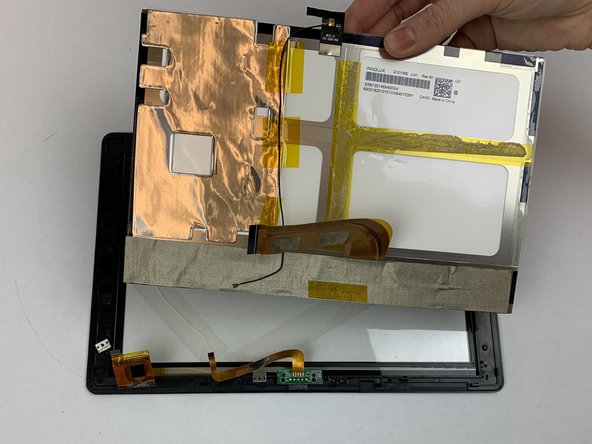
    • Disconnect the press-fit black and red curly wire from where it connects on the motherboard.

  7. NuVision 10.1 Atom Glass Screen Replacement: 7 단계, 이미지 1/3 NuVision 10.1 Atom Glass Screen Replacement: 7 단계, 이미지 2/3 NuVision 10.1 Atom Glass Screen Replacement: 7 단계, 이미지 3/3
    • Gently remove the battery's three ZIF connectors from the motherboard. Use your fingers.

    • Be careful not to puncture the battery.

  8. NuVision 10.1 Atom Glass Screen Replacement: 8 단계, 이미지 1/2 NuVision 10.1 Atom Glass Screen Replacement: 8 단계, 이미지 2/2
    • Disconnect the battery's bundled cable connector from the motherboard with fingers.

  9. NuVision 10.1 Atom Glass Screen Replacement: 9 단계, 이미지 1/3 NuVision 10.1 Atom Glass Screen Replacement: 9 단계, 이미지 2/3 NuVision 10.1 Atom Glass Screen Replacement: 9 단계, 이미지 3/3
    • Remove the four black 3.32mm screws on the corners of the motherboard using the Phillips #000 screwdriver. The motherboard should come out easily.

  10. NuVision 10.1 Atom Glass Screen Replacement, Battery: 10 단계, 이미지 1/3 NuVision 10.1 Atom Glass Screen Replacement, Battery: 10 단계, 이미지 2/3 NuVision 10.1 Atom Glass Screen Replacement, Battery: 10 단계, 이미지 3/3
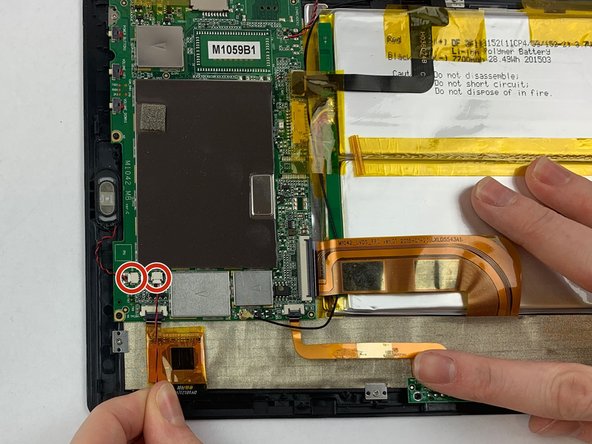
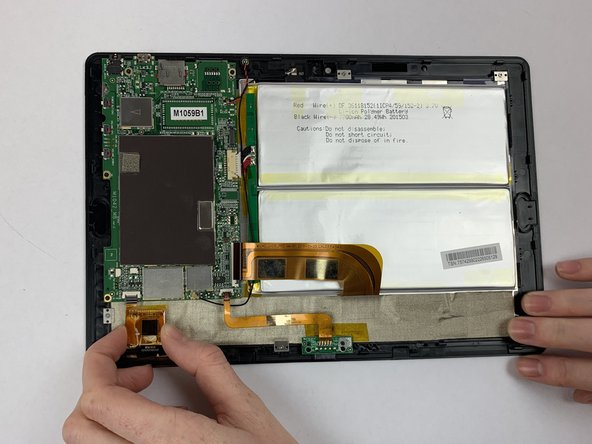
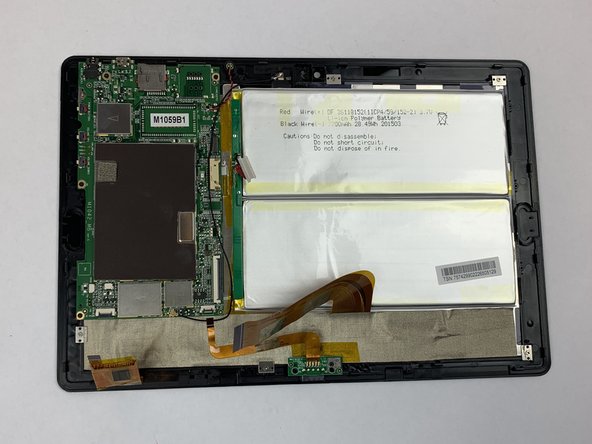
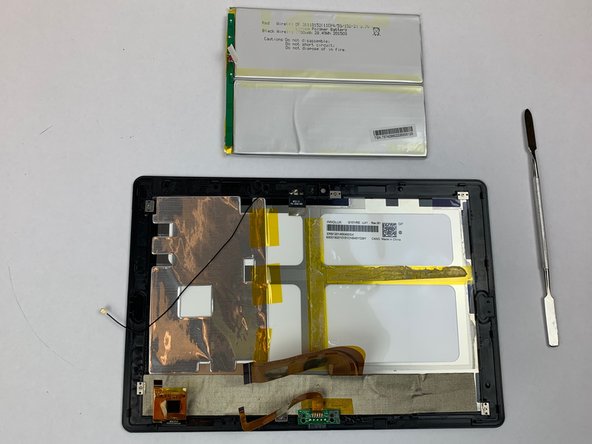
    • Pry the battery away from the display screen gently using a nylon spudger or the plastic opening tools.

    • Using a metal spudger may bend or puncture the battery. Lithium batteries are prone to explode.

    • There is a lot of adhesive, take your time and be careful.

  11. NuVision 10.1 Atom Glass Screen Replacement, Glass Screen: 11 단계, 이미지 1/2 NuVision 10.1 Atom Glass Screen Replacement, Glass Screen: 11 단계, 이미지 2/2
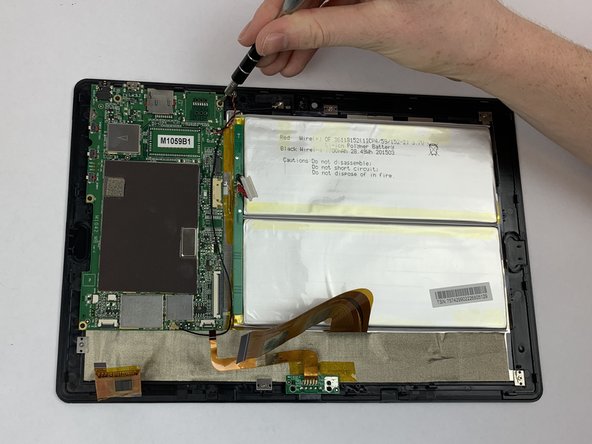
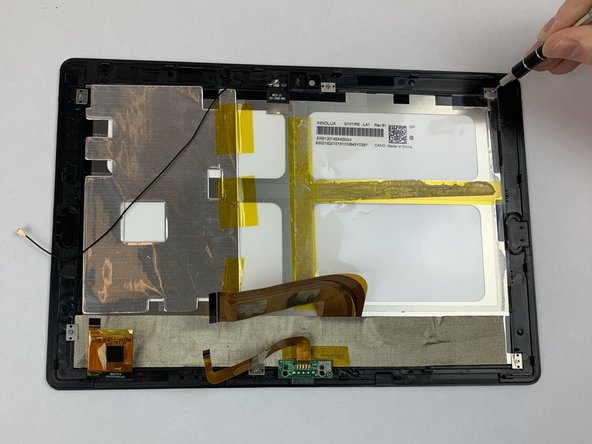
    • Remove six silver 2.8mm screws surrounding the battery using the Phillips #000 screwdriver.

  12. NuVision 10.1 Atom Glass Screen Replacement: 12 단계, 이미지 1/3 NuVision 10.1 Atom Glass Screen Replacement: 12 단계, 이미지 2/3 NuVision 10.1 Atom Glass Screen Replacement: 12 단계, 이미지 3/3
    • Remove tape securing the camera to the device gently using your fingers.

    • Pry display screen away from screen glass gently using your fingers.

결론

To reassemble your device, follow these instructions in reverse order.

다른 한 분이 해당 안내서를 완성하였습니다.

Carly Daniele

회원 가입일: 02/14/19

567 평판

안내서 5개 작성하였습니다

USF Tampa, Team S1-G5, Leahy Spring 2019 USF Tampa, Team S1-G5, Leahy Spring 2019 회원

USFT-LEAHY-S19S1G5

5 회원들

안내서 6개 작성하였습니다

댓글 0개

댓글 쓰기

조회 통계:

24 시간 전: 1

7일 전: 6

30일 전: 12

전체 시간: 445