주요 콘텐츠로 건너뛰기

Nvidia Shield Controller Motherboard Replacement

필요한 것

  1. Nvidia Shield Controller Motherboard Replacement, Motherboard: 1 단계, 이미지 1/3 Nvidia Shield Controller Motherboard Replacement, Motherboard: 1 단계, 이미지 2/3 Nvidia Shield Controller Motherboard Replacement, Motherboard: 1 단계, 이미지 3/3
    • Use a Torx TR6 screwdriver to remove the six 7mm screws from the back of the controller.

  2. Nvidia Shield Controller Motherboard Replacement: 2 단계, 이미지 1/2 Nvidia Shield Controller Motherboard Replacement: 2 단계, 이미지 2/2
    • Use a plastic opening tool to pry open the back frame of the controller.

  3. Nvidia Shield Controller Motherboard Replacement: 3 단계, 이미지 1/3 Nvidia Shield Controller Motherboard Replacement: 3 단계, 이미지 2/3 Nvidia Shield Controller Motherboard Replacement: 3 단계, 이미지 3/3
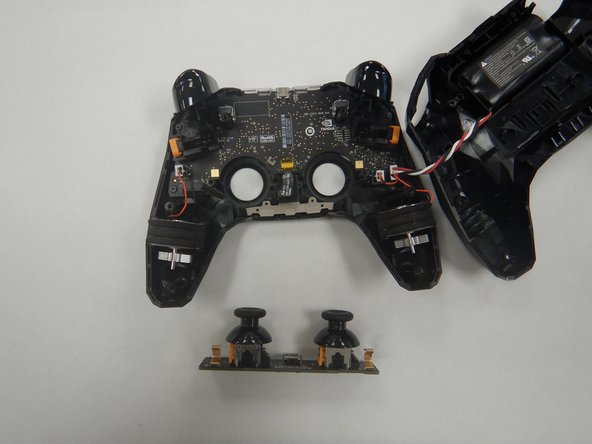
    • Use the Torx TR6 bit to remove the two 7mm screws behind the analog sticks.

    • Unplug the power supply cable from the analog stick assembly.

  4. Nvidia Shield Controller Motherboard Replacement: 4 단계, 이미지 1/3 Nvidia Shield Controller Motherboard Replacement: 4 단계, 이미지 2/3 Nvidia Shield Controller Motherboard Replacement: 4 단계, 이미지 3/3
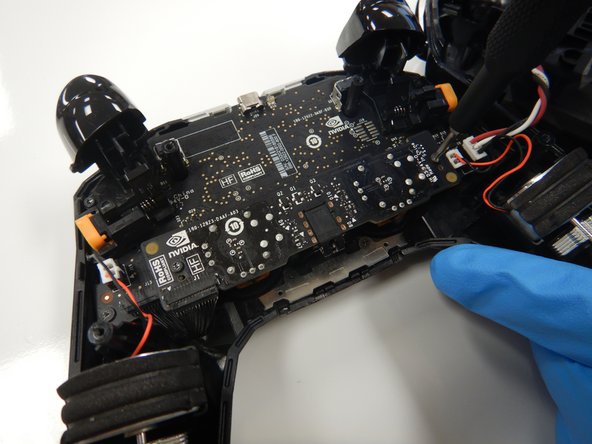
    • Use a pair of tweezers to unplug the rumble motors from the motherboard.

    • Use a pair of tweezers to unplug the battery cable from the motherboard.

  5. Nvidia Shield Controller Motherboard Replacement: 5 단계, 이미지 1/3 Nvidia Shield Controller Motherboard Replacement: 5 단계, 이미지 2/3 Nvidia Shield Controller Motherboard Replacement: 5 단계, 이미지 3/3
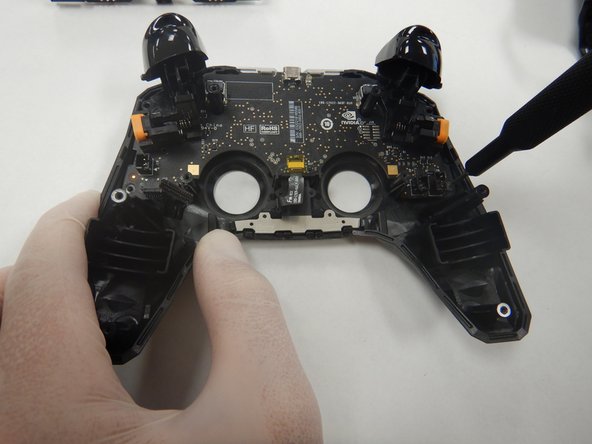
    • Use a Torx TR6 screwdriver to remove the two 7mm screws towards the top of the frame.

    • Use the Torx T5 screwdriver to remove the two 5mm screws in the bottom corners of the frame.

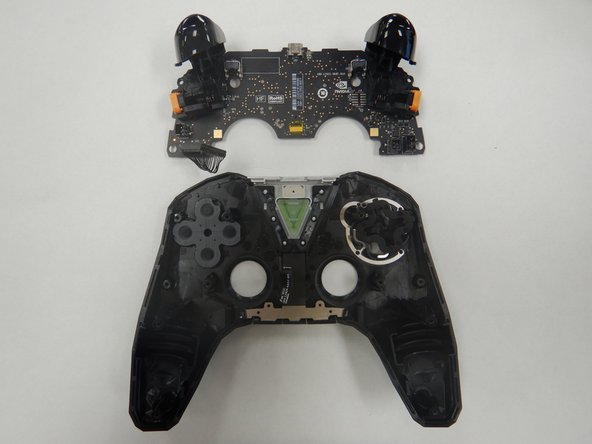
    • Lift out the motherboard from the case.

결론

To reassemble your device, follow these instructions in reverse order.

다른 3명이 해당 안내서를 완성하였습니다.

Nate Hale

회원 가입일: 09/16/20

317 평판

안내서 2개 작성하였습니다

댓글 0개

댓글 쓰기

조회 통계:

24 시간 전: 1

7일 전: 8

30일 전: 31

전체 시간: 2,102