주요 콘텐츠로 건너뛰기

Oculus Rift CV1 Facial Interface Replacement

필요한 것

  1. Oculus Rift CV1 Facial Interface Replacement, Facial Interface: 1 단계, 이미지 1/1
    • Pull firmly from the top of the headset facial interface to remove the foam frame.

  2. Oculus Rift CV1 Facial Interface Replacement: 2 단계, 이미지 1/1
    • Remove the six T3 4mm screws from the top and bottom edges of the case.

  3. Oculus Rift CV1 Facial Interface Replacement: 3 단계, 이미지 1/1
    • Insert the spudger underneath the edge of the lens on the left or right side.

    • Slide the spudger upwards and around the edge of the frame to undo the tabs underneath.

    • Repeat for the other side of the frame.

  4. Oculus Rift CV1 Facial Interface Replacement: 4 단계, 이미지 1/3 Oculus Rift CV1 Facial Interface Replacement: 4 단계, 이미지 2/3 Oculus Rift CV1 Facial Interface Replacement: 4 단계, 이미지 3/3
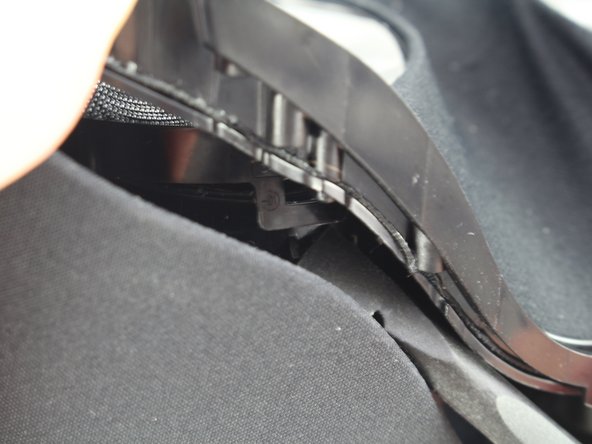
    • Lift up the frame to see a tab hidden underneath the lycra mesh along the edge of the lens.

    • Pull up on the tab with the spudger.

    • Repeat for the corresponding tab on the other lens.

  5. Oculus Rift CV1 Facial Interface Replacement: 5 단계, 이미지 1/1
    • Lift up on the plastic frame around the lens.

    • Slide a finger around the inside edge, pulling outward from the center of the lens to release the other tabs.

    • Repeat for the frame on the other lens.

  6. Oculus Rift CV1 Facial Interface Replacement: 6 단계, 이미지 1/1
    • Pull up along the outer frame.

    • Remove the facial interface.

결론

To reassemble your device, follow these instructions in reverse order.

다른 한 분이 해당 안내서를 완성하였습니다.

Kyle Anderson

회원 가입일: 01/24/19

226 평판

안내서 1개 작성함

Cal Poly, Team S18-G4, White Winter 2019 Cal Poly, Team S18-G4, White Winter 2019 회원

CPSU-WHITE-W19S18G4

3 회원들

안내서 10개 작성하였습니다

댓글 0개

댓글 쓰기

조회 통계:

24 시간 전: 2

7일 전: 9

30일 전: 45

전체 시간: 4,640