이 버전에는 잘못된 편집 사항이 있을 수 있습니다. 최신 확인된 스냅샷으로 전환하십시오.
필요한 것
-
이 단계는 번역되지 않았습니다. 번역을 도와주십시오
-
Remove all five screws found on the outer shell of the camera.
-
Three along the bottom
-
Two on the side closest to the LCD screen
-
You will find three more under the USB port flap and one more under the memory card flap. Remove these four as well.
-
Once all screws are removed, use a blue prying tool to carefully pry the back outer shell away from the rest of the camera.
-
-
이 단계는 번역되지 않았습니다. 번역을 도와주십시오
-
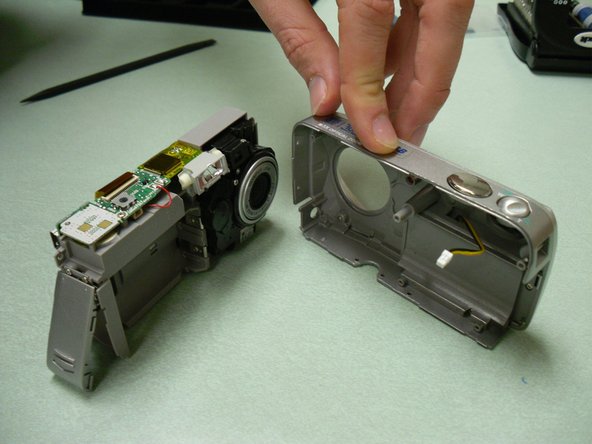
Completely separate the back cover from the rest of the camera. Set the back cover aside.
-
Remove four screws from the front outer cover of the camera.
-
Use a Spudger to pry the front outer cover away from the camera. Do this gently to avoid damaging the yellow and black wires connecting the front outer cover to the camera.
-
-
이 단계는 번역되지 않았습니다. 번역을 도와주십시오
-
To remove the yellow and black wires, gently unplug the end of the wire connected to the inner casing of the camera.
-
The front outer cover should now be completely separated from the rest of the camera.
-
-
이 단계는 번역되지 않았습니다. 번역을 도와주십시오
-
Carefully set aside the front outer cover of the camera.
-
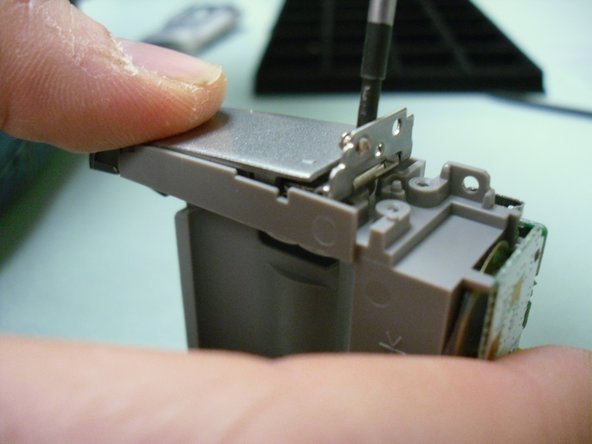
Locate and remove the two screws attaching the battery compartment cover to the rest of the camera.
-
Once both screws are removed, the back hinge of the battery compartment cover will flip up.
-
-
이 단계는 번역되지 않았습니다. 번역을 도와주십시오
-
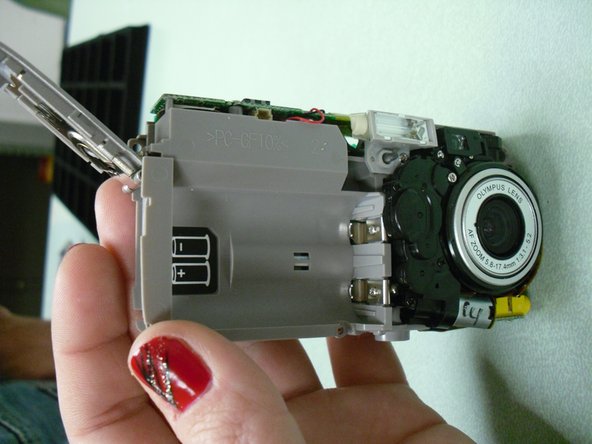
Your battery compartment cover should now be completely removed and ready for repair or replacement.
-


팀

University of Maine, Team 1-27, Diaz Fall 2011 University of Maine, Team 1-27, Diaz Fall 2011 회원
UMAINE-DIAZ-F11S1G27
1 회원
안내서 3개 작성하였습니다