주요 콘텐츠로 건너뛰기

Onda V701 Front- Facing Camera Replacement

필요한 것

  1. Onda V701 Front- Facing Camera Replacement, Back Panel: 1 단계, 이미지 1/3 Onda V701 Front- Facing Camera Replacement, Back Panel: 1 단계, 이미지 2/3 Onda V701 Front- Facing Camera Replacement, Back Panel: 1 단계, 이미지 3/3
    • Ensure device is powered off before disassembly.

    • Remove the 4 rubber screw plugs using a spudger.

  2. Onda V701 Front- Facing Camera Replacement: 2 단계, 이미지 1/3 Onda V701 Front- Facing Camera Replacement: 2 단계, 이미지 2/3 Onda V701 Front- Facing Camera Replacement: 2 단계, 이미지 3/3
    • Remove the four 4.8mm mounting screws using a PH00 screwdriver.

  3. Onda V701 Front- Facing Camera Replacement: 3 단계, 이미지 1/2 Onda V701 Front- Facing Camera Replacement: 3 단계, 이미지 2/2
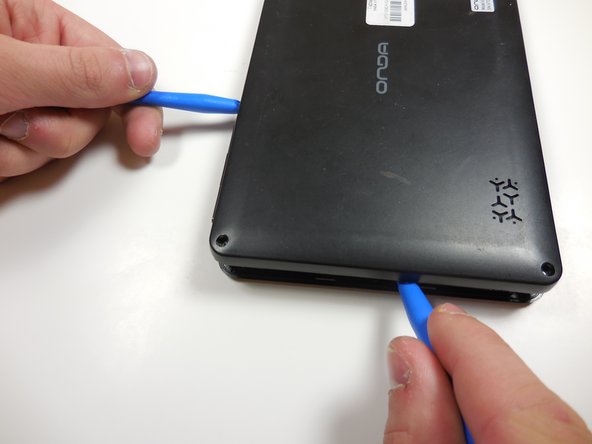
    • Starting at one corner, gently pry the back panel assembly from the screen assembly using two plastic opening tools.

    • Slide the opening tools around the perimeter of the device to separate the back panel assembly from the screen assembly.

  4. Onda V701 Front- Facing Camera Replacement: 4 단계, 이미지 1/2 Onda V701 Front- Facing Camera Replacement: 4 단계, 이미지 2/2
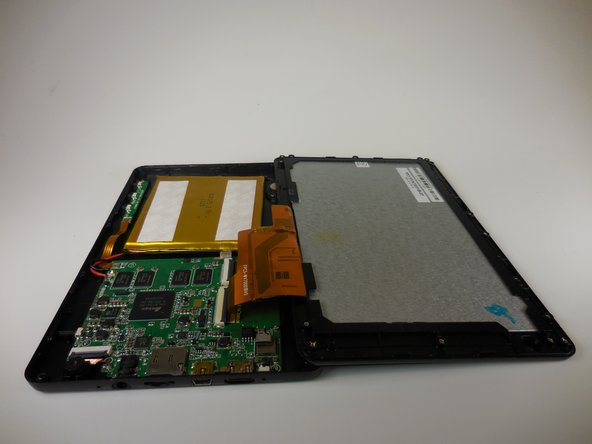
    • Gently lift the screen assembly away from the back cover assembly.

    • Be careful when separating the two pieces as the screen assembly is still connected to the mother board by two ribbon cables.

  5. Onda V701 Front- Facing Camera Replacement: 5 단계, 이미지 1/3 Onda V701 Front- Facing Camera Replacement: 5 단계, 이미지 2/3 Onda V701 Front- Facing Camera Replacement: 5 단계, 이미지 3/3
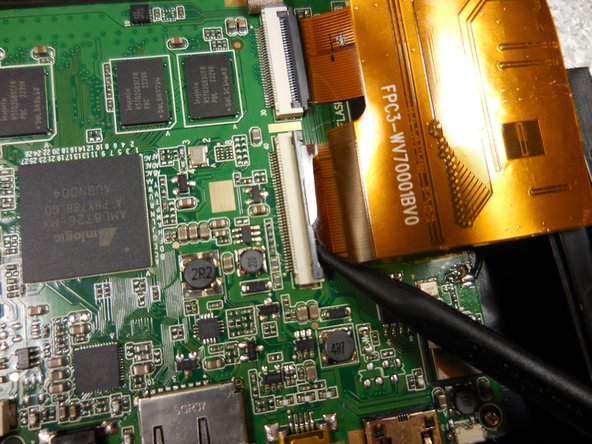
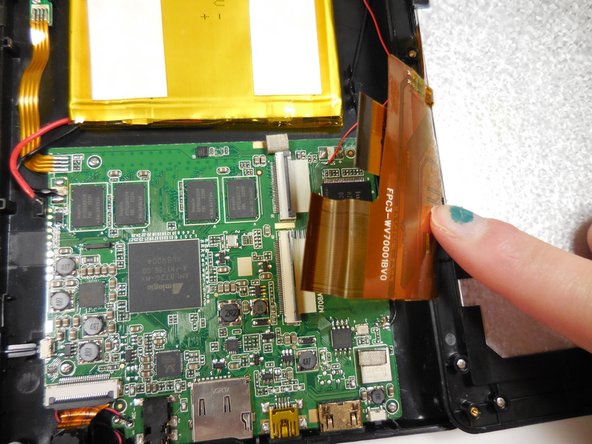
    • Disconnect the two ribbon connectors by flipping the gray tabs up with a fingernail or a spudger.

    • Remove the ribbon cables.

  6. Onda V701 Front- Facing Camera Replacement, Front- Facing Camera: 6 단계, 이미지 1/2 Onda V701 Front- Facing Camera Replacement, Front- Facing Camera: 6 단계, 이미지 2/2
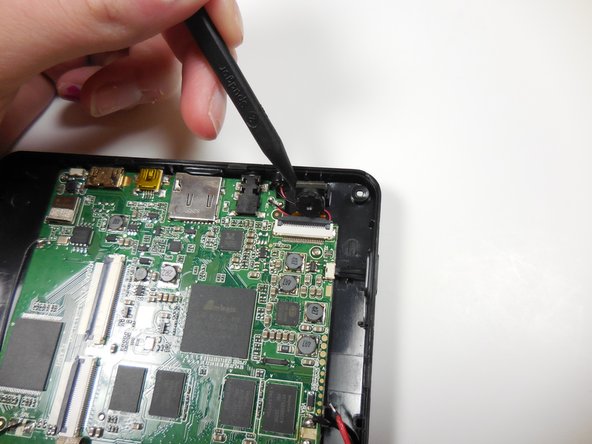
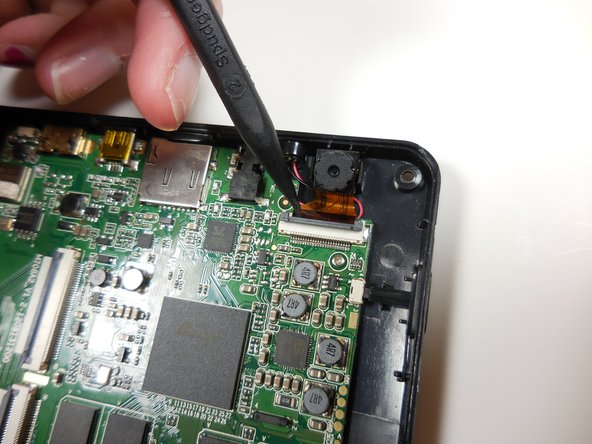
    • Gently pry the front-facing camera away from the back panel using a spudger.

  7. Onda V701 Front- Facing Camera Replacement: 7 단계, 이미지 1/2 Onda V701 Front- Facing Camera Replacement: 7 단계, 이미지 2/2
    • Flip the gray locking tab of the ribbon connector up using a spudger.

    • Remove the ribbon cable from the connector.

  8. Onda V701 Front- Facing Camera Replacement: 8 단계, 이미지 1/1
    • Remove the front-facing camera assembly.

결론

To reassemble your device, follow these instructions in reverse order.

Bradley Huber

회원 가입일: 03/11/15

366 평판

안내서 3개 작성하였습니다

Colorado Springs, Team 4-6, Panko Spring 2015 Colorado Springs, Team 4-6, Panko Spring 2015 회원

UCCS-PANKO-S15S4G6

3 회원들

안내서 10개 작성하였습니다

댓글 0개

댓글 쓰기

조회 통계:

24 시간 전: 0

7일 전: 0

30일 전: 0

전체 시간: 246