소개
This guide details the process of removing and replacing a malfunctioning webcam in the One Education Infinity.
The webcam of the One Education Infinity is the sole photo-capturer of the device, and is mounted on a swivel, which allows it to function both as a front facing camera in laptop mode as well as a back facing camera in tablet mode (although it does sit at a slight angle to account for the bottom case).
If the webcam is malfunctioning, it should be fairly obvious. Simply open any app that utilizes the camera and check that the picture shows up clearly. If the camera lens has been cleaned and any software issues ruled out, then the issue is with the physical camera component, and it should be replaced.
Additionally, note that this guide has the user remove the battery prior to disassembling the upper case to prevent any electrical damage while disconnecting the display cables. However, the same effect can be achieved by simply disconnecting the battery cable, so the battery removal in step 5 can be skipped to save a bit of time and effort.
필요한 것
-
-
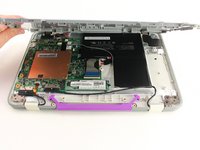
Remove the screw covers and rubber feet from the bottom of the laptop with a metal spudger.
-
-
-
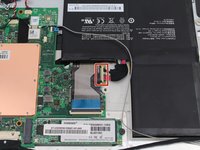
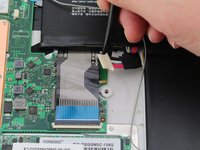
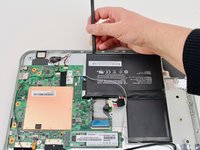
Carefully wiggle the battery cable to the right and out of the port with a plastic spudger.
-
-
-
-
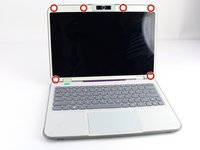
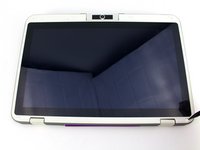
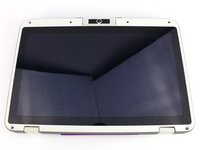
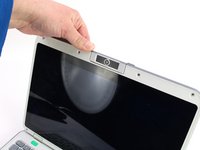
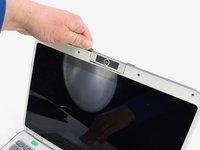
Flip open the laptop so that the screen is exposed.
-
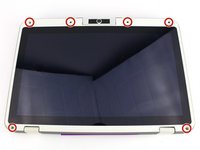
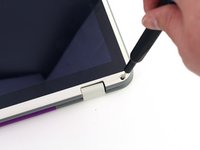
Using a spudger, remove the six screw covers along the bezel of the screen.
-
-
-
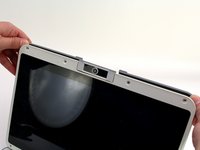
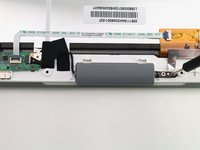
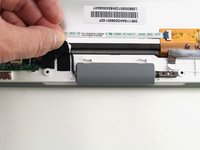
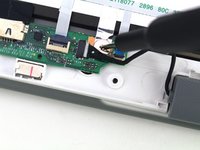
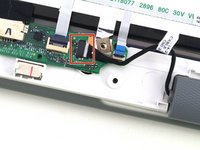
Remove the two 3.3 mm Phillips #00 screws holding down the webcam mount.
-
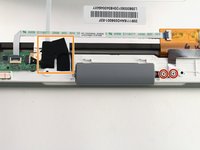
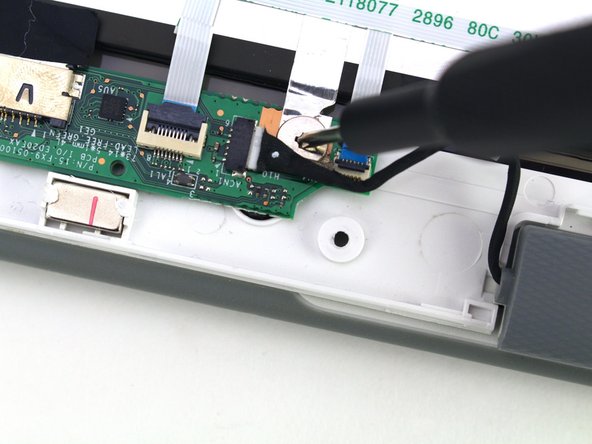
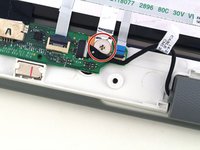
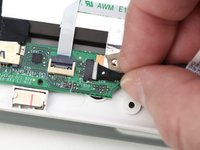
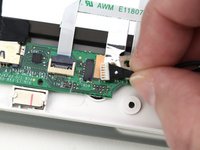
Peel off the two pieces of tape holding down the webcam wire just to the left of the webcam.
-


To reassemble your device, follow these instructions in reverse order.

