주요 콘텐츠로 건너뛰기

One Education Infinity:One Battery Replacement

필요한 것

  1. One Education Infinity:One Battery Replacement, Top Case: 1 단계, 이미지 1/3 One Education Infinity:One Battery Replacement, Top Case: 1 단계, 이미지 2/3 One Education Infinity:One Battery Replacement, Top Case: 1 단계, 이미지 3/3
    • Insert a Jimmy or other prying tool into the seam between the screen and back case.

    • Trace around the edges until all clips are released.

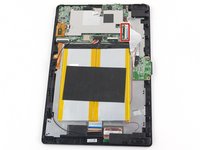
    • Lift the back case away from the tablet.

  2. One Education Infinity:One Battery Replacement, Battery: 2 단계, 이미지 1/2 One Education Infinity:One Battery Replacement, Battery: 2 단계, 이미지 2/2
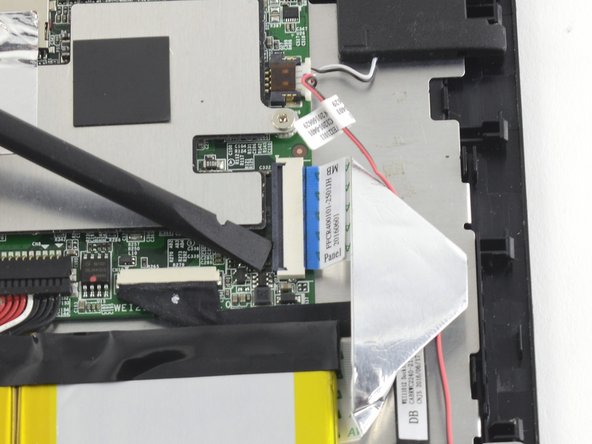
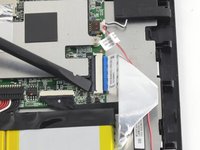
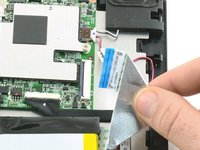
    • Use a spudger to disconnect the black bundled cable connector from the motherboard.

  3. One Education Infinity:One Battery Replacement: 3 단계, 이미지 1/3 One Education Infinity:One Battery Replacement: 3 단계, 이미지 2/3 One Education Infinity:One Battery Replacement: 3 단계, 이미지 3/3
    • Use a spudger to lift the black tab on top of the ZIF connector.

    • Slide the ribbon cable out of the connector.

  4. One Education Infinity:One Battery Replacement: 4 단계, 이미지 1/3 One Education Infinity:One Battery Replacement: 4 단계, 이미지 2/3 One Education Infinity:One Battery Replacement: 4 단계, 이미지 3/3
    • Use a spudger to flip up the black retaining flap on the ZIF connector.

    • Pull the folded ribbon cable straight out of the connector.

    • This ribbon cable must be disconnected before removing the battery because it is attached to the battery with adhesive.

  5. One Education Infinity:One Battery Replacement: 5 단계, 이미지 1/1
    • Use a spudger to pry the battery away from the device.

    • Always use ESD safe tools when working with delicate electrical components.

결론

To reassemble your device, follow these instructions in reverse order.

다른 한 분이 해당 안내서를 완성하였습니다.

Taylor Bratsch

회원 가입일: 09/06/16

5,742 평판

안내서 14개 작성하였습니다

댓글 0개

댓글 쓰기

조회 통계:

24 시간 전: 0

7일 전: 1

30일 전: 10

전체 시간: 980