주요 콘텐츠로 건너뛰기

OnePlus 5 Back Panel Replacement

단지 전제 조건
이 안내서는 다른 가이드의 선행 작업으로 사용하기 위한 것입니다. 그 자체로는 불완전합니다.

필요한 것

  1. OnePlus 5 Back Panel Replacement, Back Panel Replacement: 1 단계, 이미지 1/1
    • Always make sure to turn off the phone before attempting to replace a part.

    • Power off the phone by holding down the rectangular power button on right side and pressing the red button that says "Power off."

  2. OnePlus 5 Back Panel Replacement: 2 단계, 이미지 1/2 OnePlus 5 Back Panel Replacement: 2 단계, 이미지 2/2
    • Remove the two 1mm Torx #2 screws at the bottom of the phone by rotating the screwdriver counter-clockwise.

  3. OnePlus 5 Back Panel Replacement: 3 단계, 이미지 1/3 OnePlus 5 Back Panel Replacement: 3 단계, 이미지 2/3 OnePlus 5 Back Panel Replacement: 3 단계, 이미지 3/3
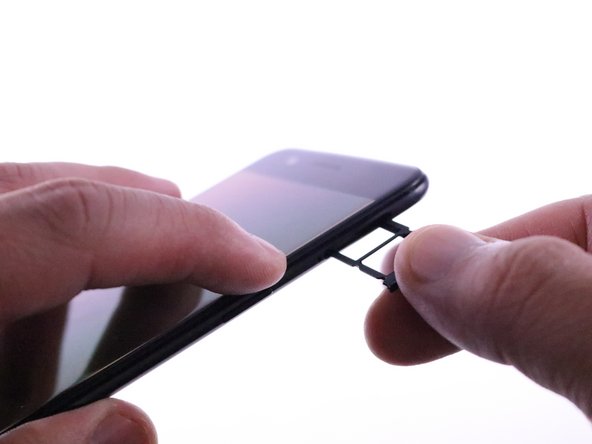
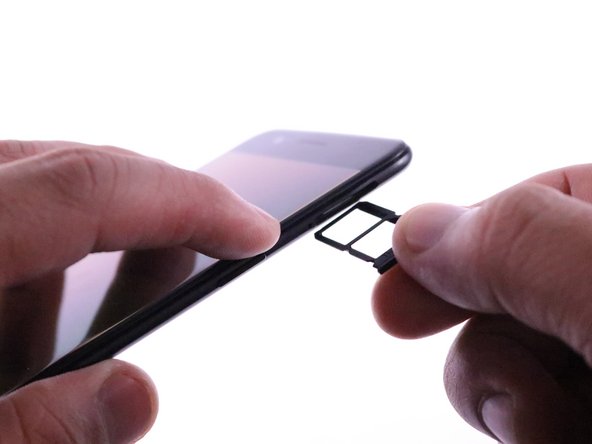
    • Locate the sim card on the right side of the phone.

    • Insert the SIM ejector screwdriver bit into the hole left of the sim card holder by applying pressure.

    • It is also okay to use the SIM card eject tool for this step.

    • Remove the sim card holder by pulling it out with your fingers.

  4. OnePlus 5 Back Panel Replacement: 4 단계, 이미지 1/3 OnePlus 5 Back Panel Replacement: 4 단계, 이미지 2/3 OnePlus 5 Back Panel Replacement: 4 단계, 이미지 3/3
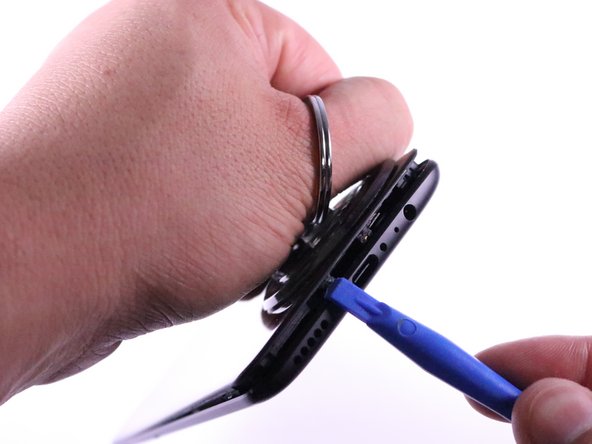
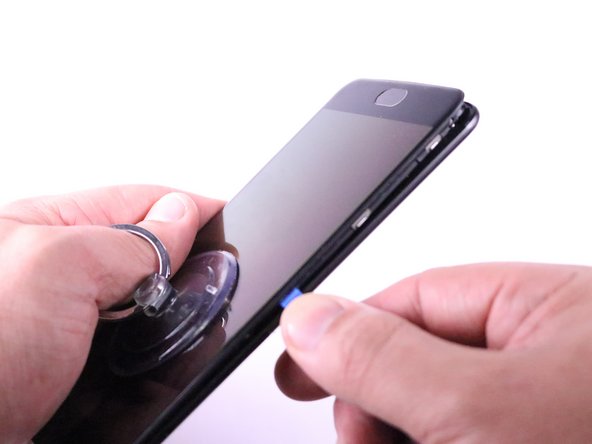
    • Insert the plastic iFixit opening tool between the the plastic rim of the screen and the metal edge of the phone.

    • Place a suction cup on the screen to gain more leverage when separating the screen from the back plate.

    • Moving right to left around the phone, carefully pry the screen away from the back plate by wiggling the iFixit opening tool and pulling the suction cup in the opposite direction.

    • When reassembling, apply pressure to the edges of the screen and back plate together until they pop back into place.

  5. OnePlus 5 Back Panel Replacement: 5 단계, 이미지 1/3 OnePlus 5 Back Panel Replacement: 5 단계, 이미지 2/3 OnePlus 5 Back Panel Replacement: 5 단계, 이미지 3/3
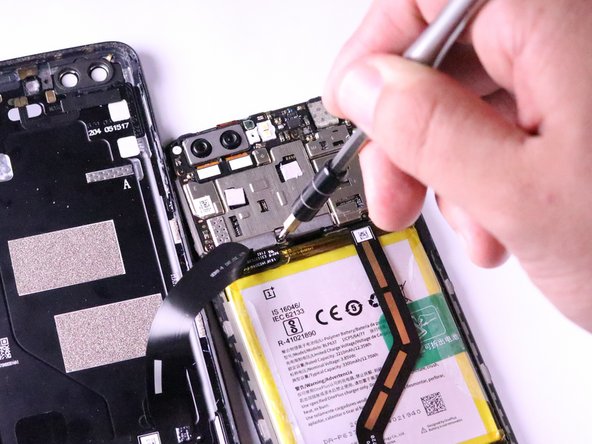
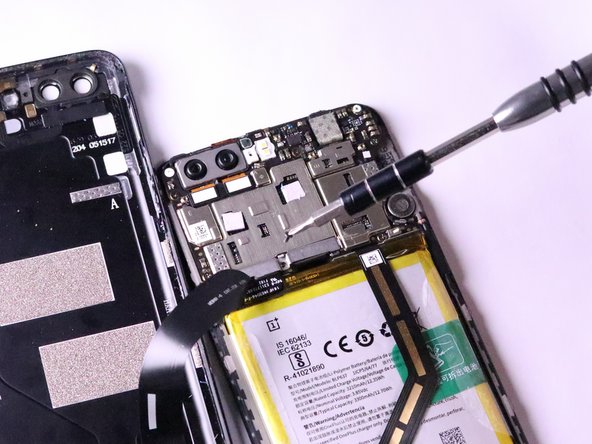
    • Locate the metal connector cap on the upper half of the device directly above the battery.

    • Remove the 1mm Phillips #0 screw from the metal connector cap by rotating the screwdriver counter-clockwise.

  6. OnePlus 5 Back Panel Replacement: 6 단계, 이미지 1/2 OnePlus 5 Back Panel Replacement: 6 단계, 이미지 2/2
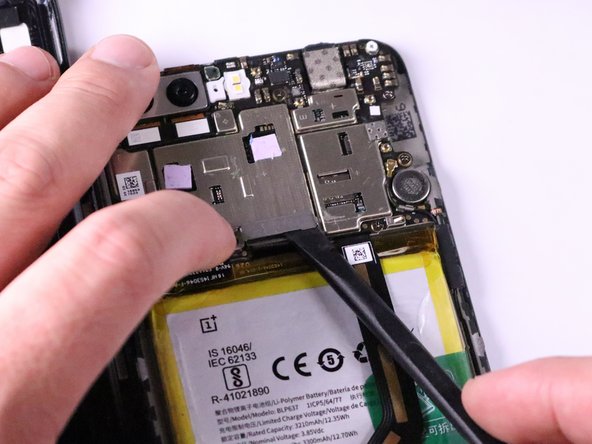
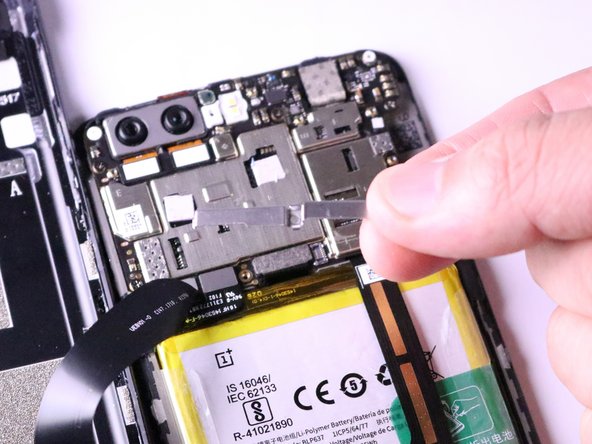
    • Carefully pop out the metal connector cap with the nylon spudger and remove it by pulling up.

  7. OnePlus 5 Back Panel Replacement: 7 단계, 이미지 1/3 OnePlus 5 Back Panel Replacement: 7 단계, 이미지 2/3 OnePlus 5 Back Panel Replacement: 7 단계, 이미지 3/3
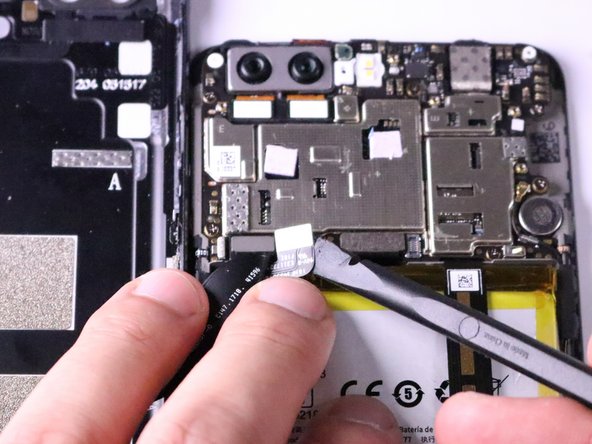
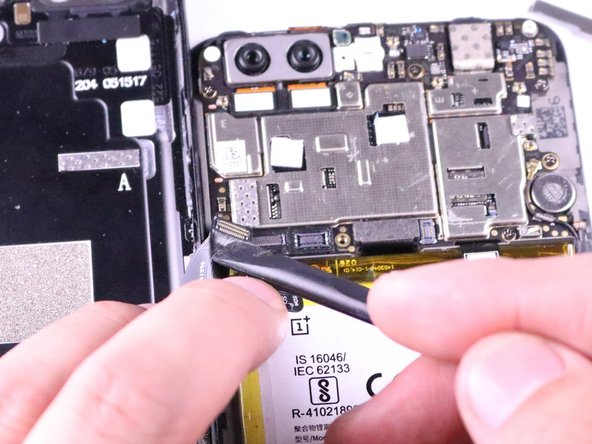
    • Locate the two connectors directly above the battery on the left side of the device.

    • Remove the battery connector cable located to the right of the charging port connector cable using a nylon spudger by prying underneath it and popping it up.

    • Remove the charging port connector cable to the left of the battery cable using a nylon spudger by prying underneath it and popping it up.

결론

To reassemble your device, follow these instructions in reverse order.

William Guillen

회원 가입일: 01/24/18

473 평판

안내서 1개 작성함

Cal Poly, Team S19-G1, Livingston Winter 2018 Cal Poly, Team S19-G1, Livingston Winter 2018 회원

CPSU-LIVINGSTON-W18S19G1

4 회원들

안내서 6개 작성하였습니다

댓글 0개

댓글 쓰기

조회 통계:

24 시간 전: 0

7일 전: 0

30일 전: 0

전체 시간: 72