필요한 것
-
-
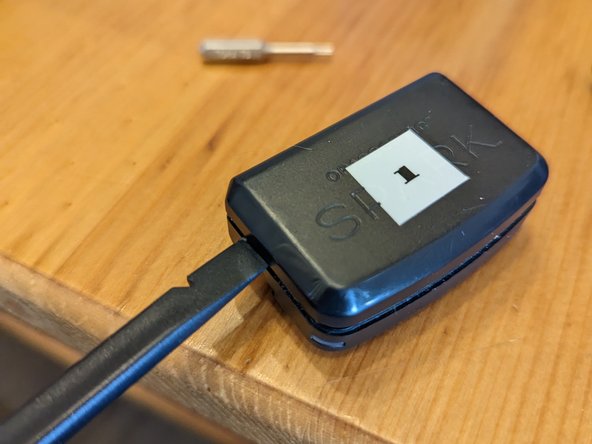
The battery pack for the Orascoptic Spark is fairly straight forward to open. The spring loaded retainer clips that clip into the lamp have to be removed first. Use a small flat headed screwdriver to lift up the tabs and the clips will come off. It's recommended to aim them into something that will catch the springs.
-
-
-
The screws are Torx T3, but can be unscrewed with a 1mm flat head bit. You don't have to back them out all they way, they will stay captive in the casing. Otherwise they are difficult to put back in the holes without fine tweezers.
-
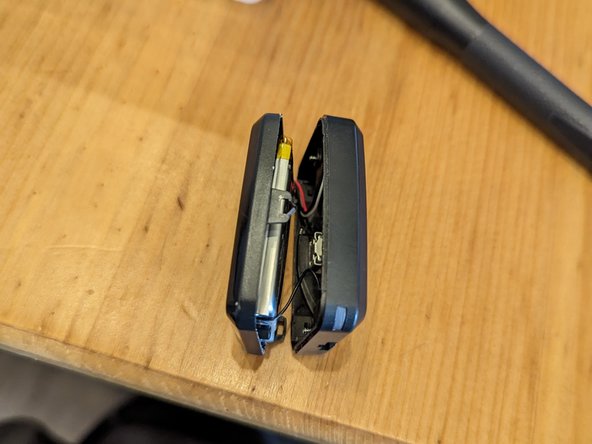
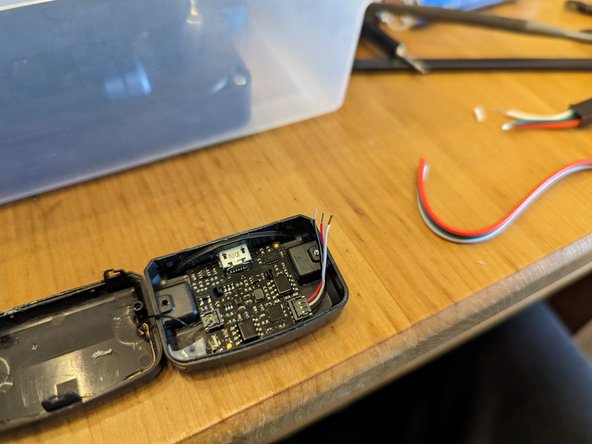
Open the battery pack, inside you will find a printed circuit board (PCB) with two sets of wires connected to it.
-
-
-
-
The battery in the Spark is a 3.7v 405mAh pouch battery with 3 leads, red, white, and black. It is adhered to the top part of the enclosure with a double sided adhesive. The battery can be purchased online for less than $20. The connector is difficult to find online.
-
The touch bar is connected with a black wire. It is not necessary to remove or mess with this while replacing the battery.
-
-
-
Due to the difficulty of finding an OEM replacement battery with an identical or the same dimensions it is suggested to use an external battery. The wires are 30 gauge, which is very small and are difficult to work with.
-
It is highly recommended you solder the connections. Hot glue works as a good insulator to make sure there are no shorts. Make sure the leads to the battery match the leads to the PCB.
-
-
-
Optional steps:
-
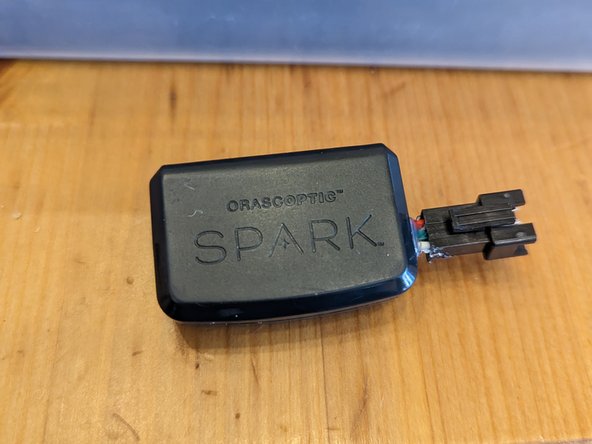
Due to the limited length of the leads coming from the PCB and the difficulty fitting all the wires in the casing, I decided to attach a connector to them to attach to an external battery. Any 3 lead connector will work. You will have to put a small hole in the casing of the battery pack.
-
Use the same steps to splice the wires to the battery to splice in a 3 lead connector instead. I recommend splicing in the female end of the connector and keeping the length of wire from the PCB and connector fairly short.
-
Splice together the wires for the replacement battery to the male connector. Make sure to leave enough wire length to connect to the battery pack.
-
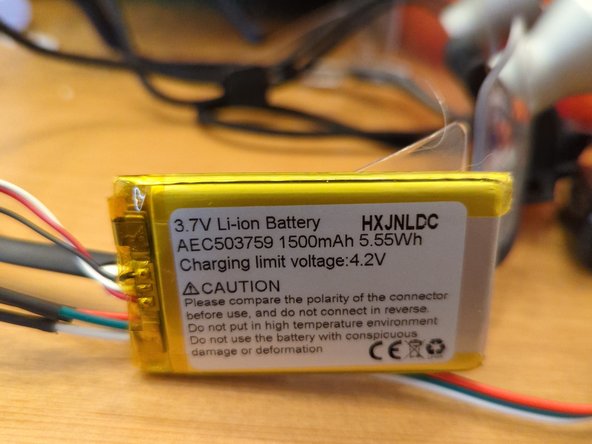
I used a 1500mAh pouch battery to give myself a much longer working duration between charges.
-
Note: the colors of the wires from the PCB and battery may be different from what the wires from the connectors are. If you have to connect black from the PCB to white of the connector, make sure to connect black from the battery to white of the connector.
-
-
-
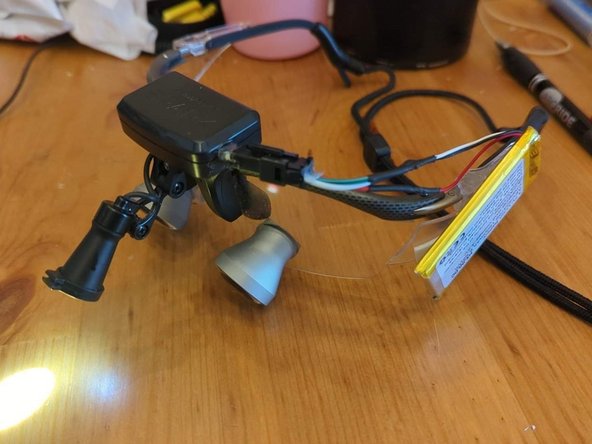
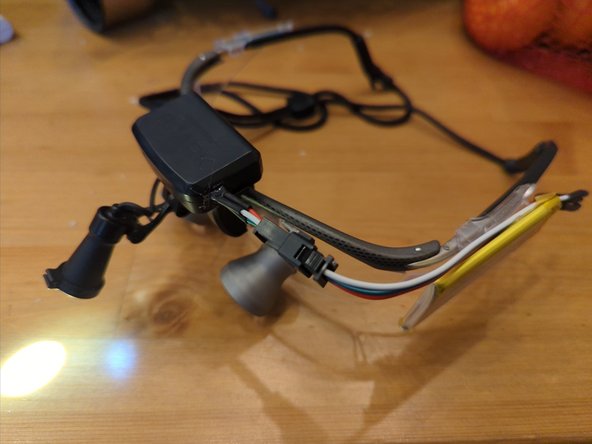
This is my loupe setup with an external battery. I attached the larger battery to one of the splash shields with double sided adhesive. It can be charged just the same via the USB port on the battery pack.
-


The Spark battery is tightly packaged and difficult to replace, but with some modification it can be improved upon.
The Spark battery is tightly packaged and difficult to replace, but with some modification it can be improved upon.

댓글 5개
Would you be able to add in more information on the standard battery which is typically in the unit? Dimensions, model info, etc?
Larz Smith - 답글
Just started taking one apart, my battery contains the following writing:
AHB602035PCT
3.7V 405mAh
1IC6/21/36 SYNERGY
Rechargeable Li-ion
Some images as well: https://imgur.com/a/EZo8ekP
Based on my measurements, and I believe this is a part of the model number, it is 6mm thick, 20mm wide, and 35mm long. As mentioned in the article, its double-sided taped to the case, similar to a typical white command strip. I would guess you could get another 1-2mm of thickness if you used a thinner tape. I don't think you couldn't get any longer without interfering with screw holes from step 2. Again, I would guess you could get an additional 2-5mm of width before running into the side of the case.
My intention is to stick as close to the original size as possible, as you may be able to see in the one picture, with the battery slid as far up against the case as possible, I believe there may be enough room to wire in a more standard connector, making future battery swaps a bit easier.
I was able to replace the 405mAh 602035 with a 500mAh 702035 w/ a JST connector and fit it inside of the original case without any issues. It was definitely a little snug (had quite a bit of extra wire I didnt want to spend time shortening), but overall fit fine. I spliced in a JST female to the original connection (similar to step 4, except with the JST). Definitely didnt have to include that connection, but I think it will make replacements easier in the future.
To address the discrepancy in wire count between the original connection and JST, I purchased some 10K Ohm NTC Thermistor's, attaching one end to the white lead, and the other to the negative lead, then taped the temp sensor to the battery. You can optionally leave the white wire disconnected and it will charge fine, but wont have any temp detection. If you connect the white wire directly to a negative terminal, it will not charge the battery.
Do you have any pictures of how you connected the wires to JST connection and the Thermistor's? What type/size of JST did you use?
Can someone recommend a website that sells the battery? On Amazon I can’t find the correct dimensions. Thanks in advance.