주요 콘텐츠로 건너뛰기

Orbic Wonder Power Button Replacement

필요한 것

  1. Orbic Wonder Power Button Replacement, Power Button: 1 단계, 이미지 1/3 Orbic Wonder Power Button Replacement, Power Button: 1 단계, 이미지 2/3 Orbic Wonder Power Button Replacement, Power Button: 1 단계, 이미지 3/3
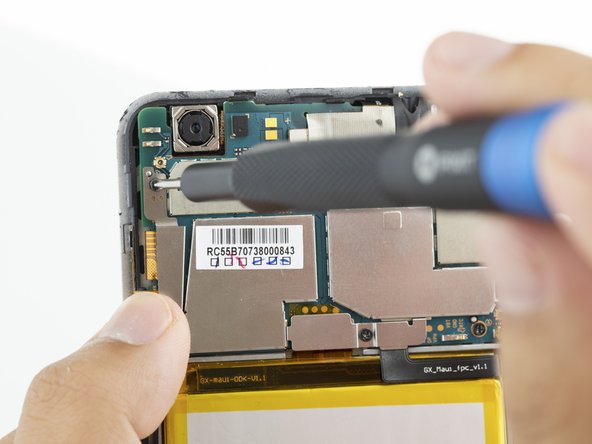
    • Remove the two 2 mm TR9 Torx head screws at the bottom of the device. The screws are located on the right and left side of the charging port.

  2. Orbic Wonder Power Button Replacement: 2 단계, 이미지 1/3 Orbic Wonder Power Button Replacement: 2 단계, 이미지 2/3 Orbic Wonder Power Button Replacement: 2 단계, 이미지 3/3
    • Pry the phone’s metal backing away from the rest of the device by placing the Jimmy between the black phone backing and silver screen border and wiggling the Jimmy right and left.

  3. Orbic Wonder Power Button Replacement: 3 단계, 이미지 1/3 Orbic Wonder Power Button Replacement: 3 단계, 이미지 2/3 Orbic Wonder Power Button Replacement: 3 단계, 이미지 3/3
    • Remove the metal plate protector held in place by two 2 mm Phillips #000 screws.

  4. Orbic Wonder Power Button Replacement: 4 단계, 이미지 1/3 Orbic Wonder Power Button Replacement: 4 단계, 이미지 2/3 Orbic Wonder Power Button Replacement: 4 단계, 이미지 3/3
    이 단계에 사용된 도구:
    Tweezers
    $3.99
    구매
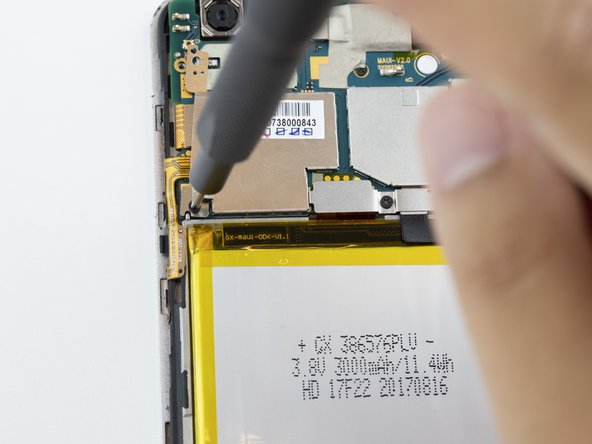
    • Using a pair of angled tweezers, remove the metal plate protector.

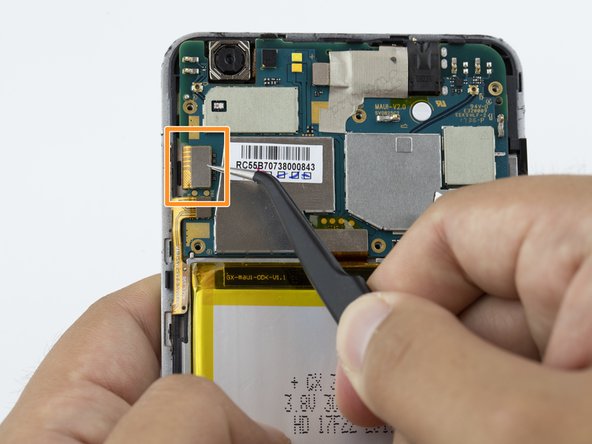
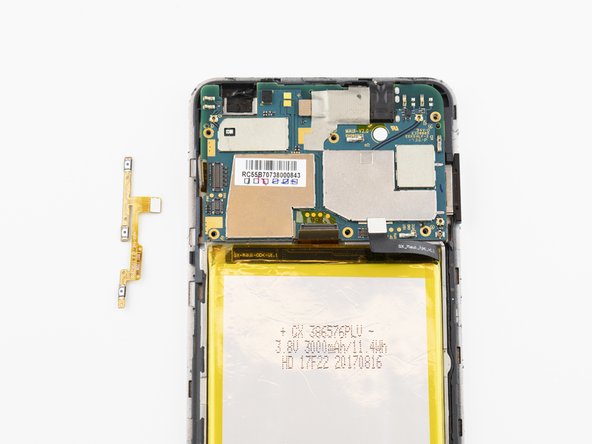
    • Unplug the connector with a pair of tweezers.

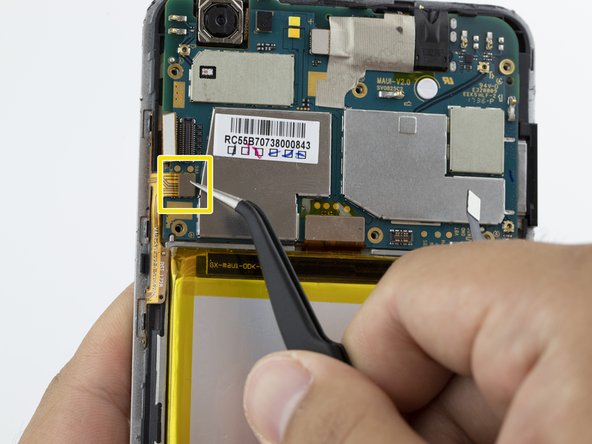
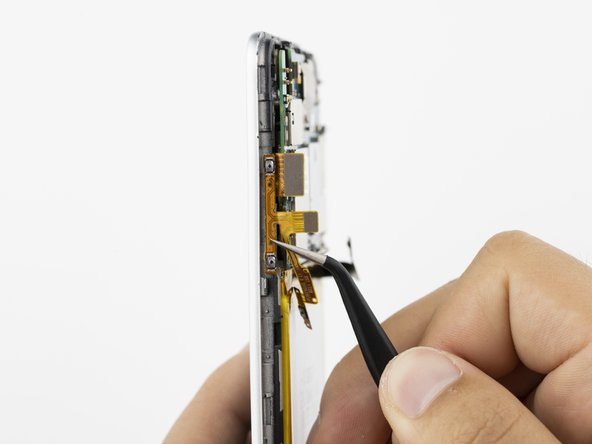
    • Unplug the second connector with a pair of tweezers.

  5. Orbic Wonder Power Button Replacement: 5 단계, 이미지 1/3 Orbic Wonder Power Button Replacement: 5 단계, 이미지 2/3 Orbic Wonder Power Button Replacement: 5 단계, 이미지 3/3
    • Using a pair of angled tweezers, gently pull the orange power strip off of the phone housing.

결론

To reassemble your device, follow these instructions in reverse order.

다른 3명이 해당 안내서를 완성하였습니다.

Grant Adler

회원 가입일: 09/17/19

859 평판

안내서 5개 작성하였습니다

댓글 0개

댓글 쓰기

조회 통계:

24 시간 전: 1

7일 전: 3

30일 전: 13

전체 시간: 567