소개
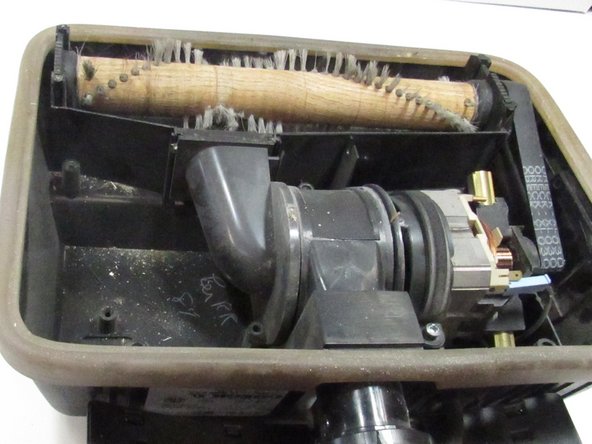
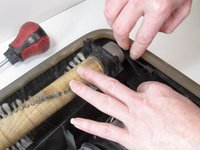
Over time, vacuum belts can stretch or break, causing the brush roll to stop spinning- even though the vacuum still powers on. This can lead to reduced suction and poor debris pickup. If your Oreck XL Upright Vacuum isn't cleaning effectively, this guide will walk you through checking and replacing the belt to restore performance.
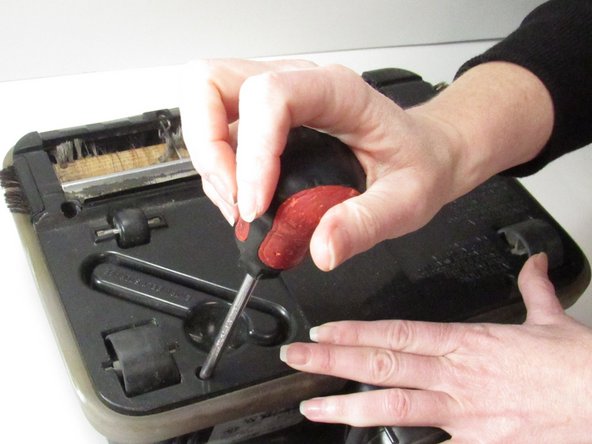
Before you begin the replacement, ensure the vacuum is powered off and unplugged.
필요한 것


팀

Northern Arizona University, Team 1-4, Konrad Spring 2025 Northern Arizona University, Team 1-4, Konrad Spring 2025 회원
NAU-KONRAD-S25S1G4
5 회원들
안내서 1개 작성